
Introduction and Rewards
Edge of Fate brings a legendary difficulty campaign that'll test both your shooting skills and puzzle-solving abilities. Beating this campaign on legendary is the only way to unlock the new Exotic armor piece for your class, so it's definitely worth the challenge.
This campaign works differently from previous Destiny 2 content. Instead of following one straight path, you'll often have multiple main missions available at once. You can tackle them in whatever order you prefer. The campaign also packs in way more puzzle mechanics than usual, and some of them can be pretty tricky without proper guidance.
Best Character Builds for Legendary Campaign
Titan Build Strategy
The Consecration build still works great for the entire legendary campaign. But consider this - Kepler's design is all about vertical terrain and weird geometry. Many players switch to a Prismatic ability spam build because it handles the environment better.
- Powerful Stasis grenade for crowd control
- Shield Throw as your main spam ability
- Shield Throw + Spirit of Contact creates jolt effects on the bouncing shield while giving you overshields
This combo excels at crowd control, which you'll need constantly. The campaign throws tons of enemies and mini-bosses at you. The Fallen in this location got some serious upgrades too - they've got new weapons and elemental abilities. You'll face Stasis and Strand variants that can freeze or suspend you if you're not paying attention.
Warlock Build Strategy
The Prismatic Lightning Surge build is basically the Warlock version of the Titan's Consecration approach. Same effectiveness, different mechanics.
You slide into enemy groups and melee everything around you in a big radius, jolting all nearby enemies. This build gives you excellent crowd control and survivability for legendary difficulty's heavy enemy presence.
Hunter Build Strategy
The Prismatic ascension build focuses on the Ascension fragment mechanic. You use midair class abilities for both offense and defense.
- Use class ability while airborne to jolt surrounding enemies
- Stylish Executioner for going invisible
- Ascension fragment counts as class ability usage for various effects
This build lets you spam abilities constantly, go invisible frequently, and get incredible damage resistance through Woven Mail. The fast-recharging grappling hooks give you continuous defensive benefits while keeping your offensive power strong.
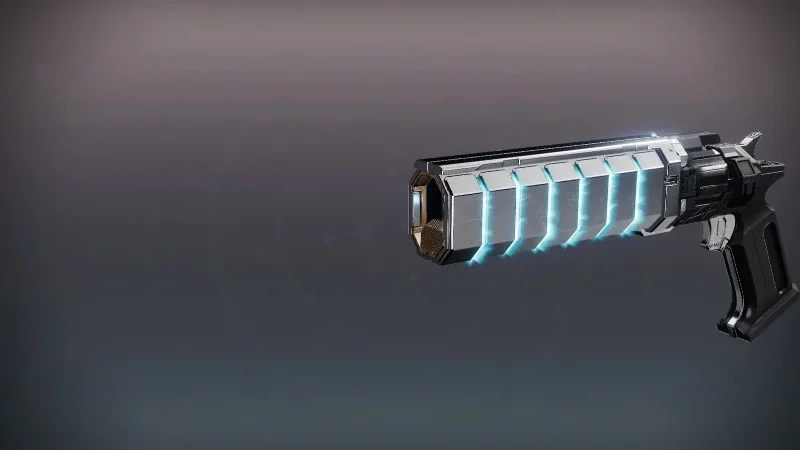
Weapon Recommendations

Aim down sights and wait for the reticle to tighten. The first shot marks the target. Follow-up shots deal way more damage. Long reload times mean you need good positioning.

This weapon gives you crowd control through slowing and freezing targets. The crowd control effects are particularly valuable since the updated Fallen enemies are much more aggressive.
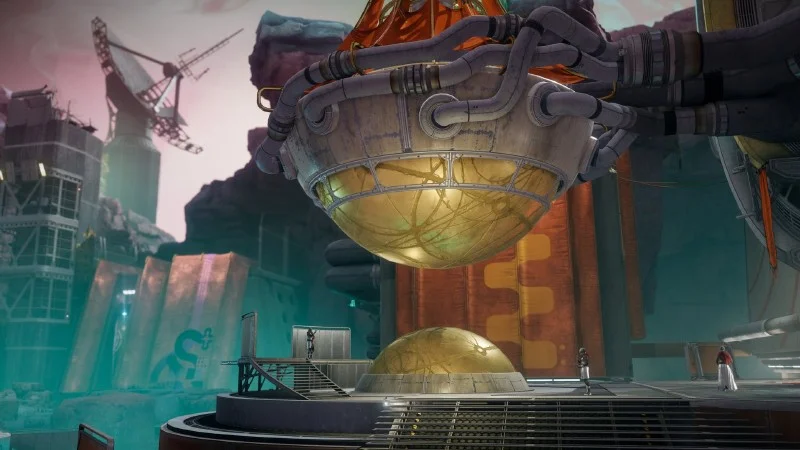
Core Kepler Mechanics
Edge of Fate introduces four main mechanics you need to master for puzzles and combat encounters.
Matterspark Mechanic
- Look for dark matter fungus covering tunnel entrances
- Matterspark can damage enemies, so you don't need to exit the form for every fight
- Boss fights often use Matterspark charging mechanics
Rosetta Translation System
Purpose: Lets you read Kepler's alien language for quest progression and unlocking areas.
How It Works
Interactive screens with alien text often require clearing enemies or destroying blinking yellow objects first. Fallen objects with yellow lights might block access to Rosetta terminals.
Relocator Cannon Mechanics
- Portable weapon that fires teleportation beams
- Aim at circular target objects
- Stand on ground-based teleportation pads to travel to your target
- Tier Two upgrade allows bouncing between multiple objects
- Yellow glowing objects can be shot to change beam direction
- Blue glowing objects serve as final destinations
- Complex puzzles need multiple bounces and precise aiming
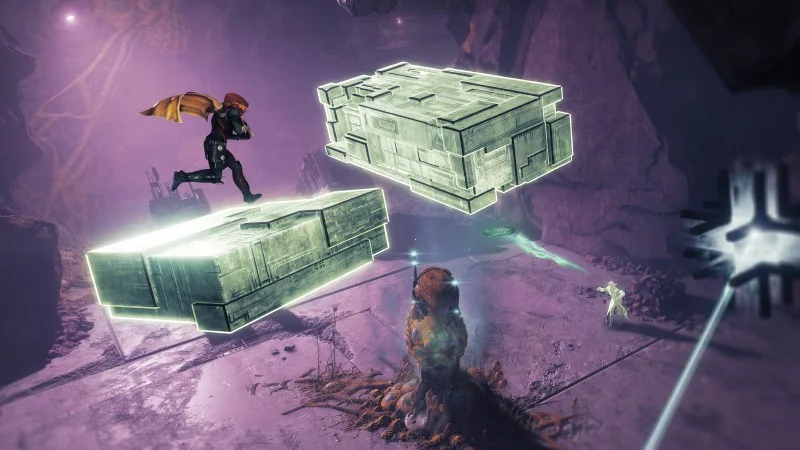
Mattermorph System
How It Works: Temporarily replaces your melee ability. Can suspend enemies when used offensively. Main use involves hitting glowing environmental objects. Creates bridges, pathways, and structural changes.
Mission-Specific Puzzle Solutions
Exile's Accord Strangelet Quest
Conductive Charge Section
Kill enemies to collect Arc conductive charges. Stand right next to designated objects while holding charges.
Find and shoot rotating barrier objects to lower blocking barriers. Use Matterspark to access the central area.
Collect more conductive charges and power secondary objects to complete the section.
Relocator Cannon Introduction
// Step-by-step process:
1. Grab the Relocator Cannon from its pickup point
2. Aim through the window opening at the circular target object
3. Stand on the floor teleportation pad to transport to your target
Shield Puzzle Near Quest End
- Shoot the Relocator Cannon at the target location
- The Matterspark object powers down protective shields
- Interact with laser controls to disable barrier systems
- Return to the Matterspark transformation point
- Power up required objects and continue forward
Transient Mission Guide
- Get the Relocator Cannon from its spawn location
- Shoot through the designated hole opening
- Transform into Matterspark
- Navigate to both sides of the area
- Activate chargeable fallen objects on each side
- Use one mechanic to unlock access to the next
Saturnism Mission Walkthrough
Initial Navigation: After entering the train area, go upward through the single ascending path. This route leads to Matterspark transformation and Relocator Cannon access.
- Place the Relocator Cannon in the upgrade station
- Charge the device to unlock bouncing capabilities
- Shoot yellow glowing objects to adjust beam direction
- Align the beam path with blue glowing destination objects
- The beam follows your adjusted path after hitting yellow directional objects
Three-Room Challenge
This section needs you to access three separate rooms, eliminate giant shanks, and collect graviton cluster charges.
Room Access Strategy
| Room | Access Method | Challenge Level | Key Notes |
|---|---|---|---|
| Room One | Drop underneath main platform | Easy | Navigate forward and return upward |
| Room Two | Left side after room one | Medium | Use newly opened passage |
| Room Three | Complex Relocator sequence | Hard | Avoid laser damage to teammates |
- Navigate to the back area and grab the Relocator Cannon
- Adjust the yellow directional object to face upward
- Fire the Relocator Cannon to bounce the beam near laser barriers
- Enter carefully - avoid laser damage to teammates
- Go downward to collect the final cluster charge
Gouge Mission Strategy
Pipe Navigation Puzzle
- Grab the Relocator Cannon from its spawn location
- Enter the large pipe system
- Shoot through the grating to hit the teleportation target
- Return to the starting position
- Transform into Matterspark
- Navigate around the pipe system to continue the mission
Servitor Immunity Challenge
- Guide Servitors into red-glowing containment rooms
- Servitors lose immunity when they enter these areas
- Kill the Servitors once their shields are down
Central Academy Strangelet Quest
Multi-Bounce Relocator Puzzle
Kill the Servitor to begin the puzzle sequence. Align multiple rotating objects for a complex beam path.
Execute multiple bounces to reach the target location. Your first attempt might activate the wrong teleportation pad.
Shoot through laser barriers to activate the correct pad. Use teleportation to reach a new vantage point. Execute a second complex bounce sequence from your new position.
Fallow Mission Boss Strategy
- Damage the boss until its immunity shield activates
- Destroy surrounding Vex objects to proceed
- Enter the ground-level Matterspark access point (easy to miss)
- Navigate underground Matterspark passages
- Exit when the lattice ceiling structure ends
- Destroy environmental objects to continue the boss fight
Commencement Mission Puzzle Solutions
Laser Navigation Sequence: The opening puzzle needs precise movement through laser barriers. Time your movements carefully and follow specific pathways to avoid damage.
Vex Object Charging: Later sections require charging Vex objects using Matterspark, similar to fallen object mechanics you've seen earlier in the campaign.
Morphology Mission - Mattermorph Introduction
This mission introduces the final Kepler mechanic through interaction with dark matter masses.
- The Mattermorph melee can suspend enemies, giving you both puzzle-solving and combat applications
- Hit glowing environmental objects to trigger changes
- Create bridges and new pathways
- Form temporary platforms for navigation
Charge Mission - Integrated Mechanics
This mission combines all four Kepler mechanics in complex sequences.
- Use Matterspark to access the small entrance hole
- Navigate to the opposite side of the room
- Access the elevated room area
- Find the first Matterspark passage (clearly visible)
- Navigate the passage to reach the chargeable object
- Jump onto stacked boxes for elevation
- Access the hidden Matterspark passage
- Complete passage navigation to progress the mission
- Hit the Mattermorph target with the Relocator Cannon
- Maintain the Mattermorph effect for bridge creation
- Navigate the created bridge within the time limit
- Access the Relocator Cannon charge point
- Solo players must execute this timing sequence quickly
Final Boss Mechanics
- Collect Arc charges from eliminated enemies
- Use Mattermorph to create aerial bridges
- Expose hidden planting locations for Arc charges
- Plant charges in newly accessible areas
Advanced Mission Strategies
The Gorge Strangelet Quest
Complex Navigation Sequence: After eliminating Vex forces, transform into Matterspark and navigate through specific tunnel systems. The correct tunnel path isn't immediately obvious and requires careful observation.
Charge the meter through enemy damage or collecting glowing wisp objects. Activate with your super button for an energy blast. Required for removing immunity shields from goblins.
Calculus Mission Advanced Mechanics
Planetary Piston Targets: Use Matterspark super on hammer-like objects in arena corners. Follow the Matterspark transformation trajectory to locate wisp objects for super energy charging.
- Get close to the boss
- Jump for optimal positioning
- Activate your super ability
- Retreat quickly to avoid retaliation
Quarantine Mission Puzzle Solutions
Sphere Mattermorph Puzzle: Use Mattermorph to adjust sphere positions, revealing internal targets that need shooting for progression.
Complex Relocator Sequence: Multiple Mattermorph actions required in specific order to enable proper Relocator Cannon trajectory through the area.
Criticality Mission Complex Mechanics
Boss Fight Sequence
Lower the boss shield by hitting the planetary piston hammer. Navigate to the secondary section for super charging.
Restore Matterspark and charge your super ability. Remove Vex shields to continue the encounter.
Height Navigation Puzzle
- Jump onto wall-mounted objects for elevation
- Reach the overhead pipe access point
- Use Mattermorph to create a bridge
- Cross the bridge when the glowing effect is active
Shield Removal Mechanics
Complete Shield Removal Process
Transform into Matterspark near the arena front. Use Matterspark super to remove goblin immunity. Kill the goblins to lower other immunity shields. Destroy fallen objects once they're accessible. Boss immunity drops after all objects are destroyed.
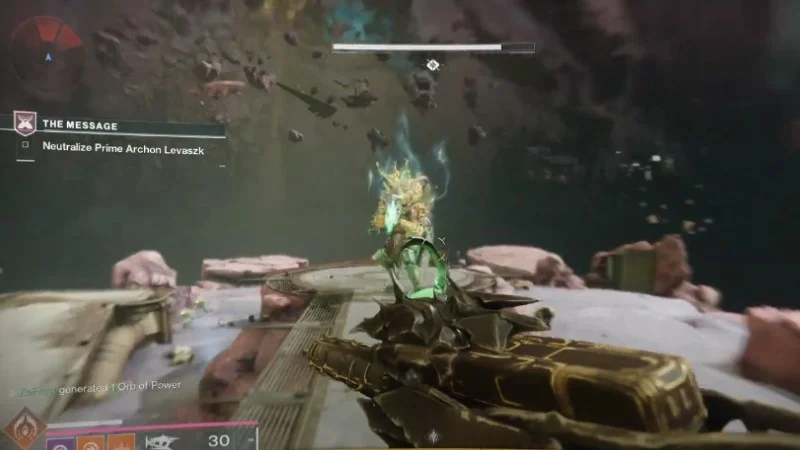
The Message Mission - Advanced Puzzle Complex
Underground Access Route
- Transform into Matterspark at the Relocator Cannon location
- Navigate underneath the main area
- Access the tunnel leading to the central room
- Find and shoot the Vex object in the back corner of the room
- Shooting creates a platform for safe teleportation landing
Complex Platform Sequence
- Return to the Relocator Cannon as Matterspark
- Execute the cannon shot and teleportation
- Land on the newly created platform
- Grab Mattermorph for room escape and forward progression
Laser Navigation Challenge: Execute precise jumping sequences through laser barriers while coordinating Relocator Cannon usage with Mattermorph mechanics.
Major Boss Fight Mechanics
Multi-Phase Boss Strategy
Use Mattermorph to create bridges accessing arena sides. Grab the Relocator Cannon and execute a complex bouncing sequence.
Access the relocator portal after successful bouncing. Collect the cranium from the portal destination.
Navigate Mattermorph-created paths with the cranium. Use the cranium to destroy Vex squares and lower immunity. Repeat the sequence with variations for multiple damage phases.
Bridge Creation Emergency
- Use Matterspark to access an alternate area
- Activate the door-opening object
- Kill enemies emerging from the door
- Collect Mattermorph from the interior area
- Create a bridge for passage continuation
Moving Platform Section
- Transform into Matterspark in the designated area
- Fall onto the moving platform object
- Ride the platform to the opposite side
- Grab Mattermorph and exit the area
Final Arena Mechanics
Final Arena Strategy
Destroy two objects at the arena rear. Remove laser barriers blocking Matterspark access. Transform and navigate to the arena center. Charge the central object to open access. Use the man cannon to launch toward the boss. Execute your super ability directly at the boss for shield removal.
Double Jump Matterspark: The final section introduces double jump capability for Matterspark form. You'll need this for navigating spinning wheel obstacles.
Final Boss Encounter Strategy
Shield Destruction Phase
Navigate Matterspark through small passages to reach chargeable objects required for immunity shield removal.
Ultimate Boss Mechanics
Final Boss Strategy
Charge Matterspark with super energy. Execute double jump while in Matterspark form.
Position to the side of the arena for optimal angle. Use man cannons for aerial positioning.
Release Matterspark super in midair targeting Servitors. Servitor destruction removes the boss immunity shield.
Focus damage on the boss during the vulnerability window. Repeat process as needed.
Campaign Structure and Progression Tips
Non-Linear Design Elements
Unlike previous Destiny 2 campaigns, Edge of Fate lets you choose between multiple main missions at various points. This design gives you flexibility in progression but requires you to actively select your preferred path.
Side Quest Integration
After completing main missions, you're often returned to Kepler with options to pursue side content or continue the main story. Focus on main story missions for legendary completion, though side quests can give you additional practice with mechanics.
Enemy Updates and Challenges
Puzzle Complexity Philosophy
The campaign puts way more focus on puzzle-solving than previous content. Expect:
- Complex multi-step solutions requiring multiple mechanics
- Trial and error approaches for first-time completion
- Environmental clues that can be subtle or easy to miss
- Integration of combat and puzzle elements in single encounters
Advanced Strategy Considerations
Solo vs Team Play
- Precise timing control for puzzles
- No coordination requirements
- Faster execution of sequences
- Personal pacing for story
- Coordination of timed sequences
- Shared responsibility for puzzles
- Revival assistance in hazardous areas
- Simultaneous execution capability
Many puzzle sequences can be completed solo but need precise timing and quick execution. Team play allows for coordination of timed sequences, shared responsibility for complex multi-step puzzles, revival assistance in hazardous areas, and simultaneous execution of multiple puzzle elements.
Mechanic Mastery Progression
Mechanic Learning Curve
Focus on mastering mechanics in order of introduction: Matterspark navigation and charging, basic Relocator Cannon usage, Rosetta translation for quest progression, advanced Relocator bouncing sequences, Mattermorph environmental manipulation, integration of multiple mechanics simultaneously, and Matterspark super timing and application.
Resource Management
- Ability cooldown management for sustained encounters
- Super energy conservation for Matterspark applications
- Positioning awareness for mechanic transitions
- Timing coordination for multi-step sequences
Conclusion
The Edge of Fate legendary campaign represents a major shift from traditional Destiny 2 campaign design. It puts puzzle-solving and mechanic mastery alongside combat effectiveness. Success requires understanding four core mechanics, solid build choices, and patience for complex puzzle sequences.
The campaign's non-linear structure and heavy focus on environmental puzzles will appeal to players who enjoy intellectual challenges alongside combat encounters. But if you're looking for straightforward action-focused content, you might find the puzzle requirements frustrating.
Completing legendary difficulty unlocks exclusive Exotic armor pieces and gives you a real sense of accomplishment through overcoming genuinely challenging content that requires both skill and problem-solving ability.