
What You Need to Get Started
The Desert Perpetual raid dropped alongside the Edge of Fate expansion on July 15, 2025. This Vex and Nine-themed raid picks up right where the Edge of Fate campaign leaves off, bringing some wild new mechanics that shake up the usual raid formula.
- Finish the Edge of Fate campaign first
- Hit Power Level 140 for Contest mode
- Own the Edge of Fate DLC
Here's what makes this raid different: For the first time ever in Destiny 2, you can tackle the first three encounters in whatever order you want. No more being locked into a specific path. Clear all three, and you'll unlock the final boss fight.
Everything You Can Get
The Desert Perpetual doesn't mess around with rewards. You're looking at:
- 6 legendary weapons with fresh perks
- 1 exotic rocket launcher (Whirling Ovation)
- Full armor sets for all classes (Collective Psyche)
- Exclusive emblems and cosmetics
- New shaders and a Ghost shell
- Atemporal Raid Title/Seal
Where Each Item Drops
| Encounter | Boss | Weapons Available | Armor Piece |
|---|---|---|---|
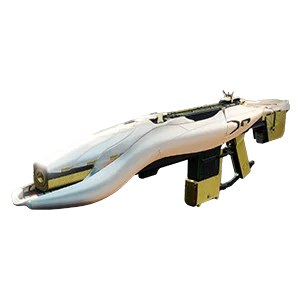
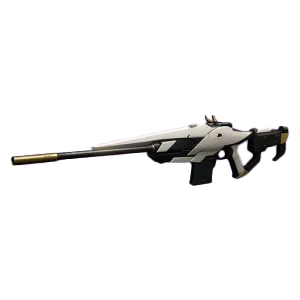
| First Encounter | Agraios, Inherent | Antedate (Arc SMG), Lance Ephemeral (Strand Sniper), Intercalary (Stasis Auto Rifle) | Collective Psyche Chest |
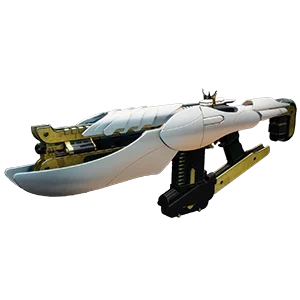
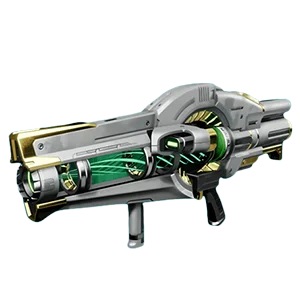
| Second Encounter | Iatros, Inward-Turned | Finite Maybe (Solar Fusion Rifle), The When And Where (Stasis Rocket Launcher) | Collective Psyche Class Items |
| Third Encounter | Epoptes, Lord of Quanta | Opaque Hourglass (Arc Combat Bow) | Collective Psyche Legs |
| Final Boss | Koregos, The Worldline | Whirling Ovation (Strand Exotic Rocket Launcher) | Collective Psyche Helmet, Legs |
Breaking Down Every Weapon
Primary Weapons

Column 3: Strategist, Auto-Loading Holster
Column 4: Target Lock, To The Pain
Column 3: Rewind Rounds, Auto-Loading Holster
Column 4: Master of Arms, Binary Orbit
Special Weapons
Column 3: Hatchling, Envious Arsenal, Snapshot Sights
Column 4: Bait and Switch, Redirection, Killing Tally, Elemental Honing
Column 3: Lead From Gold, Ambitious Assassin
Column 4: Bait and Switch, Burning Ambition
Heavy Weapons

Column 3: Wellspring, Dragonfly
Column 4: Master of Arms

Column 3: Chill Clip, Demolitionist
Column 4: Reaper's Tithe, Elemental Honing
Coronal Culmination: Hold to charge, release to fire. Charged shots have a delayed Solar payload.
Anticipation: Charge speed increases over time. Builds faster when you deal damage with other weapons.
Collective Psyche Armor Set
Every class gets the Collective Psyche set, and it comes with actual set bonuses that matter:
Final boss encounter
First encounter
Third encounter and final boss
Second encounter
Cosmetics and Collectibles
Emblems
Complete the raid during Contest Mode
- Only available for the first 48 hours
Complete the raid on any difficulty
- Available forever
Shaders
- Envoy's Tog: Complete the Map and Territory quest
- Mediant Flourish: Get a flawless raid completion
Ghost Shell
Soloist Shell: Complete all encounters with feats active
Raid Title/Seal
Atemporal: The raid's exclusive title tied to various completions and challenges - one of the most prestigious achievements you can earn
Contest Mode Details
Contest Mode runs for 48 hours from launch with increased difficulty and power caps. Some items get disabled to keep things fair:
Disabled Items
Disabled Weapons
Disabled Armor
The first team to clear Contest Mode gets raid belts. Once someone gets World First, Normal difficulty goes live, but you still have the full 48 hours to attempt Contest if you want that exclusive emblem.
How to Farm Efficiently
- You can farm legendary weapons and armor as much as you want
- Run encounters repeatedly until you get the rolls you're after
- Use the flexible encounter order to your advantage
- Three shots at Whirling Ovation per week across characters
- Whirling Ovation is locked to once per character per week
- Only drops from the final boss
- Set bonuses disabled during Contest Mode
- Some encounters harder than others for farming
Smart farming approach:
- Run the full raid weekly on each character for exotic chances
- Farm specific encounters for the weapons you want
- Focus on encounters that drop your missing armor pieces
- Use the flexible encounter order to your advantage
Making the Most of Your Runs
Since you can choose your encounter order, think about what your team excels at. Start with your strongest encounters if you want to build momentum, or save easier ones for later when fatigue sets in.
The Collective Psyche set bonuses work great with Strand builds and weapon-swapping strategies. Once you get enough pieces, plan your loadout around those bonuses.
Time your weekly clears around reset to maximize exotic drops across multiple characters. Three shots at Whirling Ovation per week is better than one.
The Frame of Reference origin trait makes every weapon in this raid worth considering. That damage, reload, and range boost can make even "lesser" weapons feel great in the right builds.
Bottom Line
The Desert Perpetual brings some of the best loot Destiny 2 has seen in a while. The flexible encounter structure, powerful weapons with unique perks, and meaningful set bonuses make this essential content for anyone serious about their Guardian's loadout.
The combination of farmable legendaries and weekly exotic chances means you'll be coming back to this raid for months. Whether you're chasing that perfect Bait and Switch roll or still need Whirling Ovation, The Desert Perpetual has something worth your time.