
Core Mechanics Overview
Battlefield 6 sticks to what the series does best: objective-focused warfare where kills alone won't win matches. You need to capture and hold more objectives than the enemy team, whether you're running infantry, driving tanks, or flying helicopters.
Squad Deathmatch breaks this rule, but it's only available during the beta's second weekend. Every other mode rewards teamwork and smart objective play over fragging out. You can drop 50 kills, but if your team ignores the flags, you'll still lose.
Training Before the Real Thing
The lobbies fill up fast since they don't need many real players. Regular beta matches sometimes glitch out and never fill properly, leaving you waiting forever. Breakthrough Initiation just works.
You'll still earn full XP for your character and weapons, so you're not wasting time. The bots make fights way less sweaty, giving you breathing room to figure out the maps and mechanics. Map knowledge matters more than aim in Battlefield, and you can't learn layouts when you're dying every 30 seconds.
Even experienced players should try a few bot matches. The beta's maps are new for everyone, and getting lost will get you killed in competitive lobbies.
Master the Firing Range
The firing range loads instantly from the main menu with zero loading screens. But the real magic happens when you access it directly from weapon customization.
Say you just unlocked a new grip or scope for your rifle. Instead of guessing how it feels, hit the firing range button right from the attachment menu. Test it out, then jump back to customization with one button press. Repeat until you find the perfect setup.
This beats learning on the battlefield where enemies won't wait for you to figure out your recoil pattern. Get your weapons dialed in here first.
Movement That Actually Matters
For emergency escapes, time a jump or crouch press right before hitting the ground after a fall. You'll roll and take less damage, but the animation leaves you vulnerable. Only use it when escaping collapsing buildings or similar emergencies.
If you're jumping from extreme heights (cliffs, helicopters), spam the jump button mid-air to deploy your parachute. You only get one per life, so don't waste it on multiple cliff dives.
Combat Systems That Change Everything
Actually Use Weapon Mounting
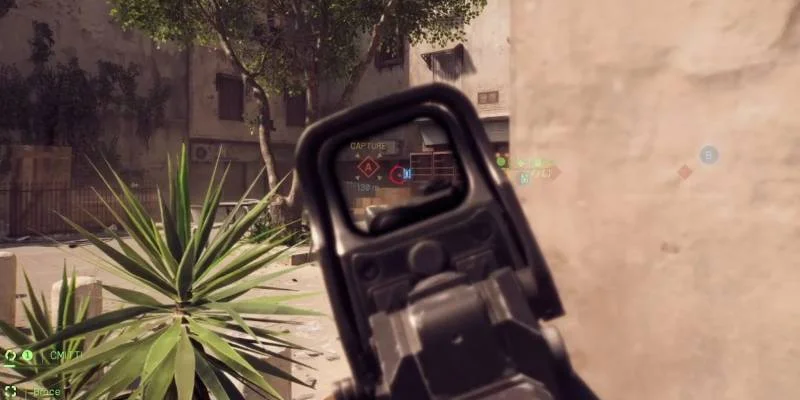
Most beta players run and gun constantly, completely ignoring weapon mounting. Don't make this mistake. When you're near a wall or cover, aim and press the mount button (varies by platform). Your weapon becomes laser-accurate.
Mounting works especially well on defense. Find good cover, mount up, and wait for attackers. Mounted weapons have almost no recoil, turning average players into precision shooters.
Bipods Make Open Maps Playable
Weapons with bipod attachments can mount to the ground anywhere. Lie prone, hit the mount button, and suddenly you have a stable firing position even on wide-open terrain. This makes sniping dramatically easier and helps with long-range machine gun work.
Fire Modes Change Everything
Check the bottom-right corner of your screen for fire mode options. Most weapons offer full-auto, semi-auto, and sometimes three-round burst. This isn't just for ammo conservation.
Try the AK-205 in burst mode while mounted. You'll turn a close-range weapon into a medium-range laser. Combining mounting with burst fire transforms how weapons perform at different ranges.
Long-Range Combat Done Right
For shots beyond 200 meters with DMRs or sniper rifles, use the ping system to get exact distances. Double-tap the ping button while looking at distant enemies. The game tells you exactly how far they are.
Long-range weapons replace their fire mode indicator with zeroing controls. Use the D-pad to match your zeroing distance to your ping distance. If an enemy is 300 meters away, set zeroing to 300 meters. Battlefield veterans know this system, but many players never learn it.
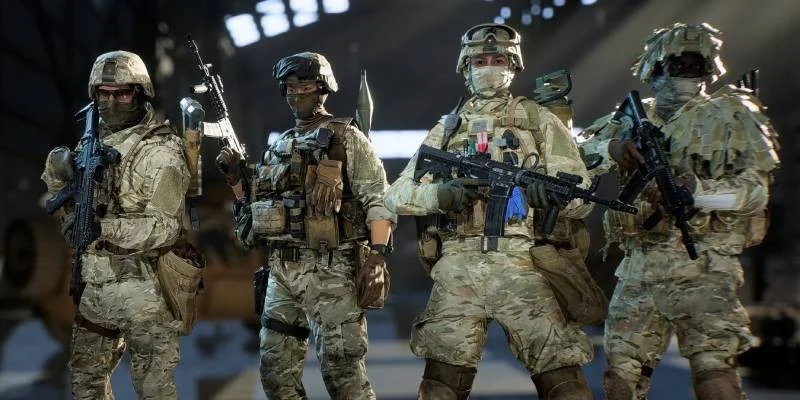
Class Breakdown for the Beta
Match Types Make a Difference
The beta offers two styles: Class-Locked matches restrict weapons to specific classes (classic Battlefield), while Combined Arms lets any class use any weapon. Shotguns, carbines, and DMRs work for everyone regardless of match type.
Try both styles to see what you prefer. The community remains split on this design choice.
What You Do: Eliminate infantry with superior weapons and mobility
Key Gear: Assault rifles, Adrenaline Injector, dual primary weapons
Special Abilities: Faster assault rifle handling, temporary speed boost, reduced explosive damage, enhanced footstep audio
The Adrenaline Injector temporarily makes you faster and tougher while improving enemy audio. You can carry two primary weapons and various grenade launchers. Your main weakness is ammo consumption, so stay near Supply players.
What You Do: Keep friendly vehicles alive, destroy enemy armor
Key Gear: SMGs, repair tools, rocket launchers, motion sensor mines
Special Abilities: Improved hip-fire accuracy, vehicle repair, anti-armor capabilities
Engineers excel in close quarters with enhanced SMG hip-fire, but their real value comes from vehicle support. Your repair tool keeps friendly armor operational while rocket launchers deal with enemy vehicles. The new motion sensor mines can destroy vehicles automatically.
What You Do: Keep teammates alive, supplied, and protected
Key Gear: Light machine guns, defibrillators, supply bags, deployable cover
Special Abilities: No movement penalty with LMGs, quick revives with dragging, universal healing/ammo supply
Support players are the medics of BF6. You revive anyone quickly, provide health and ammo through supply bags that regenerate fast, and deploy cover for defensive positions. Your LMGs don't slow you down like in other shooters.
What You Do: Long-range elimination and battlefield intelligence
Key Gear: Sniper rifles, motion sensors, C4, spawn beacons
Special Abilities: Auto-spotting enemies, breath control for accuracy, tactical gadget deployment
Recon players automatically spot enemies they see, helping the whole team. Motion sensors reveal enemy positions, spawn beacons let teammates teleport to your location, and C4 handles both vehicles and objectives. Use gadgets tactically to control entire areas.
Team Coordination in the Beta
Squad Mechanics Actually Matter
Teams split into 4-person squads, and squad actions give bonus XP. Reviving, resupplying, or repairing squad members awards extra points compared to helping random teammates.
Squad leaders set objective markers visible to the whole squad, making coordination possible without voice chat. You can spawn on any squad member who isn't currently fighting, which is crucial for holding contested objectives.
When "Last Squad Member Alive" appears, play defensively. Your survival determines whether teammates can spawn back into good positions or have to run across the map.
Revive System Basics
Support players revive fastest using defibrillators. All squad members can revive each other regardless of class, but it's slower. The game adds a dragging feature during any revive, letting you pull teammates behind cover before finishing the process.
Always drag before reviving. Too many beta players stand in the open trying to revive, getting both players killed. Pull them to safety first.
Supply and Health Made Easy
Support players carry supply bags that regenerate quickly in their inventory. Drop them frequently when you see teammates who need supplies. You can only have one active bag at a time, but they come back fast enough that you shouldn't be conservative.
The beta simplifies health requests. Walk up to any Support player and grab health directly from their gear without asking. No more spamming voice commands and hoping they notice.
Communication Without Mics
Spotting enemies marks them for your entire team. Press the spot button (varies by platform) to tag enemies you see. Spotted targets appear on everyone's minimap in real-time and show red markers when visible.
Spot vehicles especially. This intel helps teammates avoid threats or coordinate attacks. Check your minimap constantly since it shows all spotted enemies and friendly positions.
When you're down waiting for a revive, keep spotting visible enemies. This warns approaching medics about threats and helps them plan safer rescue routes.
Vehicle Operations in Beta
Tank Survival Guide
Vehicle resupply stations refill ammo and repair damage. Learn their locations during each match and always know your nearest fallback position. Aggressive tank play works in some games, but Battlefield rewards patience.
Peek around corners, take careful shots, and preserve ammunition. When supplies run low or damage mounts up, retreat to resupply stations instead of fighting until you explode. Communicate ammo status with gunners so they know when the tank becomes ineffective.
Many beta players treat tanks like Call of Duty killstreaks, rushing in for quick kills before dying. Smart tank crews control areas for entire matches through positioning and resource management.
Surviving Beta Combat
Use Your Downed State
When enemies drop you, the Request Revive button slows your bleedout timer, giving teammates more time to reach you. Settings let you choose between holding the button or pressing once.
Stay useful while down by spotting nearby enemies. Your intelligence helps medics approach safely and clear threats before attempting rescue. Immediately ping whoever killed you and any other visible enemies.
Supply Strategy
Support players shouldn't hoard supply bags since they regenerate so quickly. Deploy them whenever teammates need supplies or during extended firefights. The fast regeneration means you can be generous with placement.
Environmental Destruction in Beta
The beta continues Battlefield's destruction tradition. Most buildings and fences collapse under vehicle fire and explosives. Multi-story buildings now let you destroy floors and ceilings between levels. Military structures like bunkers require more firepower but still break eventually.
Use RPGs and other explosives to eliminate enemy cover, but think ahead. You might need that same cover when your team takes the objective back. Plan destruction with team success in mind, not just immediate tactical advantage.
Destroying entire building walls can eliminate multiple enemy positions simultaneously, but balance this against your future defensive needs.
Advanced Beta Tips
- Minimap shows everything - check it constantly
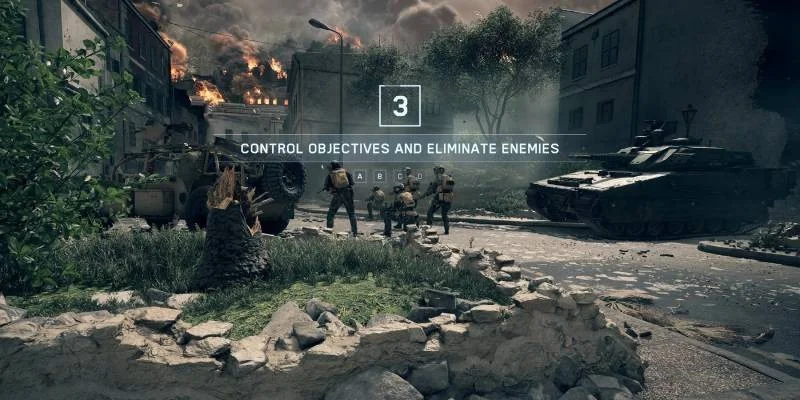
- Objectives win matches, not kills
- Server stability varies - use Breakthrough Initiation as backup
- Experiment with all classes during beta
- Ignoring weapon mounting system
- Playing solo instead of with squad
- Rushing with tanks instead of positioning
- Focusing on K/D over objectives
Minimap Is Everything
Your minimap shows spotted enemies, friendly positions, and objective status in real-time. Check it constantly for situational awareness. Many beta deaths happen because players tunnel vision on their crosshairs while enemies flank through obvious routes shown on the minimap.
Objectives Win Matches
This sounds obvious, but beta matches consistently show teams losing despite superior K/D ratios. Kills don't capture flags. Focus on objective play and team support over individual statistics.
Beta-Specific Advice
Server stability varies during beta periods. If regular matches won't start, try Breakthrough Initiation. Some features might change before full release, but core mechanics like mounting, spotting, and class abilities should carry over.
Use the beta to experiment with different classes and playstyles. Find what works for your preferences now so you're ready for launch. The firing range lets you test every weapon combination quickly.
Most importantly, remember this is a beta. Some balance issues and bugs are expected. Focus on learning maps, mechanics, and finding your preferred loadouts rather than getting frustrated with temporary problems.