TBC Classic Feral Druid DPS Rotation, Cooldowns, and Abilities
On this page, you will learn how to optimize the rotation of your Feral Druid DPS in both single-target and multiple-target PvE situations in TBC Classic. We also have advanced sections about cooldowns, procs, etc. in order to minmax your DPS.

Feral DPS Druid Rotation in TBC Classic
Feral Druid does not have any area of effect attacks, thus the rotation is equal for both single target and area of effect scenarios.
- Use Rip at 4+ Combo Points against enemies that will live through its full duration;
- Use Ferocious Bite at 4+ Combo Points if enemy will die before Rip can run its full duration;
- Make sure to keep Mangle (Cat)'s debuff on your target at all times;
- Use Shred to build Combo Points;
- Powershift into Cat Form to recover Energy when low.
Feral Druid Powershifting in TBC Classic
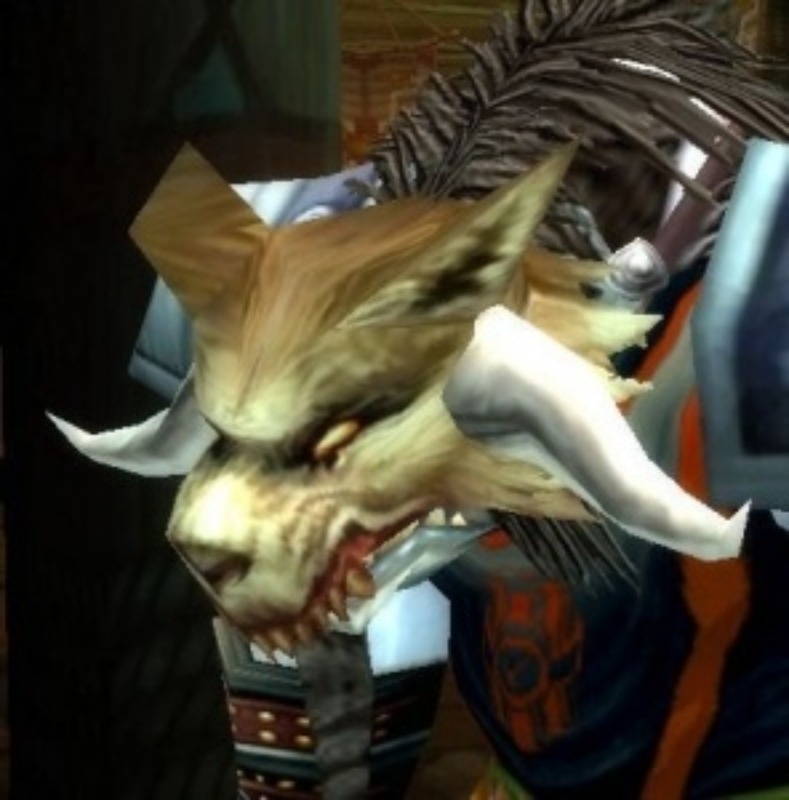
Powershifting is the act of using Furor and Wolfshead Helm to gain a lot of Energy each time you shapeshift into cat form. Because you can shapeshift from cat into cat for the cost of Mana, you can continually repeat this when at 0 Energy to gain free Energy, allowing you to use your abilities continuously!
Ideally you should powershift at the lowest energy possible, typically immediately after using Shred or another DPS ability, in order to maximize your energy gain. Being consistent with your powershifting, and having ways to refill your Mana so that you can do it through the whole fight is the hardest part of the rotation, and a huge part of your total DPS.
Powershifting is essential to maximizing your DPS as a Feral Druid. Practice the timing to shift immediately after spending energy on abilities.

Tiger's Fury
Tiger's Fury is normally not worth using and you should never use it rotationally. However, if you are already at 100 Energy and about to tick for more Energy, you should use it. This will only ever happen on pull as you are running towards the boss, or if you have to move off the boss due to some sort of fight mechanic, such as being feared.
Do not use Tiger's Fury as part of your regular rotation. Only use it when you're already at maximum Energy to avoid wasting Energy ticks.
Ferocious Bite
The majority of your Ferocious Bite damage is from the initial 35 Energy used to cast it. However, it will also convert all of your remaining Energy into damage, adding it to the damage of the spell. This conversion is incredibly inefficient and should be avoided. In other words, you always try to cast Ferocious Bite at as close to 35 Energy as possible.
If your Energy is at 60 or more, it is worth waiting for another tick to cast Shred once more before using Ferocious Bite, even if you are already at 5 combo points. Additionally, you should never use Ferocious Bite if you have a Omen of Clarity proc active. Instead, use shred to consume the proc, shred again if your Energy is too high, and then use Ferocious Bite.
Ferocious Bite Energy Management
| Energy Level | Action |
|---|---|
| 35-59 Energy | Cast Ferocious Bite immediately |
| 60+ Energy | Use Shred first, then Ferocious Bite |
| Omen of Clarity Active | Use Shred to consume proc before Ferocious Bite |

Key Abilities Overview
| Ability | Description |
|---|---|
| Shred | Your primary combo point builder. Use this ability from behind the target to build combo points efficiently. Always prioritize Shred over other combo point generators when possible. |
| Mangle (Cat) | Applies a debuff that increases bleed damage taken by the target. Keep this debuff active at all times for maximum Rip damage. |
| Rip | Your primary finisher for long-duration fights. Use at 4+ combo points when the target will survive the full duration. |
| Ferocious Bite | Execute finisher that consumes extra energy for bonus damage. Use when Rip won't run its full duration or for burst damage. |
| Tiger's Fury | Increases damage but costs Energy. Only use at 100 Energy when you would otherwise waste Energy ticks. |
| Cat Form | Your primary form for DPS. Powershifting in and out of Cat Form is essential for Energy regeneration. |
Cooldown Management
As a Feral Druid DPS, your cooldown management revolves around maintaining your buffs and debuffs while maximizing energy efficiency through powershifting.
Omen of Clarity
Omen of Clarity is a passive proc that makes your next ability cost no Energy. When this procs, you should always use Shred to consume it, as Shred has the highest Energy cost and will benefit most from the free cast. Never waste an Omen of Clarity proc on Ferocious Bite.
Mana Management for Powershifting
Since powershifting consumes Mana, you need to have ways to sustain your Mana pool throughout longer fights. Consider using:
- Mana potions during the fight
- Dark Runes or Demonic Runes for emergency Mana
- Innervate on yourself if no healer needs it
- Proper consumables before the fight
Running out of Mana means you cannot powershift, which will severely impact your DPS. Always plan your Mana usage for the expected fight duration.

Rotation Priority Summary
Priority List
- Keep Mangle (Cat) debuff active on target
- Maintain Rip on target (4+ combo points)
- Use Shred to build combo points
- Use Ferocious Bite at 4+ combo points when Rip is active and target will die soon
- Powershift at low Energy to regenerate
- Use Tiger's Fury only at 100 Energy before pull or during forced movement
Common Mistakes to Avoid
| Mistake | Why It's Bad |
|---|---|
| Using Ferocious Bite at high Energy | The extra Energy conversion is inefficient. Always try to be at 35 Energy when using Ferocious Bite. |
| Letting Mangle debuff fall off | Reduces your Rip and Shred damage significantly. Keep the debuff active at all times. |
| Not powershifting consistently | You lose a massive amount of potential Energy and thus DPS by not powershifting properly. |
| Using Tiger's Fury rotationally | Tiger's Fury costs Energy to use. Only use it at 100 Energy when you would waste Energy otherwise. |
| Running out of Mana | Without Mana, you cannot powershift, which drastically reduces your sustained DPS. |
| Wasting Omen of Clarity on Ferocious Bite | Always use Shred to consume the proc as it has a higher Energy cost. |


