Are you ready to face the challenge of the Pit of Heresy dungeon? If you're a seasoned Destiny 2 player, you've probably already checked it off your to-do list, but if not, don't miss out on the chance to snag some sweet armor and gear rewards in the Shadowkeep update.
While Europa may have lost its luster for some players in the Beyond Light expansion, the Pit of Heresy is still a challenging and exciting activity that's worth exploring. Plus, who doesn't love a good dungeon crawl? So gear up, grab your fire team, and get ready to conquer the Pit of Heresy like a boss.
Where to find Ethereal Charms?
Ah, the Moon - a classic location for any Destiny 2 player. If you find yourself wandering around Luna, don't forget to pay a visit to the queen of spooky quests herself, Eris Morn. Not only will she hook you up with some essence quests and Nightmare Hunts, but she's also got the hookup for the Pit of Heresy dungeon.
The Deepening Wake questline is the key to unlocking this dungeon, so make sure you've got that in your quest log before you start planning your next dungeon run. And who knows, you might even get to hear some of Eris's spooky stories while you're there - just don't get too scared and forget to revive your teammates.
The Deeping Wake
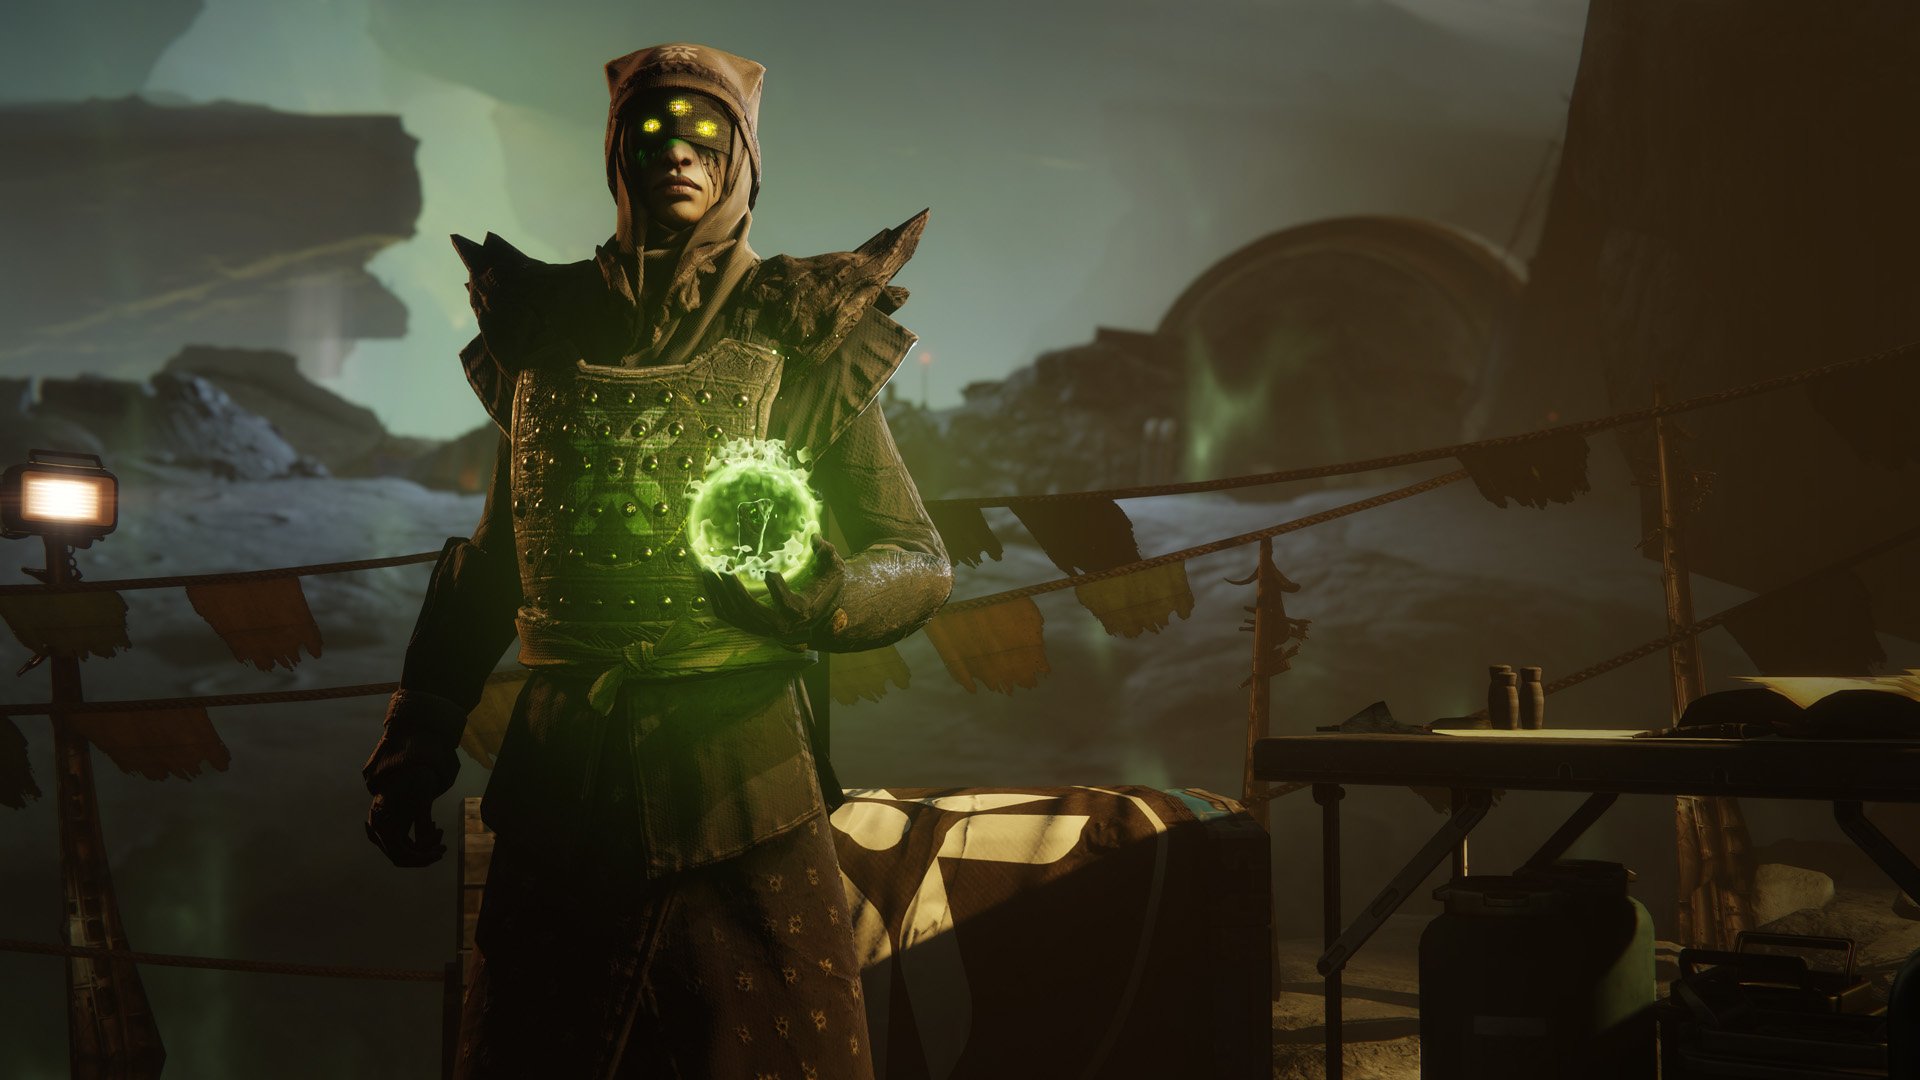
So, you've spoken with Eris Morn and now you're ready to tackle the Pit of Heresy. It's not as easy as just flipping a switch though - you've got a couple of objectives to complete first.
First up, you'll need to open a tier III chest at the Altars of Sorrow. No big deal, right? Just fight your way through a horde of Nightmares and grab that loot. And while you're there, might as well knock out the second objective of killing 20 Nightmares - easy peasy.
But don't worry if you're not a one-person army, because the Altars of Sorrow can accommodate plenty of players. So grab your fire team, or just tag along with some randos, and get ready to unleash some serious destruction on those Nightmares.
Once you've finished these tasks, the Pit of Heresy will be unlocked and ready for your exploration. So get your gear together, and brace yourself for the challenge ahead. The Pit of Heresy is waiting for you!
The Pit of Heresy
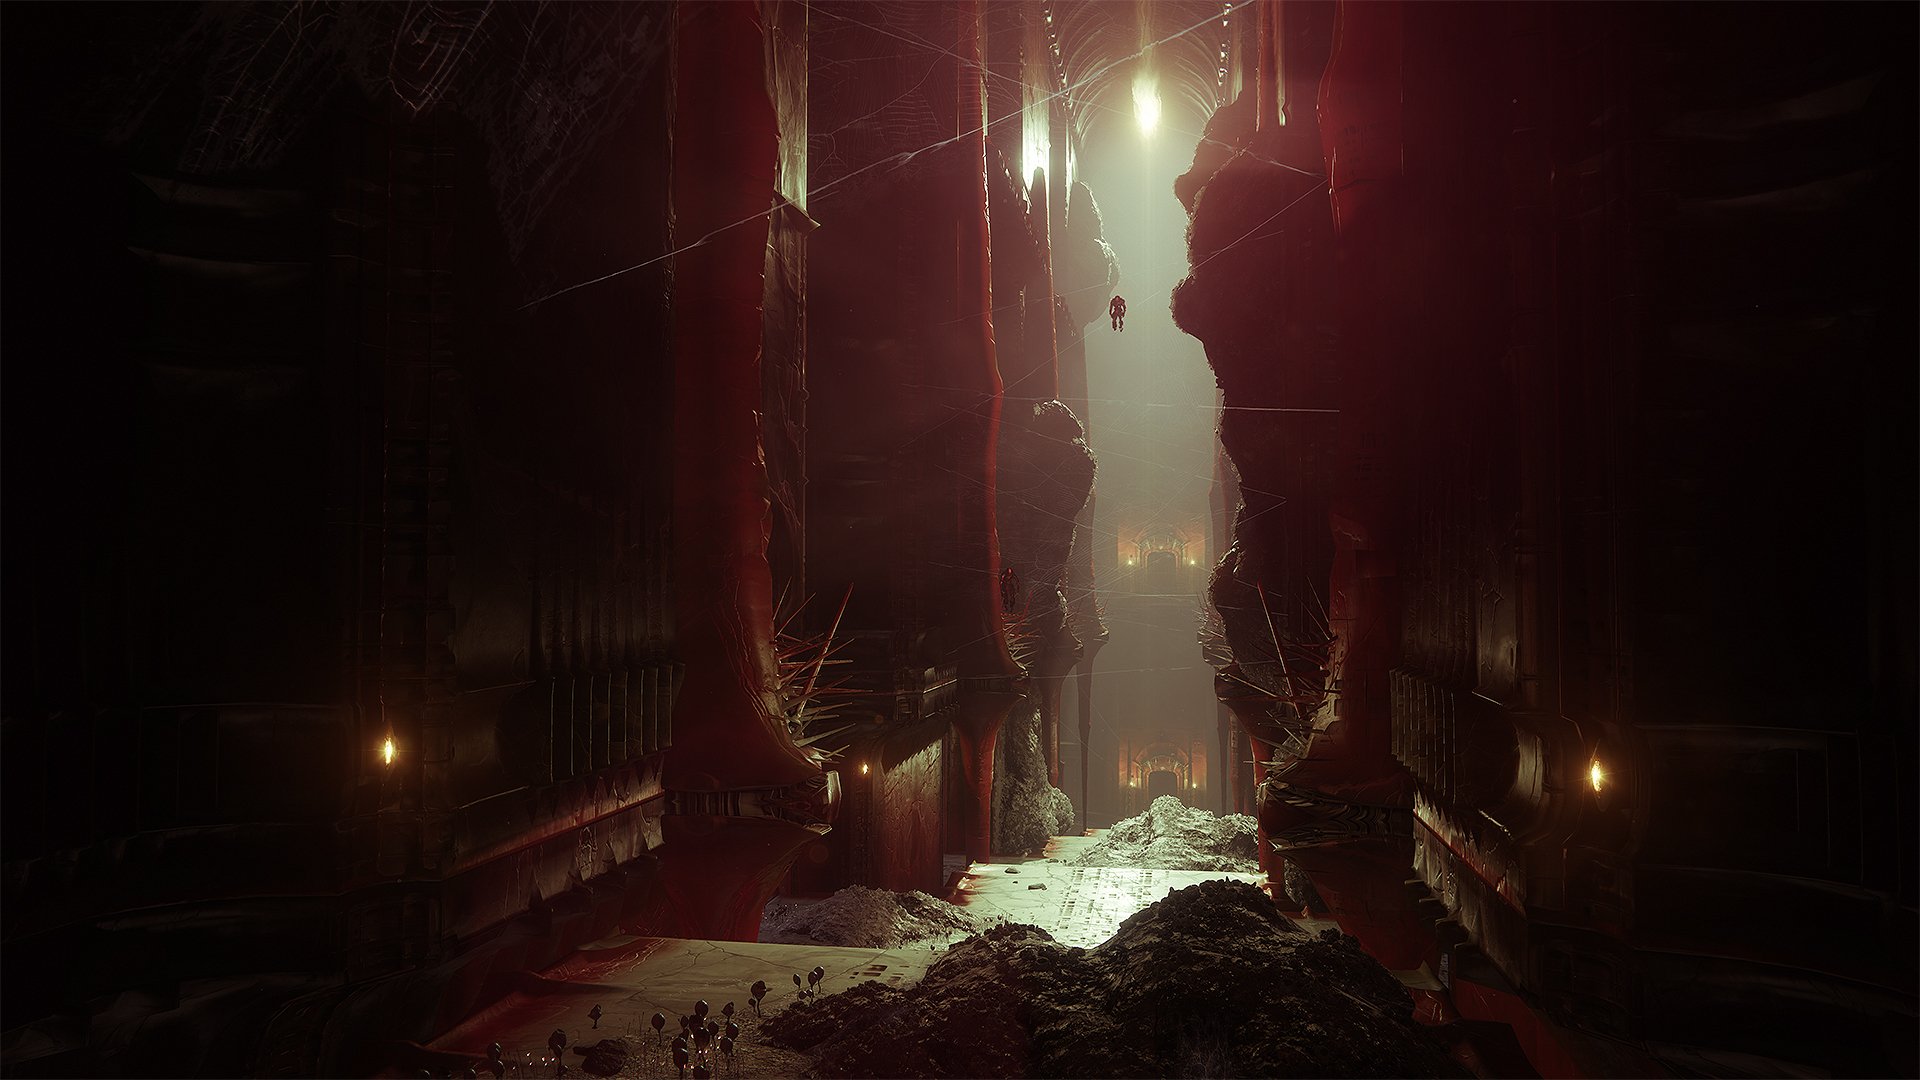
Ah, the Pit of Heresy - the name alone gives you chills. But before you jump headfirst into the depths of the dungeon, make sure you've got your power level up to snuff. Trust us, you don't want to be the weak link in your fire team when you're facing off against hordes of enemies.
Speaking of fire teams, it's definitely a good idea to bring along some buddies. After all, three heads are better than one, right? And when you're dealing with the Pit of Heresy, you're gonna need all the help you can get.
Once you're all geared up and ready to go, it's time to make the plunge - literally. You'll be falling down into the pit one cliff at a time, so make sure to use your jump ability wisely. You don't want to go splat on the rocky floor below.
So, are you ready to brave the Pit of Heresy? It's a dark and dangerous place, but with the right fire team and some quick reflexes, you just might make it out alive.
Hive Puzzle
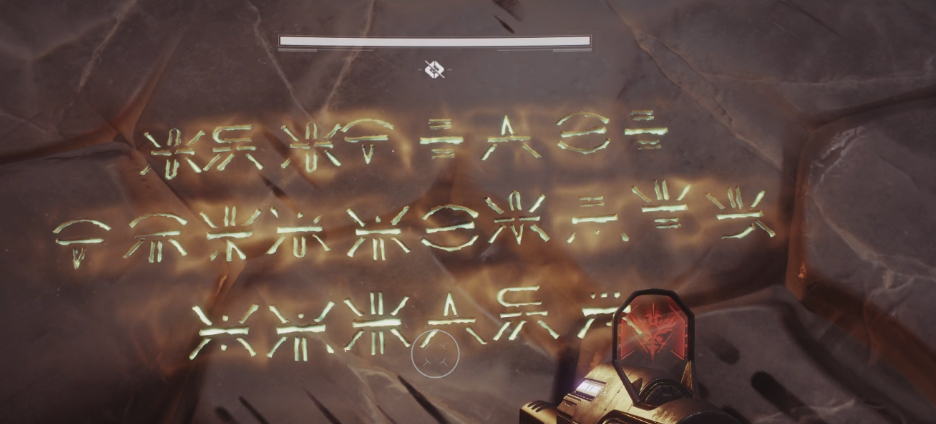
As you make your way through the Pit of Heresy, you might notice some strange green symbols dotted around the landscape. Don't worry, you're not hallucinating - those symbols are actually crucial to your progress. Each symbol marks one of the objectives you need to complete to move on to the next part of the dungeon.
Your first stop should be the towering red structure that overlooks the pit. Inside, you'll find a room with three green hive symbols on the wall - these symbols correspond to the markers you saw outside. To complete this section, you'll need to defeat the Pitkeeper Knights guarding each of the three smaller towers that bear those symbols.
But wait, there's more! Each of those towers also houses a boss that can only be defeated with a specific sword. If you're lucky, you'll find the sword by taking down one of the Swordbearer Knights patrolling the area.
So, what are you waiting for? Grab that sword and get ready to take down some bosses! The Knight can be defeated with a simple sword melee attack, while the Wizard requires a heavy sword attack. And for the Shrieker, you'll need to use your block ability to refract its attacks back at it.
Navigating the Pit of Heresy might seem daunting at first, but with a little bit of swordplay and some quick thinking, you'll be well on your way to victory.
The Wall of Doors
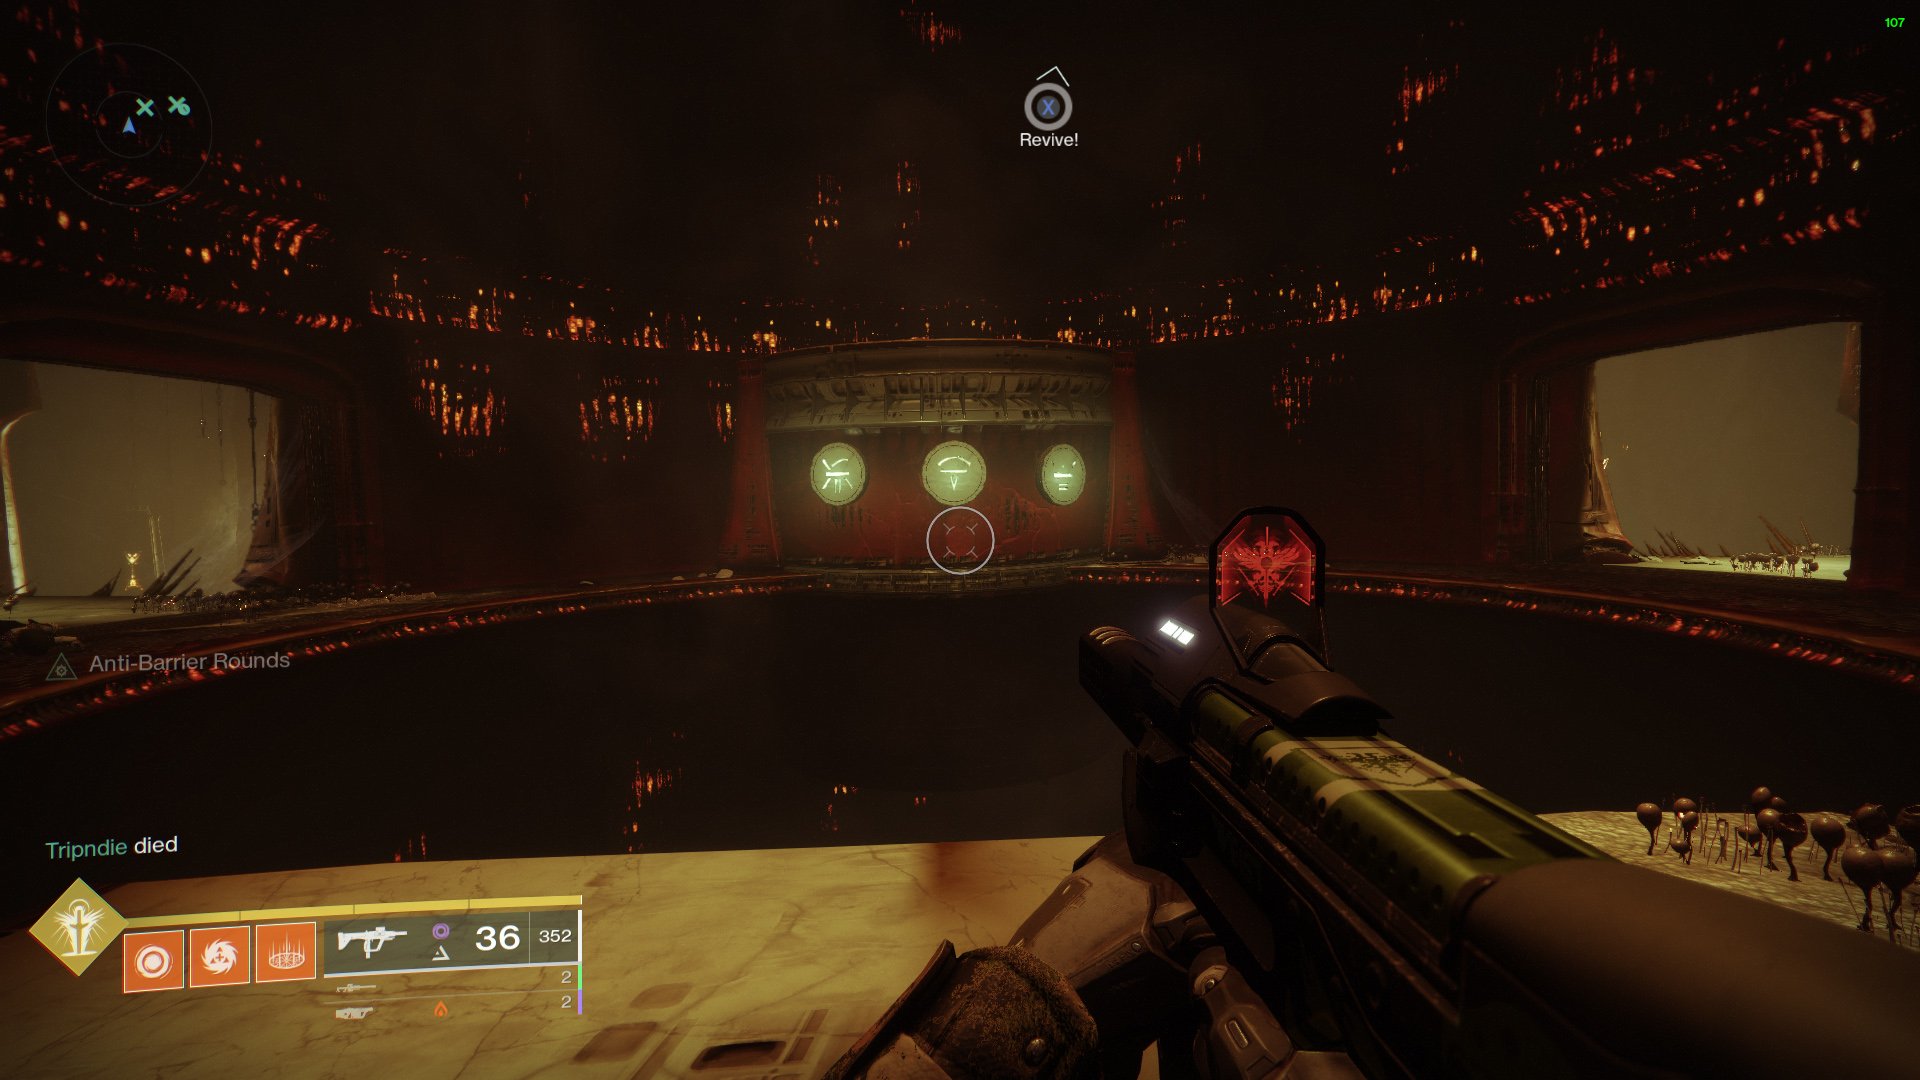
Are you ready to dive deeper into the Pit of Heresy? Great, let's get started!
Once you've taken down the three bosses, a beam of green light will light the way to the next tower. But watch out for enemies lurking around every corner! Once you reach the next tower, defeat the baddies and another door will open. Now, you'll find yourself in a room with more doorways than you can count. But be warned, almost every one of them is rigged with a trap that will send you flying off the map faster than you can say "Hive".
So, what's the trick to getting through this maze of death? Look for a tiny opening in the wall to the right of the platform. This little slit in the wall will be your key to moving forward.
Now, we come to the infamous ogres. These guys are no joke, so don't even try to fight them. Instead, sneak through the dungeon by using the small passageways. To do this, you'll have to shoot through the Hive webbing in the caves to open up the passageways. In each cave, you'll encounter a yellow bar Knight that you'll need to defeat. Each knight drops an orb, which you can then slam near one of the three blocked doorways to defuse one of the runes protecting each door. You'll need to use the orbs on each doorway to advance in the dungeon.
Phew, that was intense! But we're not done yet. Now, you'll be able to pass through the doors and enter the second phase of the encounter. Are you ready for what's next?
Chamber of Suffering
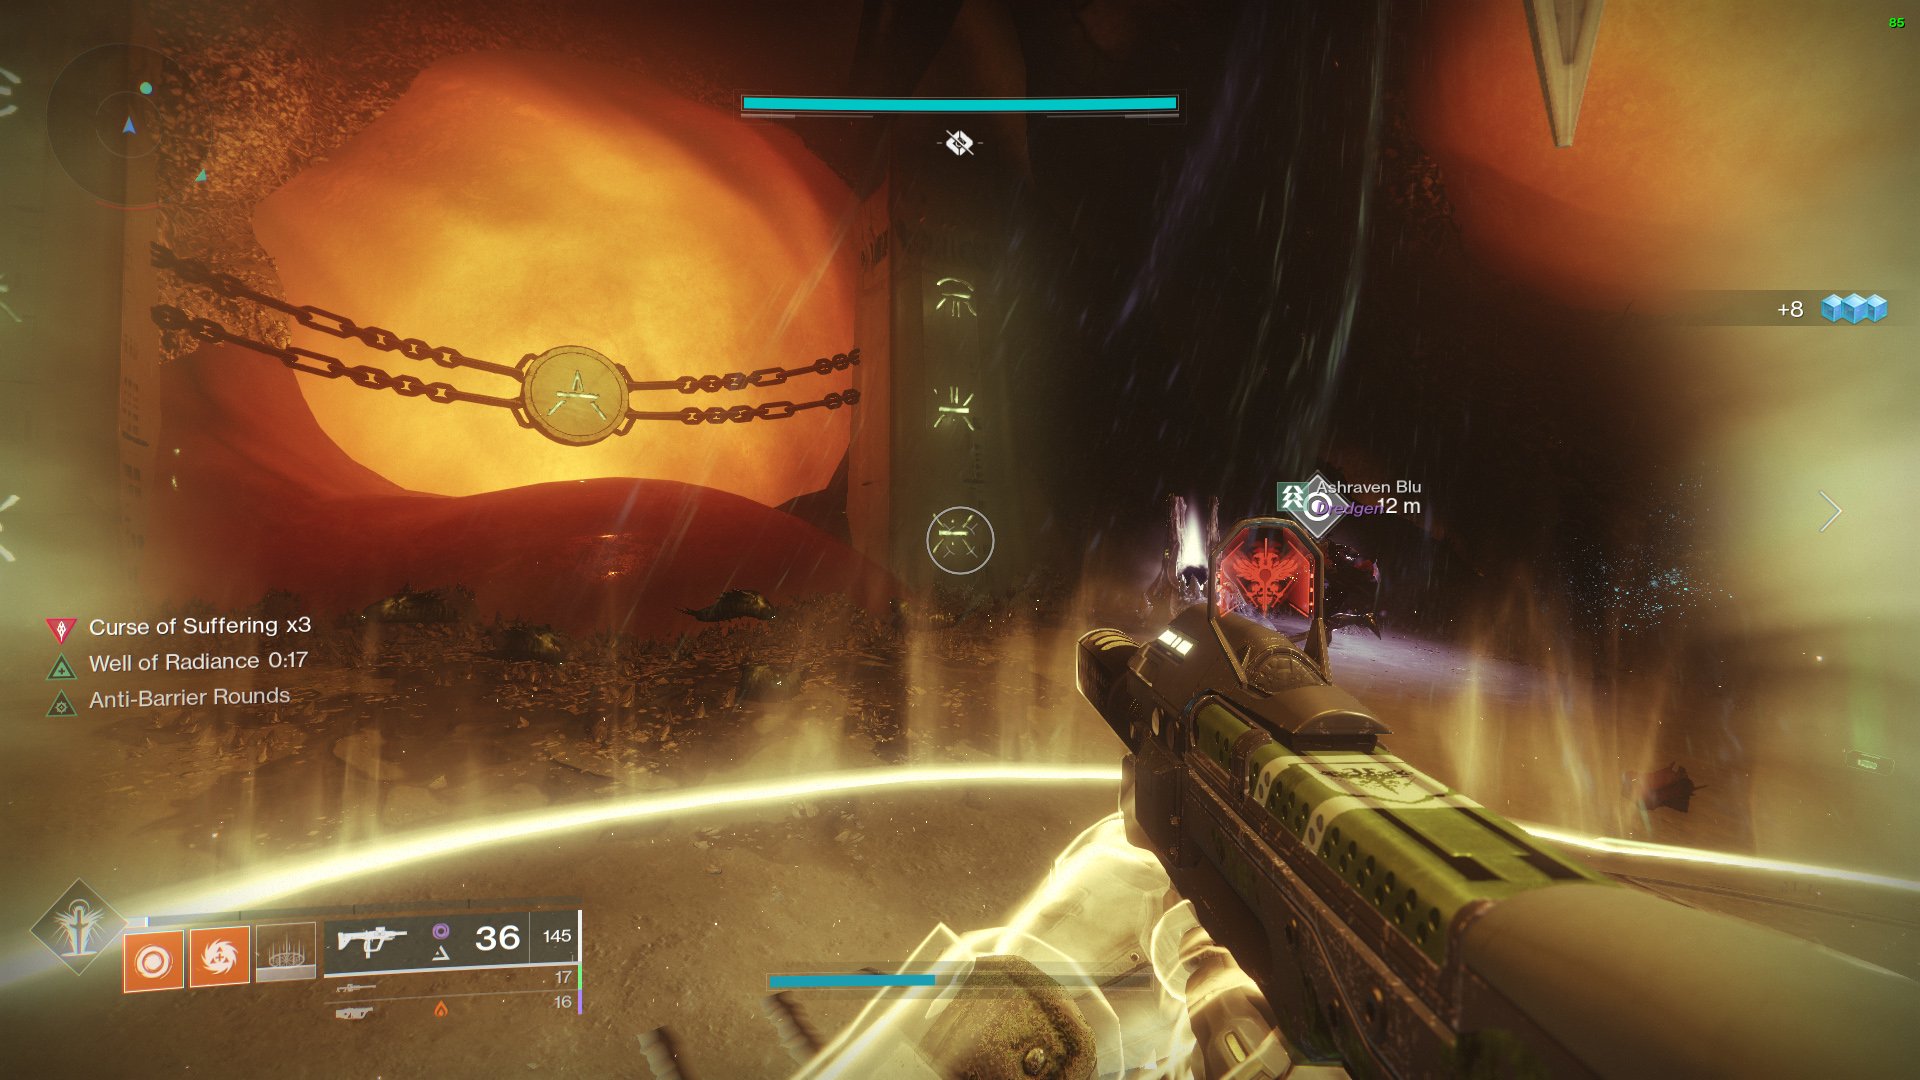
Ah, the totem platform... the bane of many a Guardian's existence. This is where things really start to get hairy in the Pit of Heresy. As soon as the Fireteam enters the chamber, they'll notice a totem at the back of the room. Guardians need to hop on the platform to activate it but beware: if one Guardian is not standing on the platform, the entire team will be wiped out in no time. Talk about pressure, right?
But wait, there's more! While standing on the platform, players will suffer from a nasty little de-buff called the curse of suffering, which will stack over time. The longer you stand on the platform, the more powerful the curse becomes. If you're not careful, you'll be taking a dirt nap in no time. To avoid this, Guardians need to slay the knights that spawn in the room and collect the orbs they drop. By slamming the orbs near the totem, the curse will be removed for a short period of time. It's like taking a Tylenol for your Guardian's headache!
To make things even more interesting, the knights that spawn in the room can be real brutes. They hit hard and they hit fast, so be prepared to bring your A-game. Bubble shields and wells of light can come in handy while holding down the fort on the platform. And don't forget to rotate! Each player on the Fireteam should take turns leaving the platform to slam an orb and remove the effects of the curse temporarily.
If you can survive long enough and slam enough orbs, the door at the back of the chamber will finally open. But let's not get ahead of ourselves... there's still a lot of work to be done in the Pit of Heresy. Keep your wits about you, Guardian, and remember: it's dangerous to go alone!
Jump Puzzle
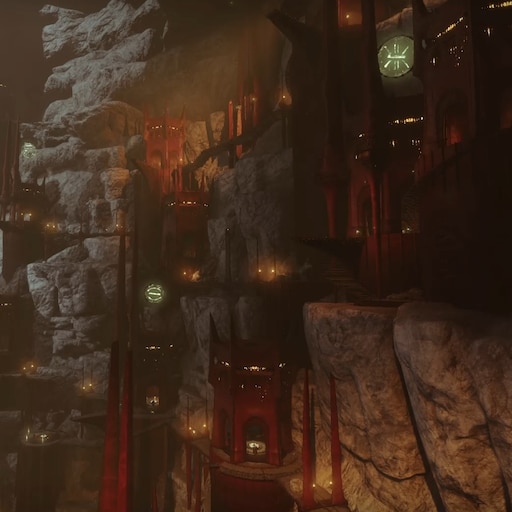
Yes, the spinning fans of death. This part of the dungeon can be a bit frustrating, but fear not, brave guardians, for it is relatively simple. Once you reach the initial opening, you'll notice three familiar green hive symbols on the wall. That's right, it's time to play "find the symbol" again!
But be warned, there are spinning fans with spikes that will make quick work of anyone who isn't paying attention. So, make sure to avoid those and traverse the pit to find the three locations bearing each symbol.
In each location, there will be a wizard that you must defeat. No, not the type that wears pointy hats and carries a wand - these are much more dangerous. So, channel your inner warrior and use all the skills at your disposal to take them down.
After you've defeated all three wizards, the ruins will fall and a doorway will appear. Follow the red doorway to the next step in the instance, and don't forget to pat yourself on the back for a job well done.
Final Encounter
Alright, let's take a crack at this one!
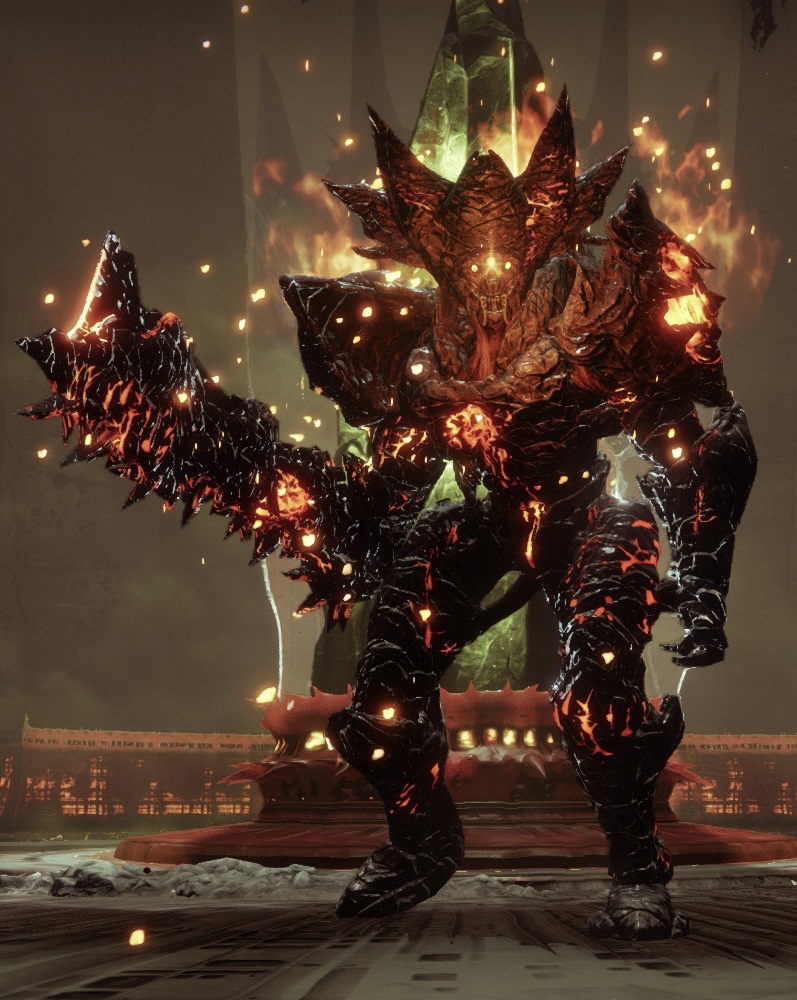
Alright, so you've made it this far in the dungeon, congratulations! Now it's time to face the big bad boss, Zulmak, Instrument of Torment. But before you can take on this bad boy, you'll have to take a trip down memory lane and defeat the three bosses you fought earlier in the quest with the trusty sword you picked up. Each of the bosses will spawn on one of the three platforms in the pit, and you'll have to use the same techniques as before to defeat them. Easy peasy, right?
Once you've taken care of the smaller bosses, it's time to take on the main event. Head over to the platform where Zulmak is standing, and you'll see a green glow. You'll need to stand in that circle to deal damage to Zulmak, but be careful! If you don't take him down quickly enough, he'll stab his sword into the platform and use some crystal energy to wipe out everyone standing on it. So make sure you and your fire team are on top of your game and ready to take him down!
After Zulmak has been defeated, he'll drop a chest filled with legendary armor and weapons. It's time to pat yourselves on the back for a job well done, Guardians. You've completed another challenging mission and earned some sweet loot to show for it!
Pit of Heresy Guide & Boosting
Destiny 2 is the kind of game that gets your heart racing and your palms sweaty - it's challenging, exciting, and just plain fun. But, let's face it, sometimes we all need a little help. That's where Destiny 2 Boosting Services come in.
These services are provided by seasoned players who can help you level up, conquer a tough task, hone your skills, or do pretty much anything else you need help with in Destiny 2. And the best part? You have two options - the player can either log in to your account and complete the task for you, or they can play alongside you to help you accomplish your goal.
One of the biggest challenges in Destiny 2 is the Pit of Heresy dungeon, but fear not! With our guide, you'll know how to handle all the enemies and puzzles that await you. And if you ever need a little extra help, remember that Shattered Throne Boosting Services are always available to lend a hand.
So don't give up when the going gets tough in Destiny 2. With the help of Pit of Heresy Boosting Services, you'll be able to conquer any challenge that comes your way. And who knows? You might even become a seasoned player yourself one day. Good luck, Guardian!
