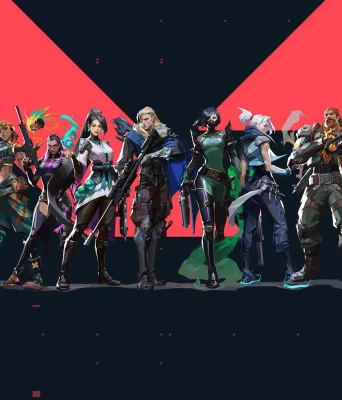
Valorant News & Updates
Stay informed with the latest news, patch notes, guides, and community updates for Valorant.


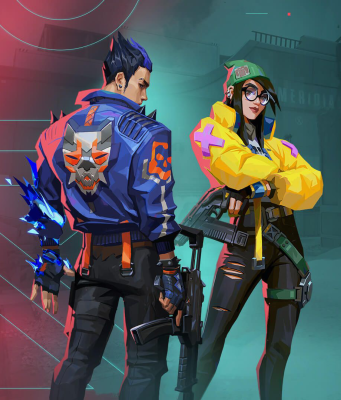
Frequently Asked Questions about Valorant
The professional Valorant players at Boosting Ground answer the most frequently asked questions about the game.
Read Article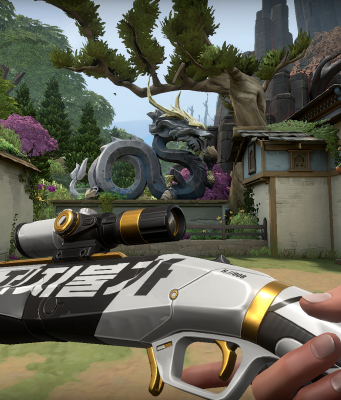
The Ultimate Valorant Guns Guide
Valorant is one of the newest video games and every gamer is excited about it. Read our gun guide and develop your own strategy.
Read Article