
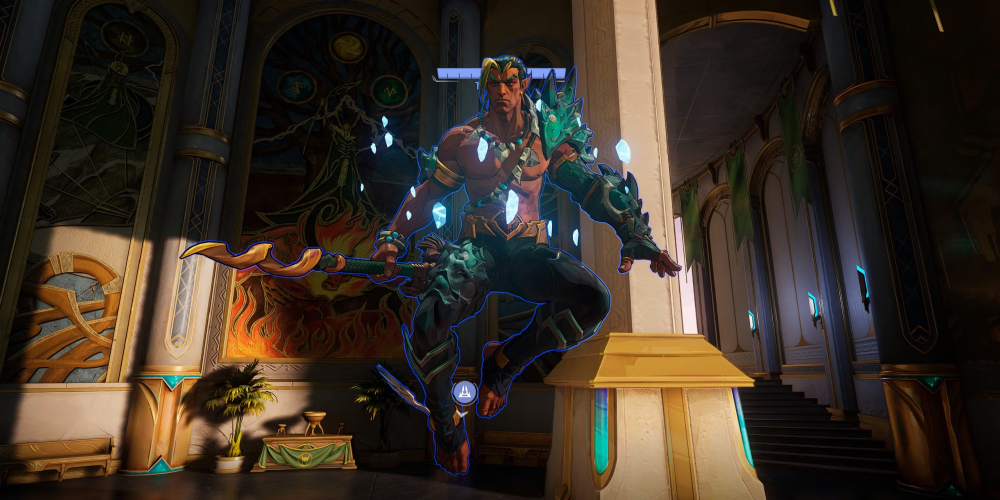
Hey there! So you're looking to dominate with Namor, the Sub-Mariner? Awesome choice – Namor is an area-control DPS who turns the battlefield into his own personal ocean. In this guide, we’ll break down everything you need to know about playing Namor effectively: from his core mechanics to smart ability usage and how he fits into a strong team composition. Whether you’re just diving in or looking to refine your skills, let’s ride the wave and take your Namor gameplay to the next level!
Playstyle & Role: King of Zone Control
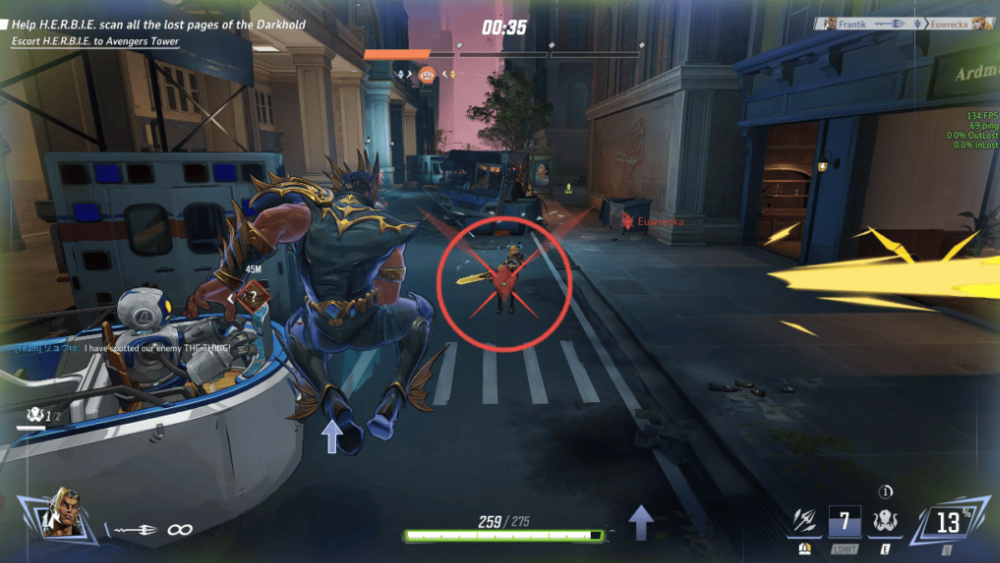
Namor excels at locking down areas and protecting your team's backline. Think of him as a mid-line damage dealer who punishes flankers and dive heroes for even trying. With auto-firing turrets and a giant sea-monster ultimate, Namor can hold chokepoints and peel for allies like no other. He isn't a front-line brawler – you'll usually sit behind your tanks (Vanguards) and in front of your supports, dishing out consistent damage while staying safe.

Namor truly counters dive comps and speedy flankers, turning their ambushes into their doom with well-placed turrets. He also melts tanky enemies if you play smart – more on that soon! On the flip side, he's weaker against very long-range threats (e.g. snipers or flying heroes) who can outrange or destroy your turrets. Overall, your team role as Namor is to deal steady damage, lock down key areas, and make life miserable for anyone who dives or over-extends into your territory.
Monstro Spawns (Turrets) – Your Pet "Squids"
Namor's Monstro Spawn turrets are the core of his kit – mastering these is key to your success. You can have up to 2 turrets out at a time (they last ~8 seconds each, with 2 charges). These little critters auto-aim and auto-fire at enemies for you, acting like extra guns on the field. Here's how to make the most of them:
- Always deploy two turrets whenever possible – turret uptime is life. As soon as a turret dies or its cooldown is up, plop down another to maintain pressure. A good Namor constantly has two "squids" active watching over the battlefield. If one gets destroyed, replace it immediately to keep your DPS output high.
- Placement is everything. Stick your turrets in sneaky, elevated spots: high on walls, perched on ledges, even on the ceiling if you can. A turret placed above head-level or behind cover forces enemies to look away from the fight to shoot it, buying you time to blast them. As one Namor main says, "floor squid is dead squid," so never just drop turrets on the ground in the open. Get creative – you can even attach turrets to moving payloads/convoys for a mobile gun platform!
- Cover your flanks. A clever trick is to place one turret behind your team or on your flank side. That way, if a sneaky Spider-Man or Black Panther tries to pounce on your healer, your turret will start zapping them and instantly alert you to the threat (the firing animation/sound is your warning). This auto-tracking of flankers is what makes Namor so valuable against dive comps – your turrets watch your back so you can focus on shooting.
- Turret fragility: Monstro Spawns are strong but fragile – only 100 HP each. Enemies will try to destroy them on sight (smart opponents know to take out your turrets first!). To counter this, place them in spots that are hard to hit or notice (like behind obstacles or up high as mentioned). Also, don't clump them together or AoE attacks will wipe both. Spread them out so that if one is found and destroyed, the other keeps firing. And if the enemy is fixated on killing your turret, punish them while they're distracted – they're not shooting you during that time! Even a short-lived turret can act as a tiny shield or decoy to absorb shots.
In summary, treat your turrets like loyal pets: keep them safe, keep them active, and they'll do the aiming for you. Mastering turret placement and maintenance will make you feel like you've got built-in aimbots covering every angle (the enemy dive heroes will hate you for it)!
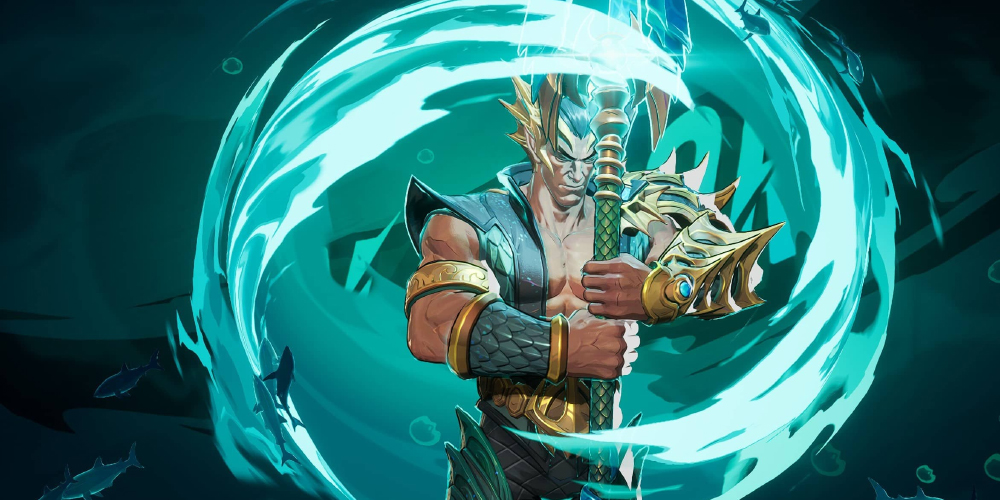
Trident Attacks – Spears, Headshots, and Huge Damage
Namor's primary weapon is his mighty Trident of Neptune, and learning to use it properly separates the good Namor players from the great. You actually have two ways to throw your trident: a normal primary fire (left-click) and a powered secondary fire (right-click). Let's break down how to use both:
Primary Fire (LMB) – Trident of Neptune
This is a spammable spear throw. Each trident you toss is a projectile (with a slight arc) that goes very far with no damage falloff – meaning Namor can hit as hard at long range as up close if your aim is on point. In fact, Namor secretly doubles as a sniper: a well-aimed headshot from his spear hurts (your trident "hits like a truck" on squishy targets). If you have godlike aim, you can make enemy flyers like Iron Man or Storm absolutely miserable by sniping them out of the sky with repeated hits. Don't be afraid to take long shots – there's no ammo limit or reload, so you can spam spears freely all match.
Secondary Fire (RMB) – Wrath of the Seven Seas
Think of this as an empowered trident throw on a short cooldown (about 6 seconds). When you right-click, Namor hurls his trident with extra oomph: it deals area damage on impact (a small splash) and automatically commands all your turrets to fire an enhanced burst at the target you hit. It won't headshot/crit like your primary fire, but landing this instantly puts your turrets into berserk mode just as a crit would. In fact, Wrath of the Seven Seas is Namor's most lethal burst tool – a well-placed secondary fire followed by turret shots can feel like you one-shot squishies before they realize what hit them.
Optimal DPS Rotation
Practice the right-click + turret combo for burst kills. A common burst combo is: place turrets → hit enemy with Wrath (RMB) → immediately follow with primary fire spam. The enemy will be eating accelerated turret shots plus your follow-up spears – a devastating combo that feels like a blender of damage. Many Namor players even use a combo sequence like "Right-click → left-click (spear) → right-click again" to finish off frail targets quickly. Try it on an enemy support or sniper – they'll drop before they know what happened!
Blessing of the Deep (L-SHIFT) – Bubble Time (Your Shield/Escape)
Every Namor player loves (and needs) the "bubble", Namor's Blessing of the Deep. This ability lets Namor encase himself in a protective water barrier and fly upward about 7 meters, becoming completely invulnerable for up to 3 seconds. It's basically your "Oh crap!" button – and also a sneaky movement tool. Here's how to use it like a pro:
- Safe escape / panic button: The primary use of Blessing of the Deep is to save your fishy behind when things get dicey. Activating it makes you 100% immune to all damage and crowd control – nothing can touch you for those 3 seconds. Use this to dodge big enemy ultimates or combos. Did you see Scarlet Witch cast a huge AoE, or Punisher launch his barrage? Pop your bubble at the right moment, and you'll shrug it off completely. It even blocks hard CC like Doctor Strange's stun or an enemy Groot's root – you'll float safely while their wombo-combo whiffs. This invul is also clutch to cancel a melee enemy's combo on you; for example, if a Spider-Man or Black Panther is all over you, hit Shift to deny their burst – they can't damage or stun you while you're bubbled. By the time you land, their cooldowns are wasted and your team (or turrets) can clean them up.
- Advanced: Bubble Jump and Aggressive Repositioning. Now, even though we say "don't use it to reposition once the fight has started," skilled Namor players do use the bubble aggressively at the right moments. When activated, Namor launches upward a bit – you can use this to reach high ground or cheeky positions that normally require stairs or lifts. For example, if you're fighting around a payload or point with a second floor, you can bubble and float up onto high ground instantly. From there, drop your turrets in an unexpected spot and start raining down spears – it's a fantastic way to surprise the enemy backline. One Grandmaster Namor one-trick notes that knowing when to use your bubble aggressively – for off-angles, flanks, or high perches – is what separates great Namors from good ones. For example, you can bubble over a wall or obstacle to set up a flank, drop two turrets behind the enemy team, and suddenly tear apart their squishy backline from an unexpected angle. Just be careful – when you're using the bubble offensively, you won't have it to escape if things go south. It's a risk/reward play: if done smartly (and quickly), it can break open a stalemate fight; if done recklessly, you might find yourself without an "oh crap" button when you need it.
In short, use Blessing of the Deep primarily to survive lethal moments, and occasionally to make flashy plays. Time it right and you'll be that Namor who just won't die – eating ultimates for breakfast and floating out of enemy combos with a grin. And when you coordinate it with your team (e.g. bubble up as your Groot initiates, so you drop in safely with turrets from above), it's beautiful. Just remember: it's a 20s cooldown now (longer than before), so think twice before hitting that button!
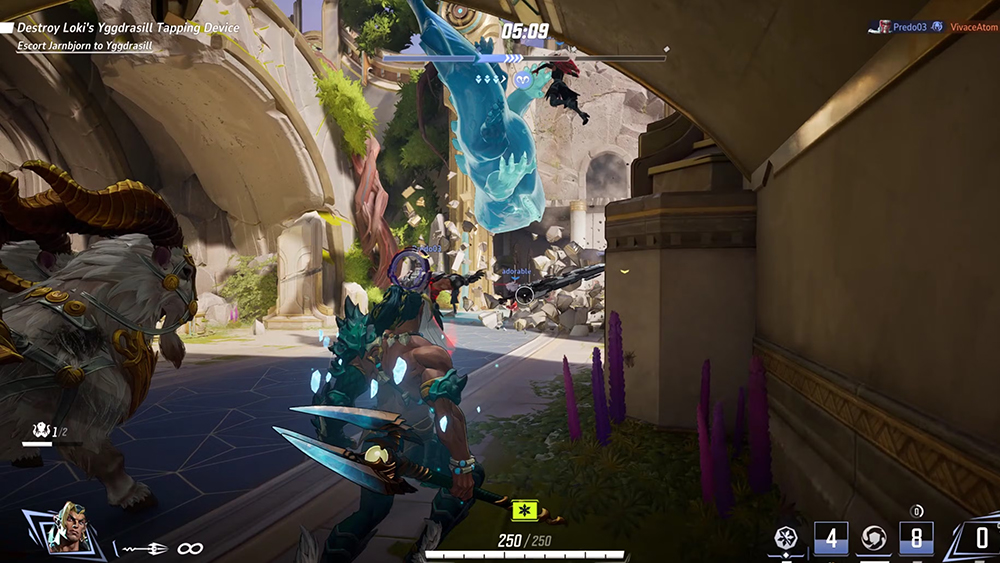
Horn of Proteus (Ultimate) – Release the Kraken!
Namor's ultimate is an absolute spectacle: he blows the Horn of Proteus to summon Giganto, a gargantuan sea monster, to slam down on a target area. It's basically dropping a mini-kaiju on your enemies – and it can be fight-winning when used correctly! Here's what you need to know:
What It Does
When you press Q, you'll see a big circular indicator on the ground. After ~1.5 seconds delay, Giganto leaps out and crashes down, hitting all enemies in a large radius. Enemies at the center of the impact take a massive 500 damage (often an insta-kill for squishies), and those further out take about 180 damage. All enemies caught in the area are knocked down (stunned/immobilized) for 1.5s. Essentially, anyone caught in the inner circle is probably KO'd outright, and those in the outer ring are knocked on their butts, heavily damaged and vulnerable.
Timing and Targets
In solo queue, you might not always have perfect wombo-combos, but you can still use Namor's ult smartly. Try to catch distracted or immobilized enemies – for instance, if you see an enemy locked in someone else's stun, or even if they're just tunnel-visioning on a target, drop Giganto on them. Also, prioritize high-value targets: landing a kill on the enemy healer or DPS carry with your ult can swing a fight. Even if you don't hit anyone dead-center, the knockdown effect is huge – knocking multiple enemies off their feet can interrupt enemy ultimates (it will stop channeled casts or at least delay their actions) and buy your team time to push. Fun fact: Namor's ult even stops certain enemy ults from being activated if timed right – e.g. a Magneto or Thor who gets knocked down can't cast their ultimate at that moment. It doesn't cancel an ult already in progress, but it prevents some from being used if they're caught in the slam. You can absolutely use Horn of Proteus defensively in this way: if the enemy team is clustering to push or using big abilities, drop the hammer (or rather, the whale) on them to break their momentum.
Zone Control
Giganto's knockdown essentially creates a brief area of denial. Enemies will either scramble out or get flattened. This can be used to secure objectives (clear a control point or payload by ulting on it) – anyone weaker will flee, and anyone stubborn will get smacked. It's a great feeling to ult on a capture point and see the enemy team scatter or suffer.
When you execute a perfect Horn of Proteus – say you ult onto a group caught in Groot's roots and instantly KO two enemies in the center and knock the rest flat – you'll feel like an absolute god of the seas. It's chef's kiss satisfying. So toot that horn proudly when the time is right, and let Giganto turn the tide of battle!
Quick Combos & Tricks to Outplay Opponents
Now that we've covered Namor's kit, let's talk quick combos and sneaky tricks that can give you the edge. Here are some of the most practical, real-world effective techniques, explained simply:
Dive-Punish Combo (Anti-Flanker Special)
This is your bread-and-butter for anyone who tries to jump your team's supports. Place a turret or two near your backline, wait for the diver to engage, then hit the diving enemy with your secondary fire (RMB) as soon as they commit. Follow up with rapid primary-fire headshots while your turrets go berserk on them. The sequence goes: Turret down → enemy dives → Wrath (RMB) to the face → spear spam. Most flankers (like Spider-Man, Black Panther, etc.) will get shredded by the focused turret fire + your damage, or at least be forced to retreat with low HP. And if they still try to fight, well, they're probably getting knocked down by Giganto next. Namor truly thrives against dive; this combo ensures any lone assassin biting off more than they can chew will choke on it.
Burst Combo (Delete a Squishy)
Got an enemy healer or sniper out of position? Punish them with Namor's burst. A simple but deadly combo is: turret placed > headshot with primary > immediately use secondary fire. In practice, even starting with the secondary fire is fine: Turret in advance → Right-click (Wrath) the target → Left-click follow-up. The initial hit will chunk them and enrage turrets, and your follow-up spears will land almost simultaneously with the turrets' enhanced shots – often instantly wiping out low-HP targets. Some players shorthand this as "RMB -> LMB -> RMB" on a target for a near-instant kill combo. Use this against fragile heroes like support Strategists or glass-cannon Duelists that wander too close. They'll go POOF! before they can react.
Bubble Dodge & Counter
When you see a big attack coming at you (say, a sniper lining up a headshot or a brawler about to ult in your face), hit Bubble at the last second to completely negate the damage. While invulnerable, use those 2–3 seconds wisely: reposition yourself (floating to high ground or back to your team) and even toss out a turret while invuln so it's ready when you drop. As soon as the bubble ends, immediately retaliate – the enemy likely blew some cooldowns on you. A great defensive combo is: Bubble when dived → during bubble, move to safety & drop a turret → bubble ends, now target the overextended enemy with your spears/secondary fire. This sequence often turns the tables on someone who thought they had you. They waste abilities on your invulnerable bubble, and you come out fresh with turrets blasting them.
Head-peeking & Poking
Because Namor's spear has no falloff and infinite ammo, you can spam choke points safely. Peek out, fire a volley of tridents into where enemies are clustered (e.g. around a corner or on high ground), then duck back behind cover. You might not always hit, but when you do, it chips the enemy and lowers your turret cooldown – a win-win. In maps with narrow doorways or corridors, set up turrets watching the entrance and stand at medium range spamming spears. It creates a death gauntlet; enemies trying to push through will hate eating all that chip damage.
Bubble High-Ground Trick
As mentioned earlier, surprising opponents by bubbling up to high ground can secure a fight. One trick: if you're low in a fight around high ground (like a second-floor balcony), bubble upward to that platform, drop turrets up there and start sniping. Enemies might chase you up, but you can then drop down the moment they come up – effectively you're playing cat-and-mouse and wasting their time while your turrets and team punish them. Skilled Namors do this to yo-yo divers: bubble up, enemy chases, drop down, enemy jumps down, bubble up again (if off cooldown) – it's trolling, but it works to confuse and split enemies. Just be mindful of your cooldown; you can't do it infinitely now that bubble CD is 20s.
Try these tricks out one by one in your matches. They're easy to execute and will quickly elevate your Namor gameplay. There's nothing more satisfying than seeing a frustrated diver or an outplayed sniper after you've used Namor's tools to completely outsmart them!
Builds, Team Synergy & Meta Tips
Good news: Namor's playstyle is pretty straightforward – you don't have to worry about complex item builds or anything. Success comes down to how you use your abilities and work with your team. That said, here are some current meta tips on "building" Namor for victory:

Maximize Turret Uptime (The "Turret Build")
In the current meta, Namor's strength centers on his turrets, especially after the recent buffs to their range damage. So the "build" to focus on is simply keeping those turrets out and buffed. Put skill priority on maintaining 2 turrets and using your primary/secondary to empower them. Essentially, play around your turret cooldowns – don't take a risky fight when both turrets are down. Instead, poke with primary until you can deploy at least one for support. Think of it like always having your "pets" fighting with you. A Namor with no turrets is a much weaker Namor (low mobility, slow attack rate on his own), so build your gameplan around turret uptime and you'll consistently have more impact.
Team-Up Choice
Marvel Rivals has a team-up system – as Namor, the current team-up of choice in the meta is Hulk's "Gamma Monstro". This was a new pairing introduced in recent patches (replacing the old Luna Snow team-up). If your team composition allows, pair Namor with Hulk to get an extra Gamma turret during fights. The Gamma Monstro turret fires continuous laser beams that ramp up damage, essentially giving you a third turret for a short time in team fights. This can massively boost your damage during an ultimate combo or a crucial push. (Hulk's team-up triggers when Hulk uses his ability – coordinate with your Hulk player so you both get value. Iron Man also has some synergy in team-up context, but Hulk's is the big one for Namor). If Hulk isn't available, Rocket Raccoon is another great partner – his damage boost ultimate makes your already high damage ult outright unfair, as mentioned earlier. In general, Namor works best when the team is built to amplify his strengths – either by buffing his damage (e.g. Rocket, Mantis) or by covering his weaknesses (e.g. a strong frontline tank to peel divers, or a support like Luna Snow who used to give him an extra slow turret – now removed, but she still provides healing or shields).
Playing Solo vs Team
In solo queue, you might not get perfect peel or combos from allies. The key is to play a bit more conservatively on Namor when you don't trust your team's protection: stay near cover, keep one turret watching your back, and focus on eliminating divers and easy targets as your contribution. You can absolutely carry games solo with Namor now – his recent improvements made him a viable 1v9 hero in the right hands. Just don't overextend without your bubble ready. In coordinated team play, you can be more aggressive knowing teammates have your back – e.g. taking forward positions to set up turrets pre-fight, or aggressively ulting into combos. Adapt your playstyle depending on how much support you have. Namor's flexible like that.
Counter-Building Mid-Game
If the enemy has specific counters (see next section), adjust your strategy. For example, against long-range hitscan (Punisher, Hela), you might need to play more cover, reposition turrets more often so they don't get sniped. Against heavy tanks that rush you (Venom, The Thing), call for help and kite them – use bubble to skip away and make them chase while turrets whittle them down. It's not so much item builds, but tactical adjustments that you'll make. We'll cover specific counters next, so you know what to do.
Matchups: Hard Counters and Whom Namor Counters
Every hero has those they prey on and those that give them trouble. Here's the rundown for Namor:
- Dive/Flank Heroes: This bears repeating – Namor is a dive comp's worst nightmare. Agile melee heroes like Spider-Man, Black Panther, Ghost-Spider, etc., normally rely on surprise and mobility to kill backliners. Namor says "Not today!" With turrets auto-locking on them and a bubble to deny their burst, he counters divers hard.
- Fragile Flyers: Namor can also punish flying heroes if they venture within range. Characters like Storm or Vulture who hover above can be tracked by turrets and nailed by Namor's long-range spear tosses.
- Support/Healer Characters: Namor is quite good at pressuring backline supports (after all, turrets don't care about stealth or cover much). If you spot an enemy healer like Mantis or an annoying strategist like Baron Mordo, you can often send a turret or two their way.
- Slower Tanks: While big tanks can be a pain for Namor if they get close, Namor actually shreds high-HP targets from mid-range given time. If a tank like Juggernaut or The Thing is plodding toward your team, you can headshot them repeatedly to keep your turrets berserk.
- Long-Range Hitscan & Snipers: Namor is medium-range by nature; true long-range heroes can pick him apart if you're not careful. Characters like Punisher, Hawkeye, Hela or others with hitscan rifles/bows can destroy your turrets from beyond your effective range.
- High Mobility Flyers: Champions like Iron Man and Storm are mentioned as Namor's kryptonite. Why? Because they fly high and move fast, making your projectile spears hard to land, and they can shoot down at your turrets outside of your turret range.
- Shielded or Barrier Heroes: Anyone who can throw shields or barriers in front of your damage can negate your turret shots and spears. For example, an Invisible Woman ultimate or a Magik shield can block your projectile damage.
- Sustained Brawlers / Dive Tanks: Heroes like Venom, The Thing, or Captain America who can soak turret damage and keep coming can be problematic. They often have the health to survive your initial burst and abilities to close the gap.
If you find yourself really struggling against a certain counter, it's always fine to swap heroes. A big part of high-level play is knowing when Namor might not be the optimal pick. But honestly, Namor covers a lot of bases – unless the enemy comp is stacked with long-range hitscan and flying threats, you can usually make him work with smart play. Just prioritize targets wisely and adapt your positioning based on the enemy team composition.
Final Wave: Go Forth and Rule the Seas!
You've made it through this deep dive (pun absolutely intended) – now it's time to put it into practice. Namor is an absolute blast to play once you get the hang of him. You'll be laughing as flankers fall into your traps, cheering as your turrets rack up kills, and flexing on foes with clutch bubble invulnerabilities and game-changing ultimates.
- Keep your turrets up and in clever spots (your zone control is your kingdom!)
- Use your trident constantly – never stop dealing damage and triggering those turret buffs
- Save your bubble for the pivotal moments, but don't be afraid to make a bold play with it when opportunity arises
- Coordinate your ult with team CC to secure those highlight-reel multi-kills
- Play with confidence: Namor's recent buffs have armed him to the teeth, so in the right hands (yours!), he can carry games and make a real splash in both solo queue and team play
So go on, ride the tide to victory with Namor! With these tips, you'll be ruling the arena like the King of Atlantis in no time. Now get out there and show them that "Imperius Rex!" isn't just a catchphrase – it's your warning that the seas belong to you. Good luck and have fun!