
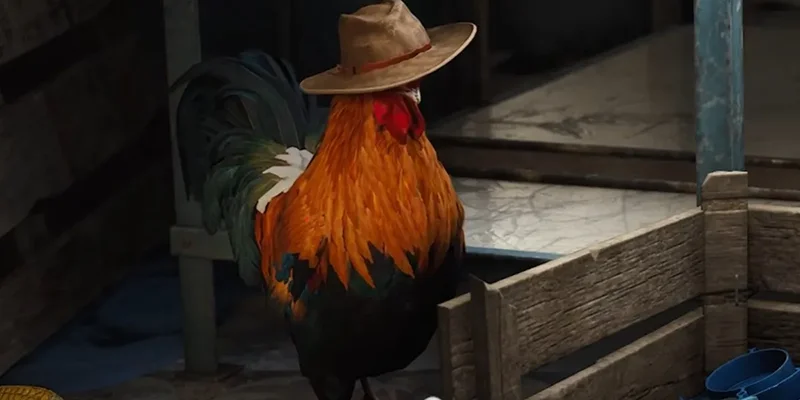
The Dog Collar is a required upgrade item for training Scrappy, your pet rooster companion. You can't apply any other upgrades to Scrappy until you get this item first. It's the mandatory starting point for Scrappy's entire upgrade tree.
Scrappy works as a resource-gathering companion who automatically collects crafting materials while you're out on raids. This matters because everyone runs out of items and scrap eventually, no matter how skilled you are. The automatic collection helps you rebuild your stockpile between runs.
What the Dog Collar Does
After you train Scrappy with the Dog Collar, he starts collecting basic crafting materials during your raids. The process is completely automatic while you're deployed.
When you finish a raid, Scrappy will have gathered materials for you to collect. This happens whether you extract successfully or die trying. With just the Dog Collar upgrade, Scrappy brings back 5 to 7 units of each basic gray-rarity crafting material per raid.
The Dog Collar unlocks Scrappy's ability to gather raw materials during raids. There are more upgrades available beyond this first one, and each level increases the amount and quality of materials he collects, eventually including rare items. But none of these later upgrades become available until you get the Dog Collar first.
Item Details and Classification
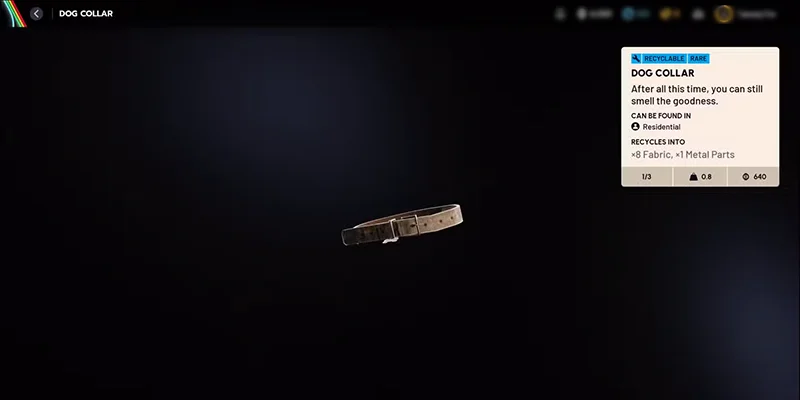
The Dog Collar shows up as a rare (blue) recyclable item in your inventory. The blue rarity and recyclable tag make it surprisingly easy to miss when you're looting quickly.
Since it's classified as a major upgrade item, treat it as high-priority loot the moment you spot it.
Where to Find the Dog Collar
The Dog Collar spawns in Residential loot areas. These show up on your map with a small person icon. Hover over marked locations to confirm they're designated as Residential zones.
Container Types to Search
Focus on these containers inside Residential zones:
- Cabinets
- Drawers
- Suitcases
- Bins
You can also find the Dog Collar sitting loose on furniture like desks.
Which Maps Have Residential Areas
Residential zones only appear on certain maps:
- Buried City
- Spaceport
- Blue Gate
Specific Locations to Check
Here are the confirmed spawn locations across different maps:
Buried City:
- Grandioso Apartments
- Red Tower
- Santa Maria Houses
Dam Battlegrounds:
- Ruby Residence (northwest section of the map)
Blue Gate:
- Raider's Refuge
- Village
- Ruined Homestead (northwest of Ancient Fort)
Why Finding the Dog Collar Takes Time
The main problem is the massive loot pool in Residential areas. These zones drop dozens of different items, which means any specific item has diluted spawn chances.
The spawn rate seems inconsistent too. One player found their first Dog Collar early on but then spent multiple raids searching for a second one without success. The drop rate appears fairly low even when you're searching the right spots.
Step-by-Step: Getting and Using the Dog Collar
- Before jumping into a raid, check the map for locations with the small person icon. These mark Residential areas. Pick maps that have these zones (Buried City, Spaceport, Blue Gate).
- Once you're in the raid, head to one of the confirmed spots. On Buried City, that means Grandioso Apartments, Red Tower, or Santa Maria Houses.
- Go through every cabinet, drawer, suitcase, and bin systematically. Check furniture tops too, since the Dog Collar can spawn on desks and similar surfaces.
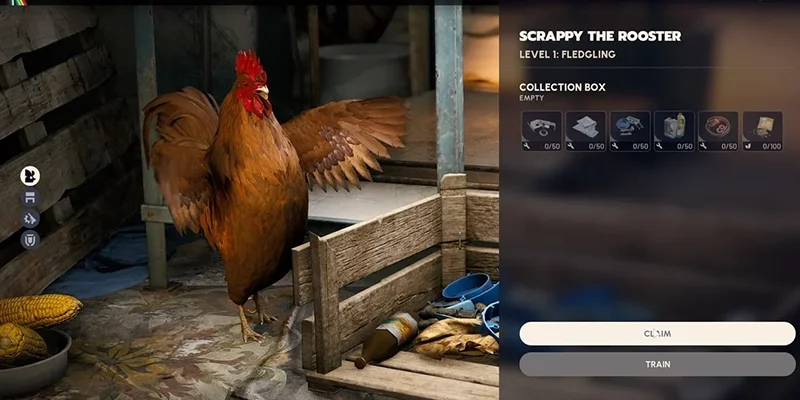
- Go to Scrappy's collection page in the main menu and select the training option to track required resources. This adds a unique diamond icon to the Dog Collar's item card when you find one while looting. The icon makes it much easier to spot among other items.
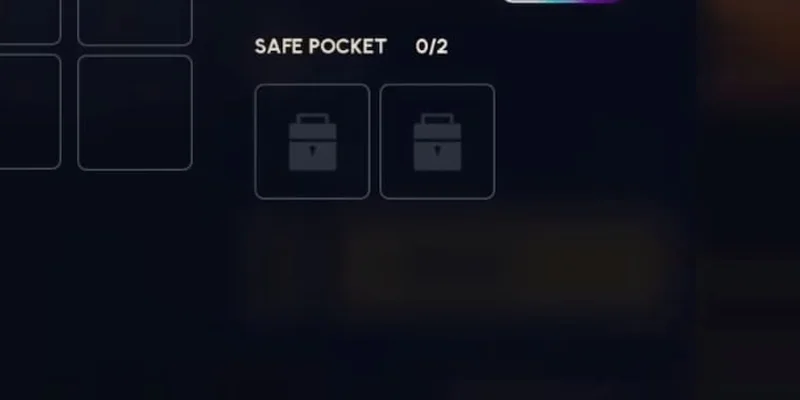
- The second you find a Dog Collar, move it to your Safe Pocket. This protects it if you die or fail to extract. Given how hard the item is to find, securing it immediately is critical.
- Finish your raid and extract with the Dog Collar in your Safe Pocket to get it back to Speranza.
- Go to your Workshop in Speranza. Select Scrappy and hit the "Train" button. This applies the upgrade and activates his material collection for all future raids.
Improving Your Search Efficiency
Target Dense Residential Areas: Places like Grandioso Apartments pack multiple containers close together, letting you check more loot per minute.
Plan for Multiple Raids: The large loot pool means you'll probably need several attempts. Budget time for repeated searches rather than expecting to find it on your first try.
Stick to Residential Maps: Deploy on Buried City, Spaceport, or Blue Gate when you're hunting for the Dog Collar. These are the only maps with the Residential zones you need.
Check All Container Types: The Dog Collar can appear in any Residential container. Don't skip types thinking it only spawns in specific furniture.
Slow Down Your Looting: Blue rarity items blend in easily during fast looting. Take an extra second to scan items carefully. The tracking diamond helps if you've activated it through Scrappy's menu.
What Comes After the Dog Collar
The Dog Collar is just the first upgrade in Scrappy's progression. After you apply it, more upgrade levels unlock. Each one requires different materials.
Every upgrade level improves Scrappy's gathering. He collects more basic materials and eventually picks up rare items too. These improvements make him increasingly valuable for resource generation early on.
You can't access any upgrade past the first without completing the Dog Collar upgrade. This creates a progression gate where finding the Dog Collar is mandatory for everything else.
| Upgrade Level | Materials Required | Collection Improvement |
|---|---|---|
| Level 2 | 1x Dog Collar | 5-7 units of gray materials |
| Level 3 | 3x Lemons, 3x Apricots | Increased material quantity |
| Level 4 | 12x Apricots, 12x Olives, 6x Prickly Pears | Better quality materials |
| Level 5 | 12x Mushrooms, 3x Very Comfortable Pillows | Maximum resource generation |
Common Issues and Tips
Missing the Item: The blue rarity can make the Dog Collar fade into the background during quick looting runs. Tracking adds a visual marker that prevents this problem.
Storage Management: Scrappy's 50-unit limit per material means you should grab his gathered resources regularly. Only let materials pile up in his inventory when your personal stash is maxed out.
Search Time: Finding the Dog Collar isn't guaranteed in one raid or even several. The diluted Residential loot pool means repeated attempts are normal.
Map Choices: Not every map has Residential areas. If you deploy on the wrong map, you won't have any chance to find the item.
Quick Reference
- Unlocks automatic resource collection
- Works even if you die during raids
- Gateway to all future Scrappy upgrades
- Passive income stream for crafting materials
- Rare spawn rate in large loot pools
- Easy to miss during quick looting
- Requires multiple raid attempts typically
- Limited to specific map locations