

What You Need to Know About Playing on PC
Destiny: Rising is NetEase and Bungie's first mobile Destiny game, launching exclusively on iOS and Android. There's no native PC version, but you can play the full game on your computer using Android emulators.
The game needs about 15GB of storage after downloading all the extra content files. With over 10 million pre-registrations, plenty of players are looking for ways to get this running on PC.
Download Schedule and Server Launch
You can pre-load the game starting August 27 at 6 AM PT through the App Store or Google Play. Servers go live August 28 at 9 AM local time across different regions (Asia, Europe, North America, and Latin America).
| Region | Launch Time | Pre-load Available |
|---|---|---|
| Asia | 9 AM Local Time | August 27, 6 AM PT |
| Europe | 9 AM Local Time | August 27, 6 AM PT |
| North America | 9 AM Local Time | August 27, 6 AM PT |
| Latin America | 9 AM Local Time | August 27, 6 AM PT |
Method 1: MuMu Player (Official Route)
NetEase officially supports MuMu Player for Destiny: Rising. They've built direct integration through the game's website, making setup way easier than other emulators.
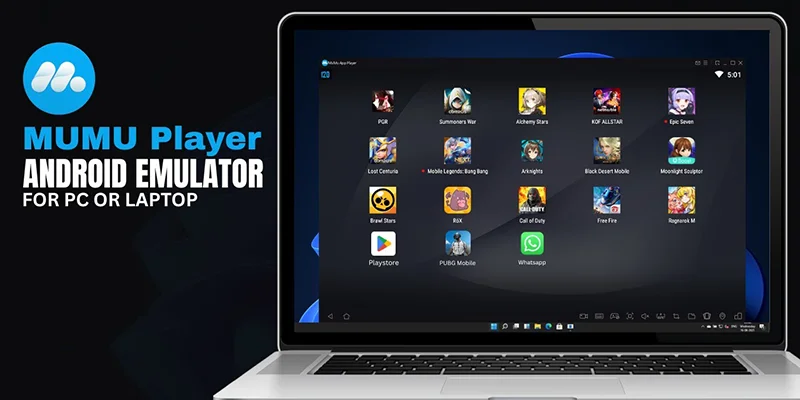
Getting MuMu Player Set Up
- Head to the official Destiny: Rising website and click the big blue "Play on PC" button. This downloads MuMu Player and automatically configures it for the game. You can also grab it from the MuMu website directly, but the Destiny site method works better.
- Run the installer when it finishes downloading. The setup process creates MuMu Player with settings already tuned for Destiny: Rising.
- Once MuMu Player launches, open Google Play Store inside the emulator and sign in with your Google account. Search for "Destiny: Rising" and install it just like you would on a phone.
Controls and Input Options
MuMu Player has built-in keyboard and mouse support that actually works well. Click the keyboard icon in the top toolbar (next to the volume button) to open the control mapping screen. You can remap everything - movement, shooting, abilities, menus - and adjust sensitivity settings until it feels right.
Controller support is straightforward too. MuMu Player works with Xbox Wireless controllers, PlayStation DualSense, and DUALSHOCK 4. Pair your controller with Windows first through Bluetooth, then it'll work automatically in the emulator.
The game lets you switch between first-person and third-person views whenever you want, which is nice for different situations.
Why MuMu Player Works Best
Since NetEase built this integration themselves, you'll get the smoothest performance and fewest compatibility headaches. The emulator runs the game well without much tweaking needed.
Method 2: BlueStacks (Popular Alternative)
If you don't want to use MuMu Player or run into issues with it, BlueStacks is a solid backup option. It has more customization options but takes a bit more setup work.
BlueStacks Installation
Download BlueStacks from their official site and install it. For best results with modern games like Destiny: Rising, create a Pie 64-bit instance running Android 9. You can do this through BlueStacks' Multi-Instance Manager.
The Android 9 setup handles current mobile games better than older versions and gives you better performance overall.
After setting up your instance, launch BlueStacks and open Google Play Store. Sign in with your Google account, search for Destiny: Rising, and install it.

Fixing Performance Issues
If the game runs poorly, try closing other programs on your PC first. BlueStacks also lets you allocate more CPU and RAM to the emulator through its settings menu, which usually fixes stuttering or lag.
BlueStacks has detailed control mapping like MuMu Player, so you can customize keyboard, mouse, and controller inputs however you want.
Troubleshooting Common Problems
Performance Issues
Most problems come from not having enough system resources allocated to the emulator. Both MuMu Player and BlueStacks let you bump up CPU and RAM allocation in their settings.
Close background programs you don't need while gaming. Things like web browsers with lots of tabs, streaming software, or other games will compete for resources.
Make sure your internet connection is stable. Mobile games need consistent online connectivity, and connection drops will mess with your gameplay.
Hardware Considerations
Both emulators work better with modern multi-core processors and decent amounts of RAM. If you have a dedicated graphics card, that'll help too, especially for a visually demanding game like Destiny: Rising.
The exact system requirements aren't specified, but if your PC can handle modern games reasonably well, it should run the emulators fine.
System Performance at Different Specifications
Important Details and Limitations
No Console Version
NetEase hasn't announced console versions of Destiny: Rising. Mobile platforms and PC emulation are your only options right now.
Storage Requirements
Plan for about 15GB of free space, and maybe a bit more since updates and patches will add to that over time. The initial download is smaller, but the game pulls down extra content after installation.
Regional Servers Matter
Pick the right region when you first start playing. Your options are Asia, Europe, North America, and Latin America. This affects connection quality and which players you'll match with. Progress doesn't transfer between regions, so choose carefully.
Cross-Platform Progress
Your save data syncs between iOS, Android, and emulated Android (PC), but only within the same regional server. Use the same Google account across all devices to keep everything connected.
Choosing Between Emulators
- Official NetEase integration
- Automatic game configuration
- Optimized for Destiny: Rising
- Fewer compatibility issues
- More customization options
- Advanced multi-instance features
- Longer development history
- Broader game compatibility
Go with MuMu Player if you want the easiest setup and official support. The integration NetEase built makes installation almost foolproof, and you'll have fewer weird compatibility issues.
Pick BlueStacks if you prefer more control over emulator settings or if MuMu Player doesn't work well on your system. BlueStacks has been around longer and has more advanced features, but requires more manual configuration.
Both emulators will get you playing Destiny: Rising on PC. The main differences are setup complexity and how much tweaking you want to do, not whether the game actually works.
Getting Ready for Launch
Make sure you have your Google account ready for the Play Store access. You can use the same account across multiple devices and emulator instances.
Pre-load the game before servers go live to jump in right when your region opens. This saves you from waiting for downloads while everyone else is trying to connect.
Document your control settings and emulator configuration somewhere. If you need to reinstall later, having your settings written down will save time getting everything configured again.
- Download and install chosen emulator
- Enable Virtualization in BIOS
- Allocate sufficient RAM (6-8GB recommended)
- Configure control mapping
- Test connection and graphics settings
- Pre-load Destiny: Rising from Play Store
Both emulation methods give you the full Destiny: Rising mobile experience on PC, complete with all the features and progression systems. The setup takes a bit of work upfront, but once it's running, you'll have access to the complete game with keyboard, mouse, or controller support.