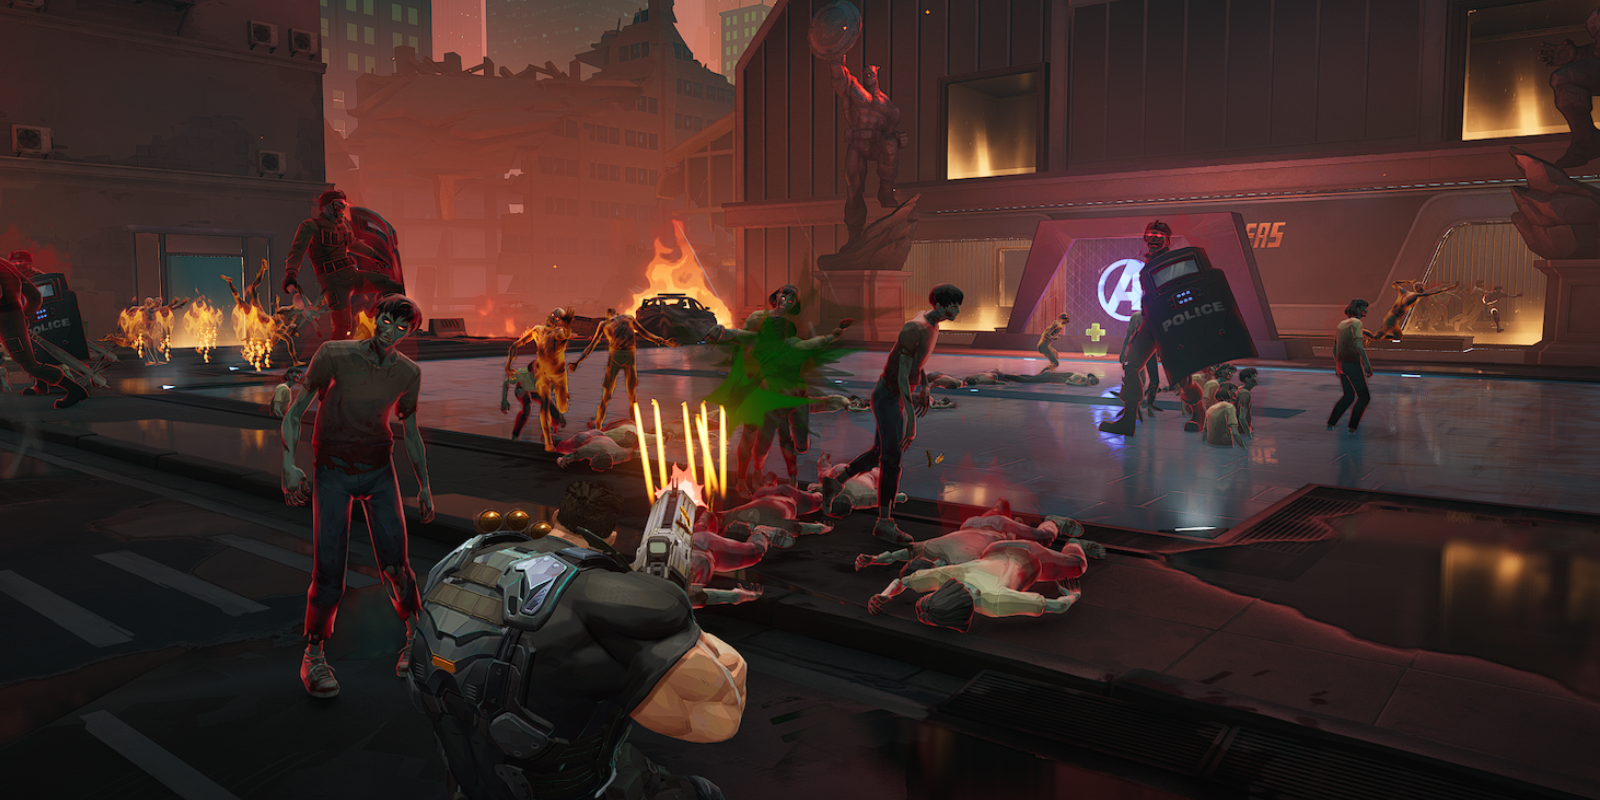
What Makes Punisher Work in Zombie Mode
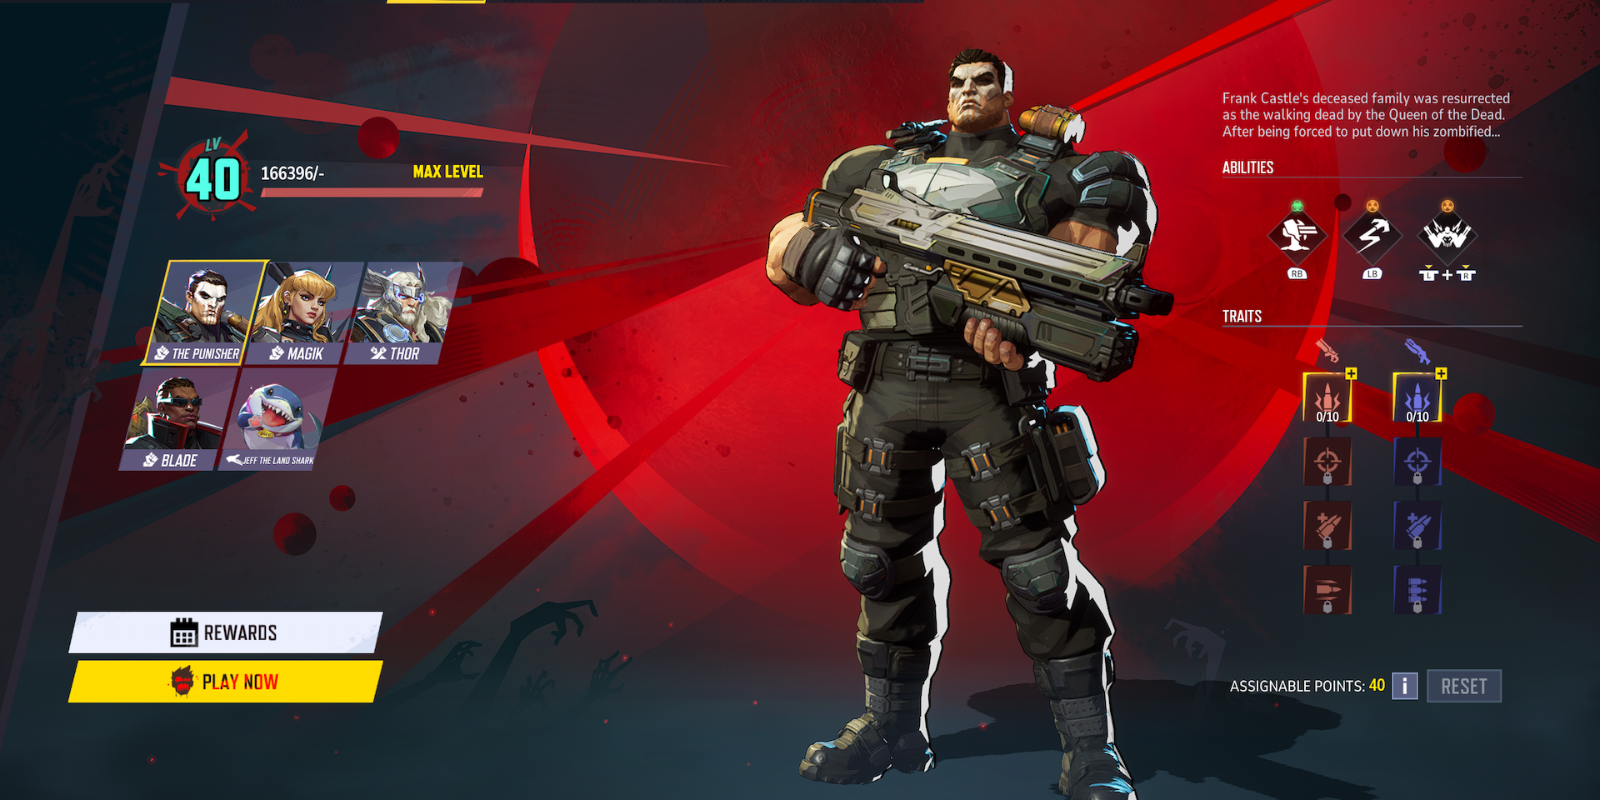
Punisher plays as a pure ranged damage dealer, mowing down zombies before they can close the gap. His playstyle mirrors standard matches, but Khonshu's blessing system turns his guns into absolute powerhouses. This guide covers everything you need for the Adjudication assault rifle build: ability picks, trait allocation, blessing priorities, and strategies for every difficulty from tutorial through Nightmare 4.
Punisher sits somewhere in the middle of the tier list. He takes longer to ramp up than characters like Blade, and his early game feels weak while you're still building trait points. But once you clear wave five with most upgrades purchased, Punisher becomes incredibly strong. For boss fights specifically, he might be the best character in the mode right now. You just need your team to stay alive long enough to scale into late game where his damage catches up to the meta picks.
Zombie Mode Fundamentals

Know Your Enemies
Lower difficulties work as an extended tutorial, introducing every zombie type you'll face:
- Basic Zombies are your standard fodder with moderate health and damage. They form most of the wave and need efficient clearing before they pile up.
- Green Poison Zombies drop damaging pools when they die. These zones stick around and force you to give up ground.
- Orange Exploding Zombies detonate when they get close, dealing massive damage. Kill these before they reach you.
- Crawlers slow you on hit. Not threatening alone, but dangerous when mixed with other types.
- Elite Zombies pack high health and high damage with bigger hitboxes. You'll see tons of them, and they take sustained fire to drop. The larger size makes headshots easier for precision builds.
Boss Fight Breakdown
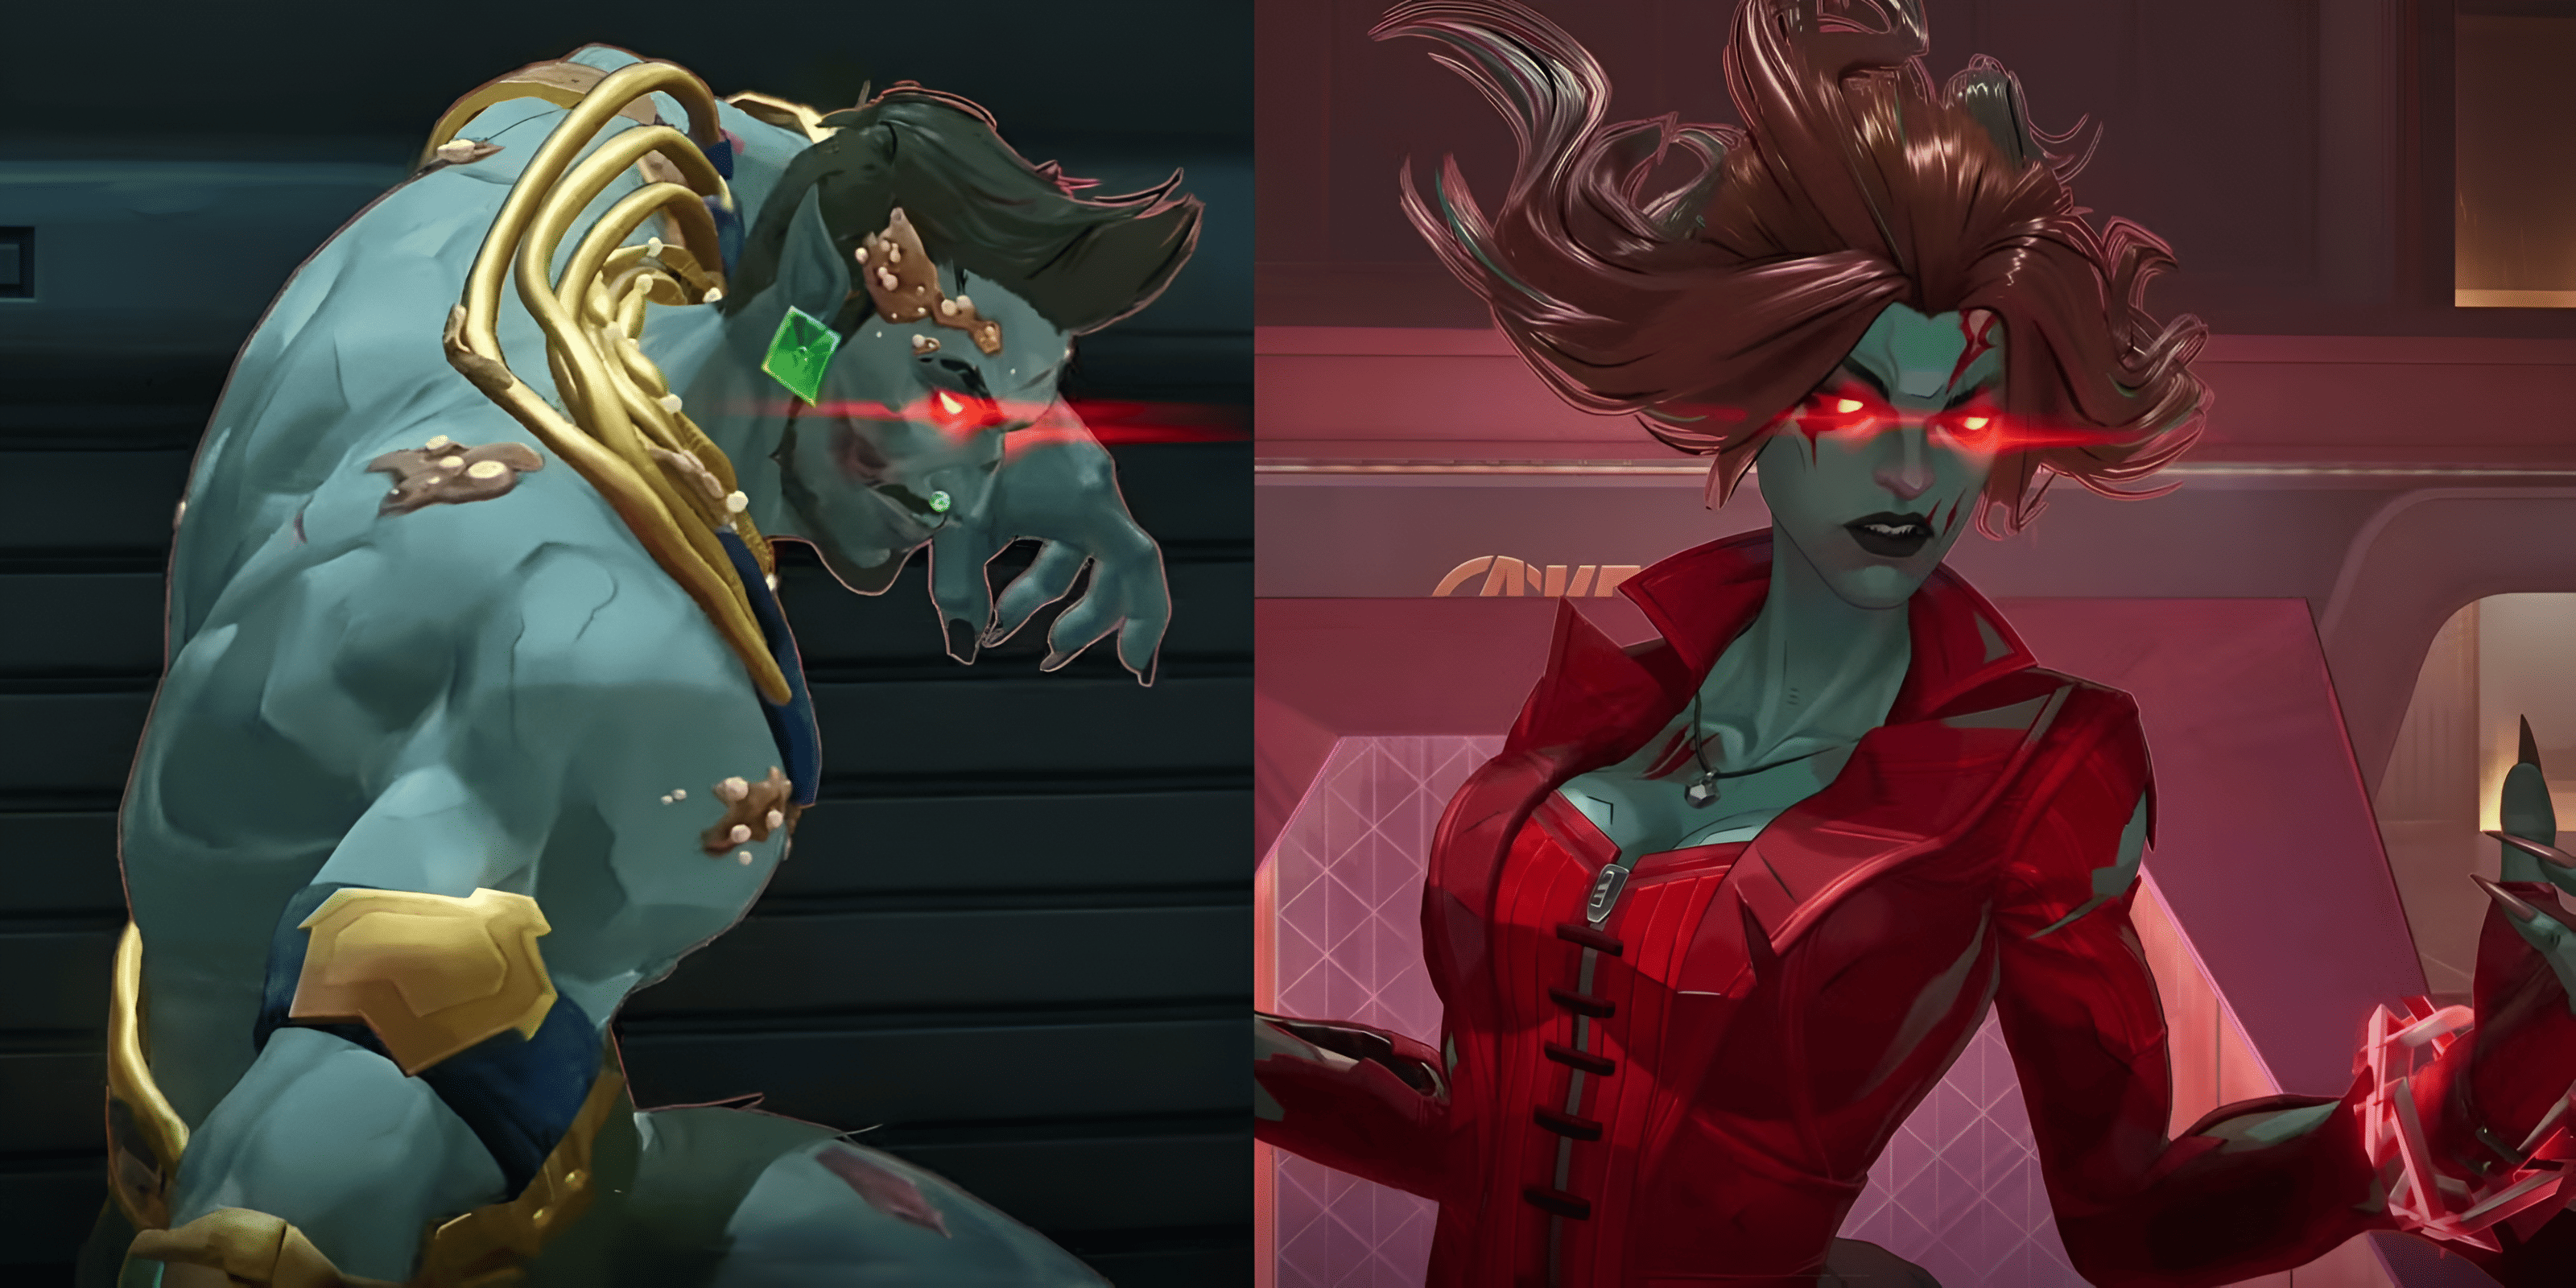
Namor Fight
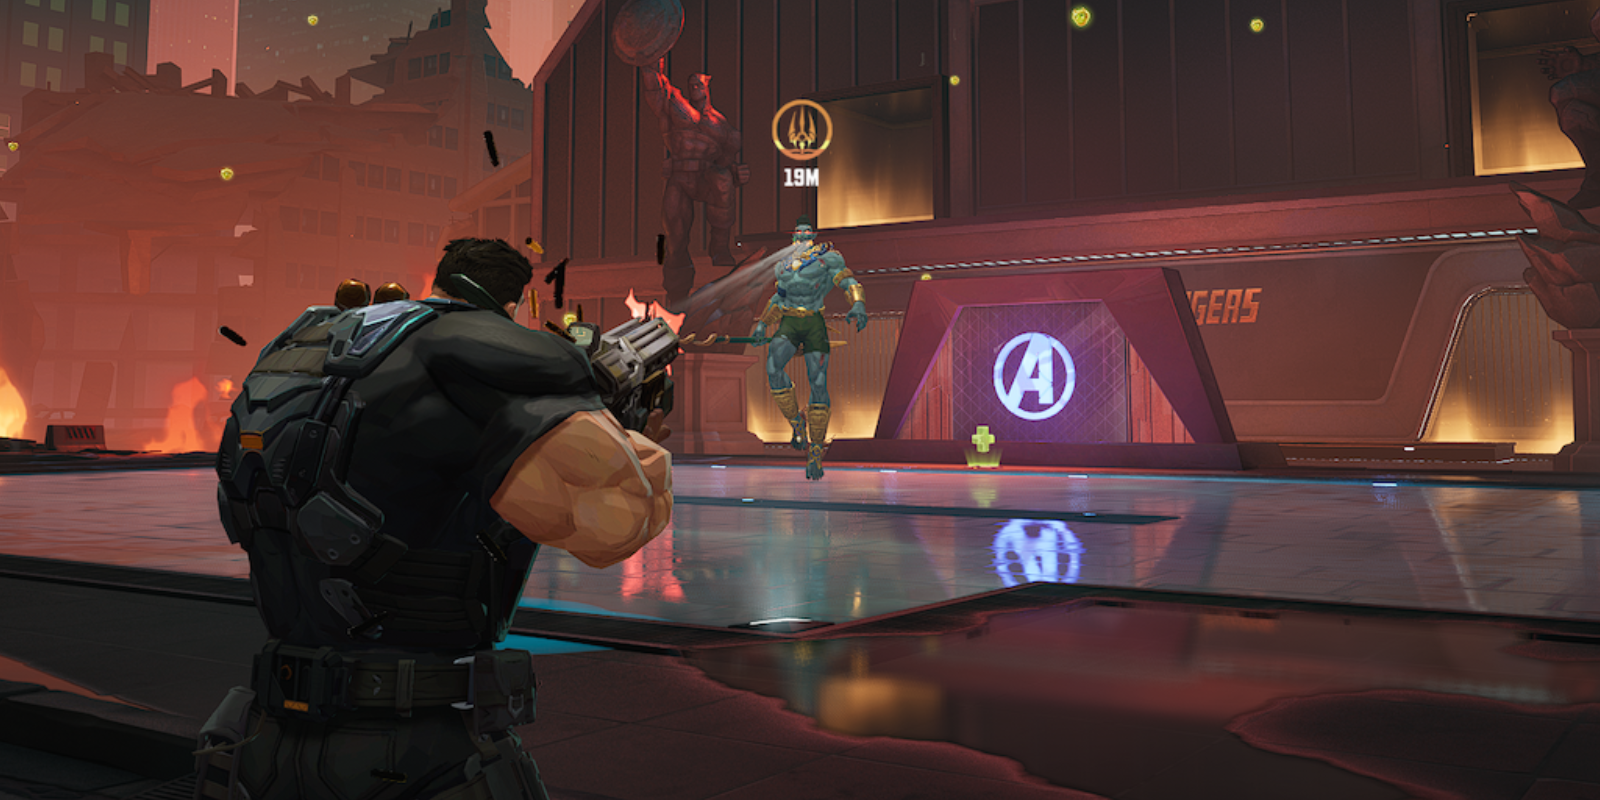
Namor has two phases. He starts invincible, and you can't damage him directly. Kill his summoned squids to break the shield. These creatures have crit spots in their central mouth area, making them vulnerable to headshot builds. Drop enough squids and Namor becomes damageable.
Wanda Fight
Wanda cycles through three phases:
Phase 1 is standard combat where she moves around dealing damage.
Phase 2 triggers her bubble phase. She pulses area damage that hits harder in later difficulties while spamming stun effects across the battlefield, usually aimed at your position. Melee characters struggle here because stuns stack. Get hit by enough and you'll freeze completely, unable to move or act. It's brutal.
Phase 3 activates Reality Erasure. This ability ignores blocks, dodges, and cover. It kills everyone no matter where you stand. Your only option is burning through her health and destroying the crystals that spawn. A yellow bar appears under her health that fills when you break crystals and slowly drains otherwise. Keep it full to prevent the wipe.
Ability Setup
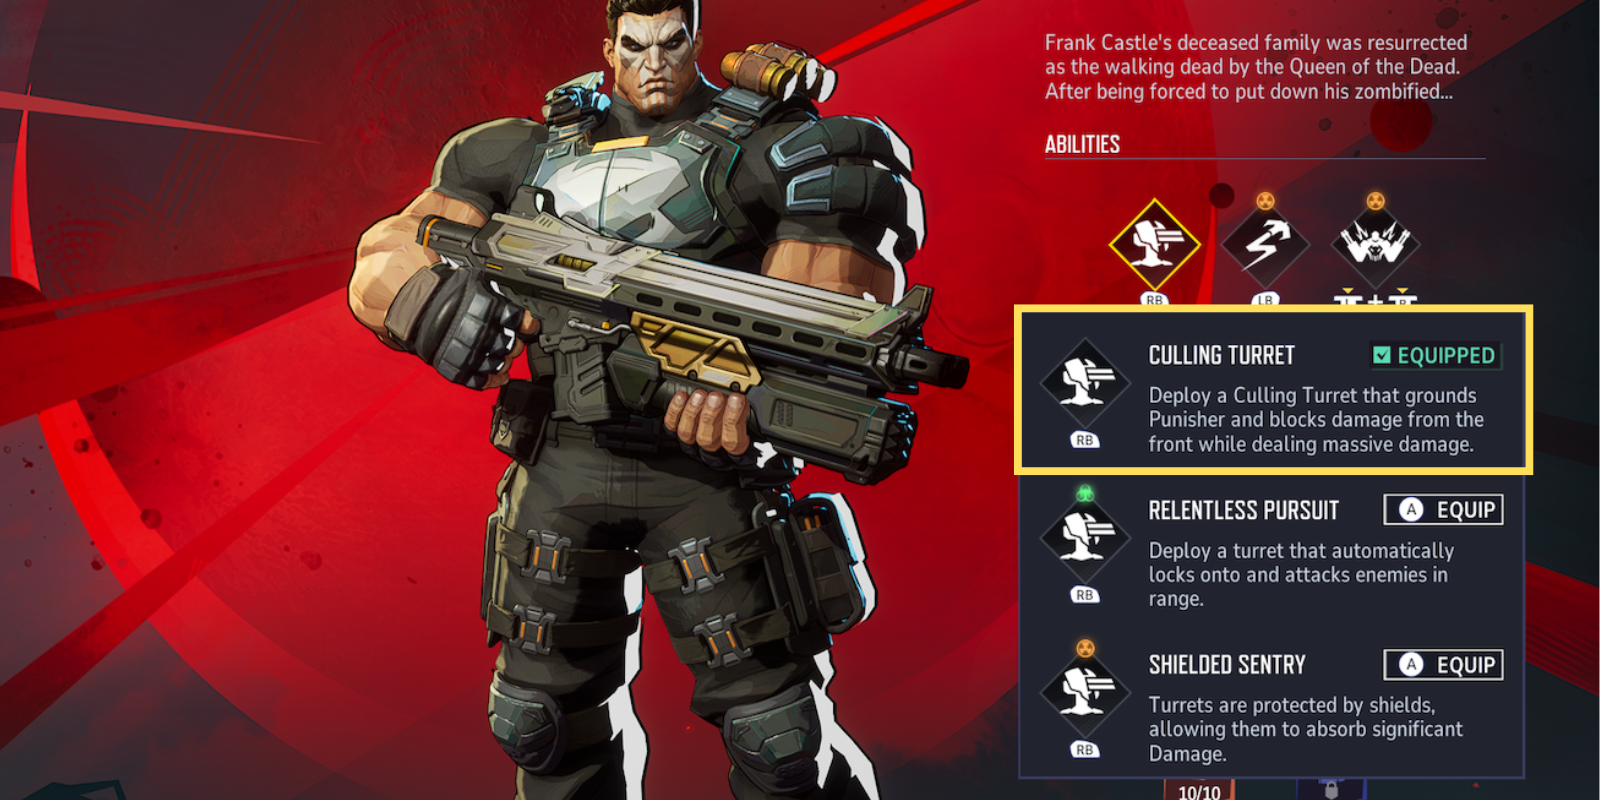
Each of Punisher's three abilities has three modifications that unlock through leveling. Your picks here shape how you play at different difficulty tiers.
Primary Ability - Turret Choices
Culling Turret (Default, Level 0): Roots you in place while the turret blocks frontal damage and shoots enemies. Defensive but kills your mobility.
Relentless Pursuit (Unlocked Level 5) - PICK THIS: Drops an automated turret that tracks and fires independently. Works like Rocket's amplifier, adding supplementary damage without locking you down. The turret doesn't get durability buffs and dies fast in higher difficulties, but it pulls aggro in lower tiers and adds chip damage regardless.
Shielded Sentry (Unlocked Level 5): Adds shields to your turrets for extra durability. Basically useless because turrets get instantly destroyed in Nightmare 3 and 4 anyway.
Movement Ability - Zipline Choices
Vantage Connection (Default, Level 0): Shoots a grappling hook creating a movement cable. Basic mobility with no extras.
Snare Beacon (Unlocked Level 15): Turns your zipline into a trap that yanks zombies toward the endpoint. Testing shows this provides minimal value.
Phantom Rush (Unlocked Level 15) - PICK THIS: Gives you a speed boost and collision immunity, letting you run straight through zombies. Absolutely critical for repositioning in higher difficulties. You can escape from completely surrounded positions by just walking through the horde. This is your most valuable ability mod.
Ultimate Ability - Gatling Choices
Final Judgement (Default, Level 0): Pulls out two gatling guns and missiles. Standard ultimate.
Piercing Barrage (Unlocked Level 25): Gatling bullets pierce enemies. You gain Damage Reduction and enhanced Lifesteal while active.
Missile Swarm (Unlocked Level 25): Missiles fire faster with bigger explosion radius. Grants Damage Reduction and enhanced Lifesteal.
After Nightmare 3, you'll barely touch your ultimate and the choice here stops mattering. Your primary weapon with full traits objectively outdamages the ultimate while offering the same uptime and splash potential. The only reason to pop ultimate is emergency healing when you're taking damage. In Nightmare 4, you might never use it for damage at all. Save it as a panic button for health, not a DPS cooldown.
Trait System Explained
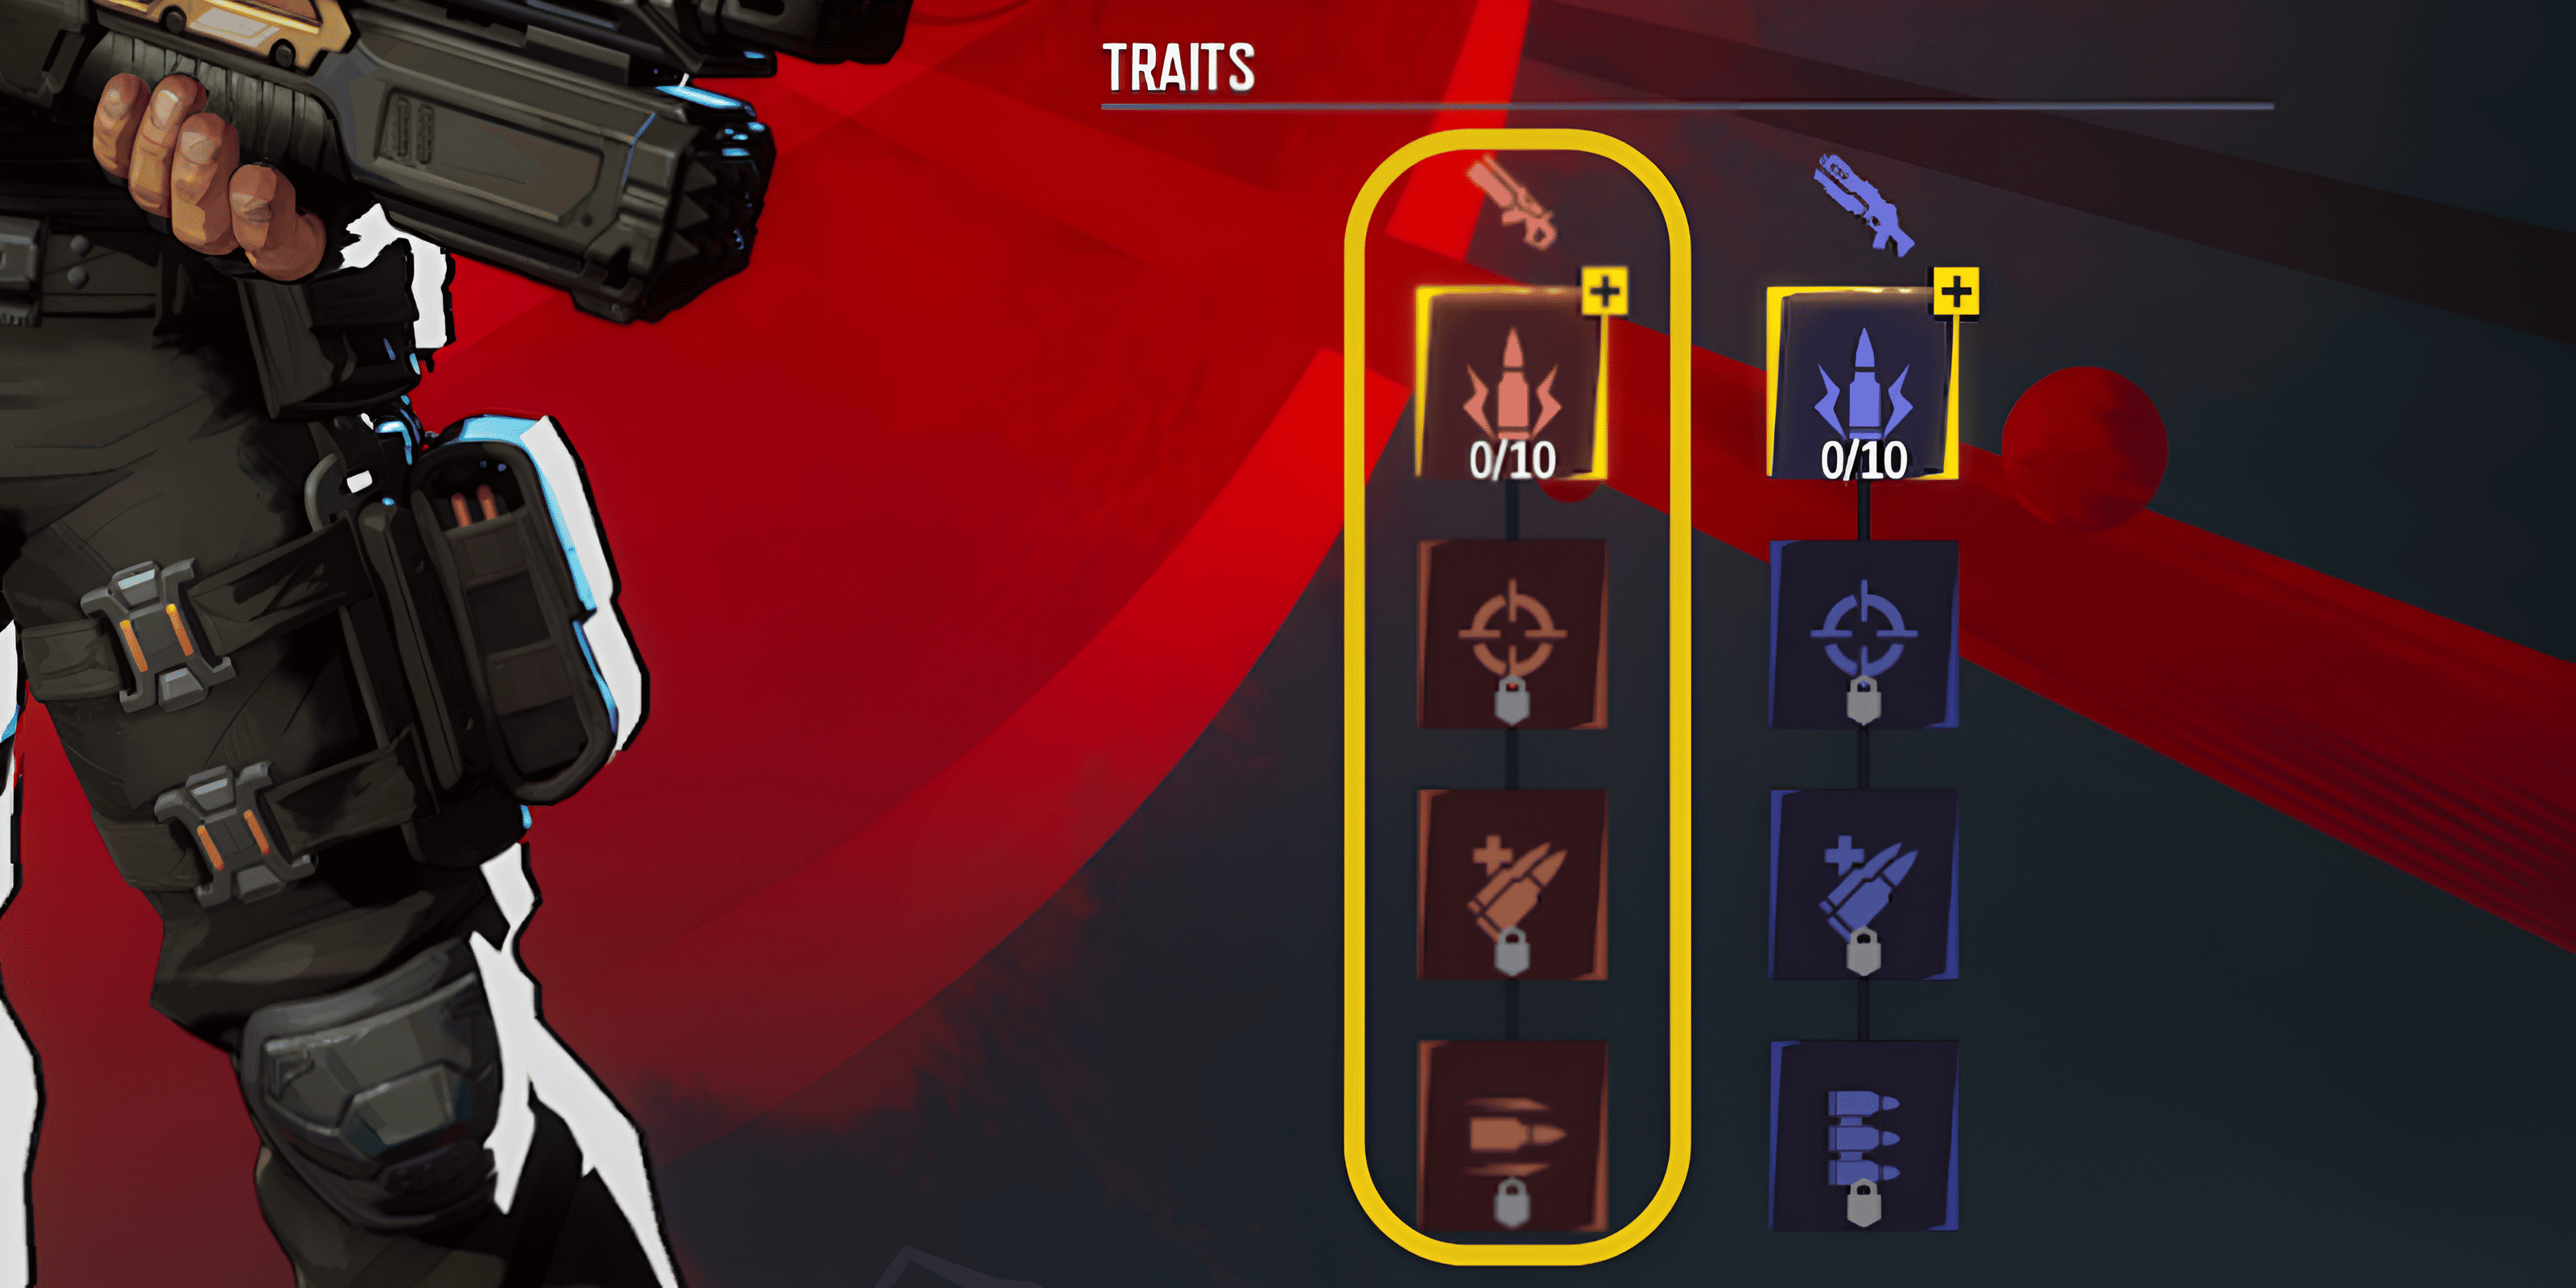
Traits let you upgrade weapon stats as you level during matches. For Punisher, this is your most important decision. Go all-in on the red trait tree (Adjudication assault rifle) and ignore everything else.
Why Focus One Tree
Spreading points across weapons weakens your scaling and delays power spikes. Concentrating on one tree gets you strong faster with better returns. Every trait tree has threshold bonuses at 20, 60, and 120 total points that unlock game-changing effects. For Adjudication, hitting these thresholds early maximizes your damage through the entire match.
- 20 Point Threshold: Adjudication starts firing multiple bullets per shot, drastically boosting DPS. Your first major power spike.
- 60 Point Threshold: Unlocks additional performance mechanics.
- 120 Point Threshold: Bullets split and ricochet to other enemies, creating automatic multi-target tracking. This turns Punisher into a wave-clearing monster. Try to hit 120 red traits before the first boss wave in Nightmare difficulty.
Adjudication Traits - Full Investment
The Adjudication assault rifle has four trait categories: Single Bullet Damage, Headshot Multiplier, Magazine Capacity, and Fire Rate. Each trait can be leveled up to 10 times as your health increases during matches. You'll naturally unlock higher levels as you progress through waves.
What matters most is focusing all your points into these red tree traits rather than the specific order. Damage and fire rate give the biggest returns, while headshot multiplier becomes incredibly strong once you get the Deadly Lock-On blessing. Magazine capacity helps early but loses value once you obtain Smart Magazine and Rapid Reload blessings.
Deliverance Traits - Skip This
Trait Strategy by Difficulty
| Difficulty Level | Trait Strategy | Ultimate Usage |
|---|---|---|
| Tutorial and Easy | Experiment to understand how traits work | Ultimate does solid damage |
| Normal and Hard | Start committing to red tree, rush 20 point threshold | Still viable for damage |
| Nightmare 1-2 | Full red tree commitment required | Usage drops hard |
| Nightmare 3-4 | Red tree exclusive, determines success or failure | Emergency healing only |
Blessing System and Shop Strategy
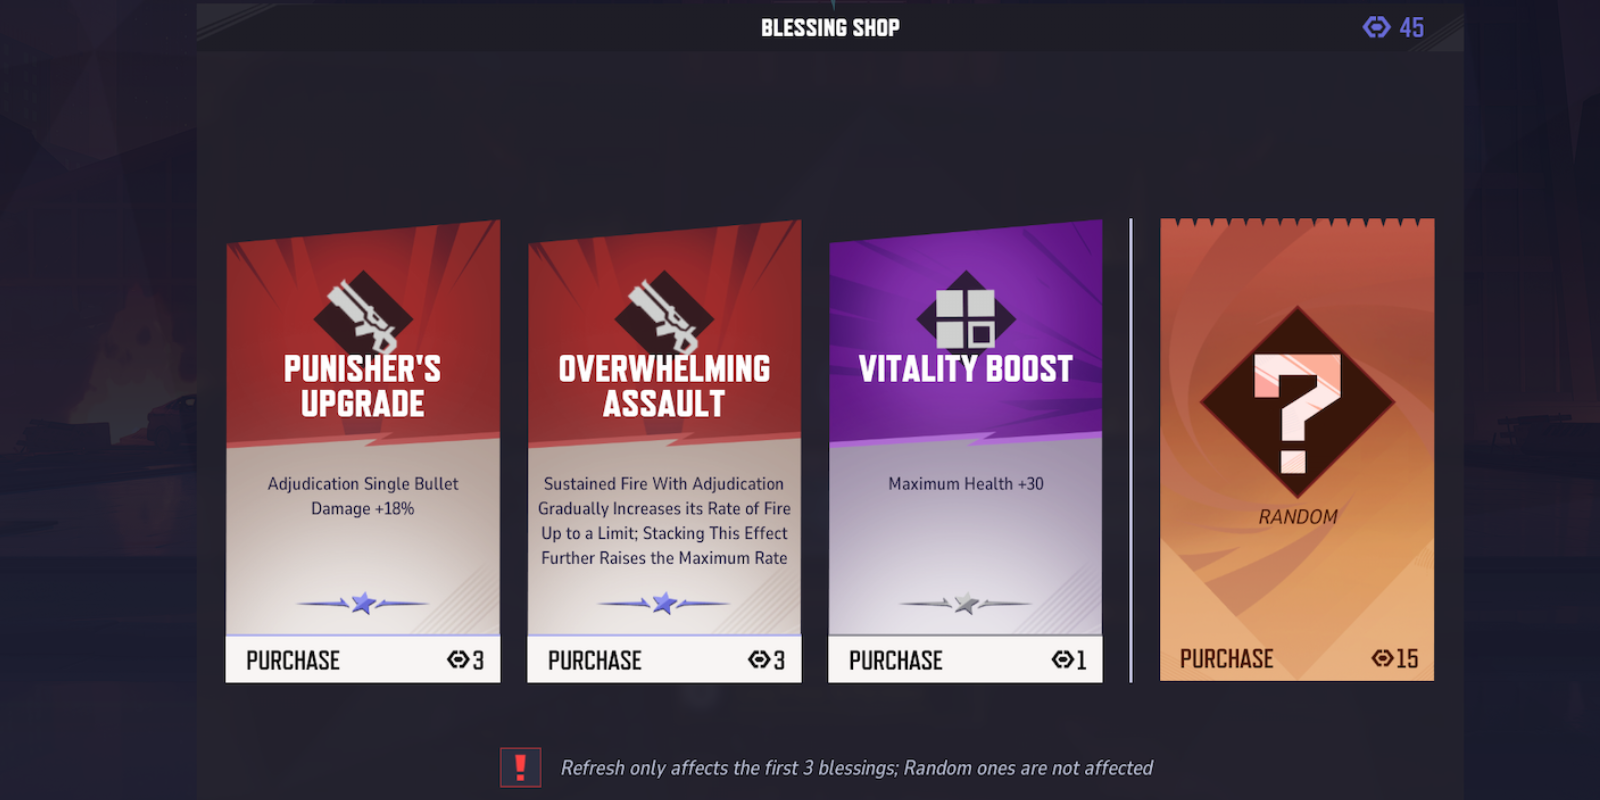
The blessing shop opens between waves, letting you buy permanent upgrades with moon points earned during gameplay. Smart blessing choices determine how well you scale into later waves.
General Blessings - Universal Options
General blessings work on every character and provide broad benefits. For Punisher, damage beats survivability, with certain unique effects offering exceptional value.
Primordial Frost - High Priority
Gives 3% chance to freeze enemies when you deal damage. Frozen enemies explode on death, blasting nearby zombies. Each duplicate increases explosion damage. This synergizes perfectly with Punisher because his primary fire dominates his damage output, unlike other characters with diverse damage sources. The turret might also proc this effect, though that's uncertain. The proc chance combined with high fire rate creates constant freezes and chain explosions.
Zeus's Thunder - Moderate Priority
Provides 20% chance to trigger chain lightning hitting three targets with bonus damage. Adds area damage to single-target fire, improving wave clear. Good supplementary damage but not critical.
Vampiric Vitality - High Priority for Bosses
Converts 5% of damage dealt into healing. Scales with total damage output, giving you more sustain as you get stronger. Each duplicate increases the healing percentage. Nearly mandatory for boss encounters, especially solo. The passive sustain lets you fight extended battles without retreating or needing external healing. This provides minimal benefit without adequate health or damage reduction from other sources.
Power Surge - Highest Priority
Raw damage increase percentage. Directly amplifies all damage output and should be your first general blessing purchase. Stack duplicates for substantial scaling.
Vitality Boost - Moderate Priority
Increases max health. Prevents one-shots and lets you survive major attacks like Wanda's bubble phase damage pulse. Secondary priority but required for surviving specific mechanics. Too much investment sacrifices damage, which is a poor trade for Punisher who should stay at range and avoid most damage anyway.
Moonlight Protection - Moderate Priority
Provides damage reduction. Works with Vampiric Vitality to improve effective health and healing efficiency. Grab occasionally but don't make it your primary focus beyond surviving specific attacks.
- Power Surge (damage first)
- Primordial Frost (if available early)
- Vampiric Vitality (mandatory for bosses)
- Zeus's Thunder (supplementary damage)
- Moonlight Protection (survivability as needed)
- Vitality Boost (only enough to survive burst damage)
- Don't over-invest in health
- Punisher operates from back line
- Typically dodges most damage
- Surviving Wanda's bubble phase is main health requirement
- Extra health cuts into damage
Hero-Specific Blessings - Red Path Only
Hero-specific blessings target particular aspects of Punisher's kit. Focus exclusively on red path blessings that improve Adjudication performance. These boost base damage, headshot damage, reload speed, and fire rate, all of which directly scale your damage output.
Critical Red Path Blessings
Punisher's Upgrade: Increases base weapon damage for Adjudication. Buy whenever available.
Precision Judgment: Increases headshot damage multiplier. High priority, especially when combined with smart lock-on that funnels all shots to heads.
Overwhelming Assault: Increases fire rate. Direct damage multiplier that stacks with other bonuses. Buy on sight.
Rapid Reload - High Priority: Provides instant reload speed. Works with Smart Magazine. Even if Smart Magazine keeps you topped off most of the time, Rapid Reload ensures the occasional empty magazine doesn't create vulnerability windows. Together, these blessings create nearly uninterrupted damage uptime.
Extended Rifle Magazine - Situational Priority
Increases magazine capacity. Priority shifts dramatically based on progression:
- Early Game (Waves 1-5): High priority. Reaching 120 trait points takes time, and extra magazine capacity improves damage uptime before hitting critical thresholds. Grab multiple copies to reach around 2000 rounds total.
- Mid Game (After reaching 120 traits): Stop taking this completely. Once you have Smart Magazine and Rapid Reload, magazine size becomes irrelevant. This blessing wastes shop slots better used for damage increases.
- Late Game (Nightmare 3-4): Actively avoid. Points spent here could buy damage or critical purple blessings instead.
Hero Blessing Priority by Phase
| Game Phase | Blessing Priority |
|---|---|
| Early Waves (1-5) | Base damage increases, Extended Rifle Magazine (until 2000 rounds), Fire rate increases, Headshot damage |
| Mid Waves (6-10) | Deadly Lock-On (shop refresh priority), Smart Magazine (shop refresh priority), Rapid Reload, Base damage, Fire rate |
| Late Waves (11+) | Deadly Lock-On duplicates, Smart Magazine duplicates, Base damage, Headshot damage, Fire rate |
Advanced Tactics
Positioning and Movement
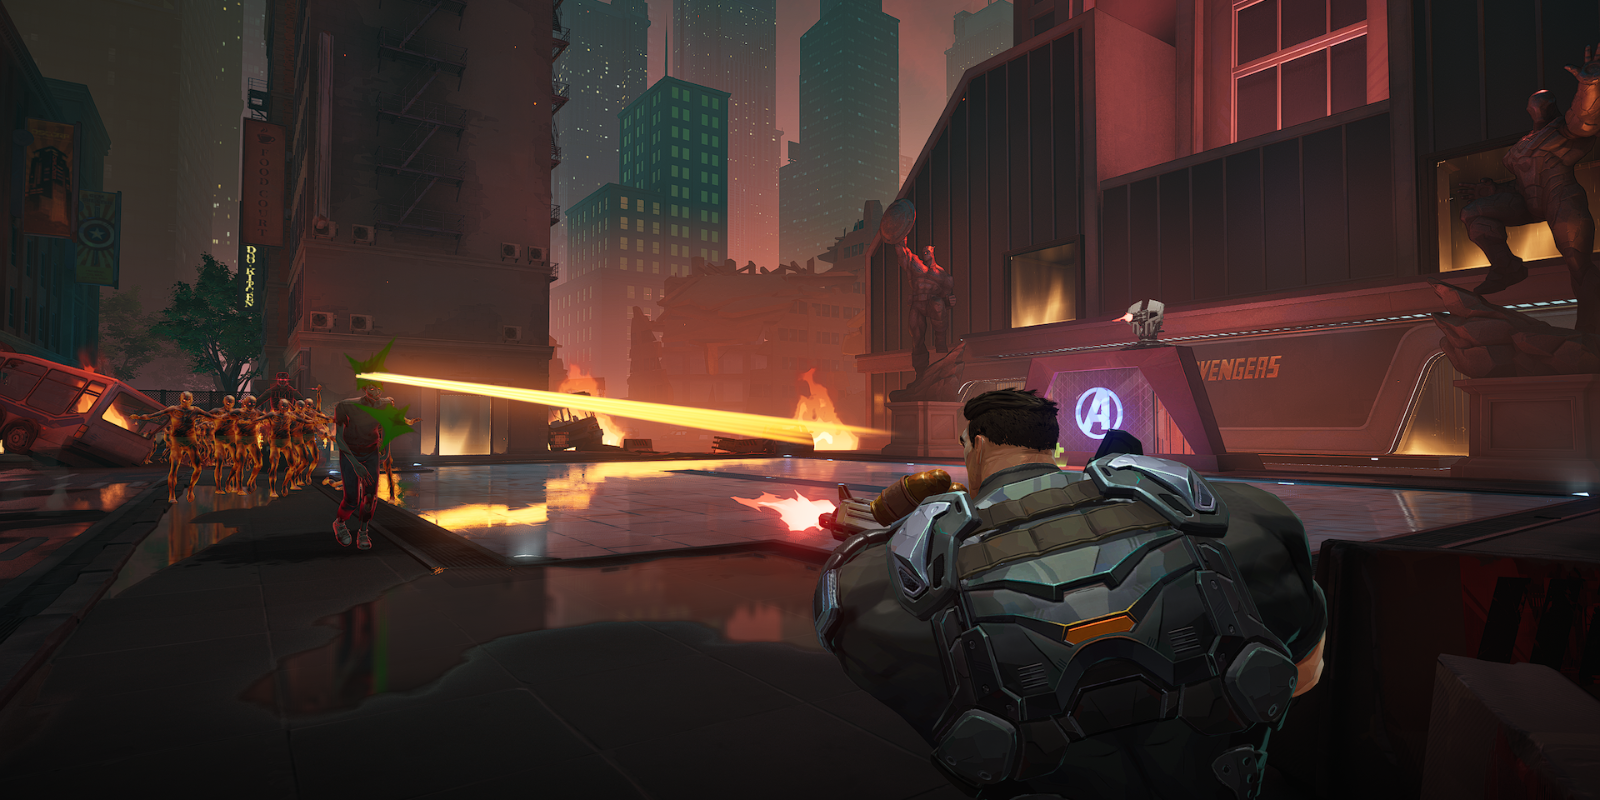
Punisher's effectiveness depends on proper positioning. As a pure ranged character with limited defense, you need distance from hordes while maximizing damage uptime through smart positioning and movement.
Optimal Positioning:
- Stay back line behind melee teammates
- Use high ground when available for better sightlines
- Position near corners or obstacles for quick line-of-sight breaks
- Stay within support range but not so close that area effects hit multiple players
Movement Tactics:
- Use Phantom Rush proactively before getting surrounded
- Pop smoke grenade for emergency repositioning when Phantom Rush is down
- The smoke grenade works identically to standard Punisher, providing excellent mobility for escaping danger or aggressive repositioning
- If Snare Beacon grapple puts you in a bad spot, immediately drop smoke to reposition safely
- Don't stay static for extended periods as enemy spawn patterns can surround stationary players
Turret Deployment
Despite turret fragility in Nightmare, strategic deployment still helps:
Placement Strategy:
- Drop turrets in spawn lanes for early damage and aggro draw
- Place turrets near objectives or defense points for crossfire angles
- Use turrets as early warning for spawn directions
- In lower difficulties, turrets contribute meaningful damage
- In Nightmare 3-4, value turrets mainly for momentary distraction over damage
Timing Considerations:
- Drop a new turret immediately when the previous one dies
- Don't deploy turrets when expecting major enemy spawn waves that will instantly destroy them
- Save turret deployment for moments when teammates need enemy attention diverted
Resource Management and Shop Tactics
Moon Point Spending:
- Never save moon points between waves unless specifically waiting for shop refresh
- Spend all available points each shop phase
- In higher waves with accumulated points, prioritize shop refreshes to find critical blessings (Deadly Lock-On, Smart Magazine)
- Balance between guaranteed damage upgrades versus gambling on shop refresh
The shop includes a "random blessing" option at reduced cost. This rarely provides value equal to deliberate selection. In testing, roughly nine out of ten random purchases resulted in wasted points that provided no benefit to the build. Only consider random blessing when:
- Playing significantly lower difficulty with comfortable clear capability
- Helping lower-level friends through tutorial content
- All primary blessings are already obtained and only minor upgrades remain
For Nightmare 4 progression, the random button represents wasted resources. Avoid it completely.
Team Composition
Punisher works best within specific team compositions that complement his strengths and cover his weaknesses.
Optimal Teammates
Thor - Highly Recommended: Despite community perception of Thor as weak, he provides crucial utility for Nightmare through his ultimate. When Thor pops ultimate, all non-elite zombies across the entire battlefield get launched into the air, regardless of proximity to Thor. This creates brief breathing room that's invaluable in high-pressure situations. Thor's ultimate also takes him high into the air, letting him survive and facilitate team respawns during dangerous phases. His crowd control makes him a great pick for Punisher compositions.
Blade: Considered the strongest character in Zombie Mode overall. Blade excels at clearing hordes and dealing massive damage. His main weakness appears in Wanda boss fights where his optimal build requires close range positioning, making him vulnerable to stun stacking. Punisher covers this weakness through ranged boss damage. The combination creates balanced team composition where Blade handles wave clear while Punisher handles boss phases.
Melee Characters (General): Any melee characters that engage zombies in close combat create space for Punisher to operate safely from range. These characters draw enemy attention and create buffer zones that let Punisher maintain optimal positioning.
Difficulty-Specific Approaches
| Difficulty Range | Approach |
|---|---|
| Tutorial through Hard | Experiment with abilities and traits, Use ultimate for damage and practice, Learn enemy patterns and spawn locations, Build mechanical familiarity |
| Nightmare 1-2 | Transition to red tree exclusive trait investment, Focus blessing purchases toward optimal selections, Reduce ultimate usage, Tighten positioning discipline |
| Nightmare 3 | Red tree mandatory with zero deviation, Ultimate becomes healing tool only, Shop refreshes become valuable, Positioning mistakes significantly more punishing, Team composition matters substantially |
| Nightmare 4 | Everything from Nightmare 3 applies more strictly, Reaching 120 red traits before first boss nearly mandatory, Deadly Lock-On and Smart Magazine represent difference between success and failure, Team coordination required, Single positioning mistakes can end runs |
Boss-Specific Punisher Tactics
Namor Encounter
- Target summoned creatures' central weak points for crits
- Headshot-focused build excels at eliminating these quickly
- Maintain distance to avoid melee attacks
- Focus fire on Namor immediately when invulnerability drops
- Smart Magazine allows sustained damage without reload downtime
Wanda Encounter
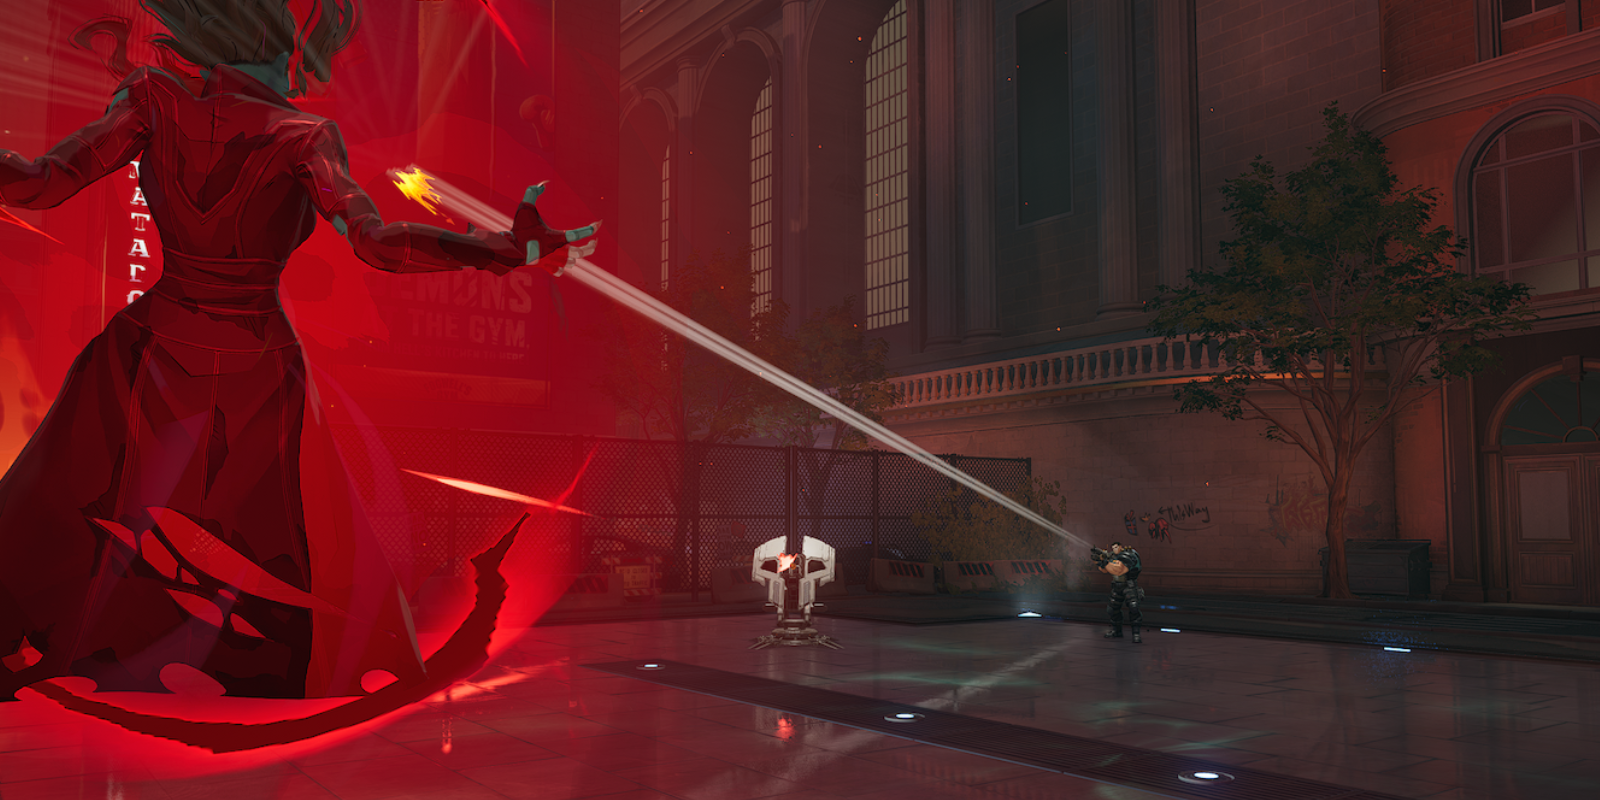
- Punisher's range advantage nullifies stun mechanics that devastate melee characters
- During bubble phase, maintain max distance while continuing damage
- Prioritize crystal destruction during Reality Erasure phase
- Smart Magazine ensures ammunition never depletes during critical DPS phases
- Use ultimate defensively if health drops during extended boss phase
- Headshot lock-on lets you focus on movement while maintaining damage output
Performance and Build Effectiveness
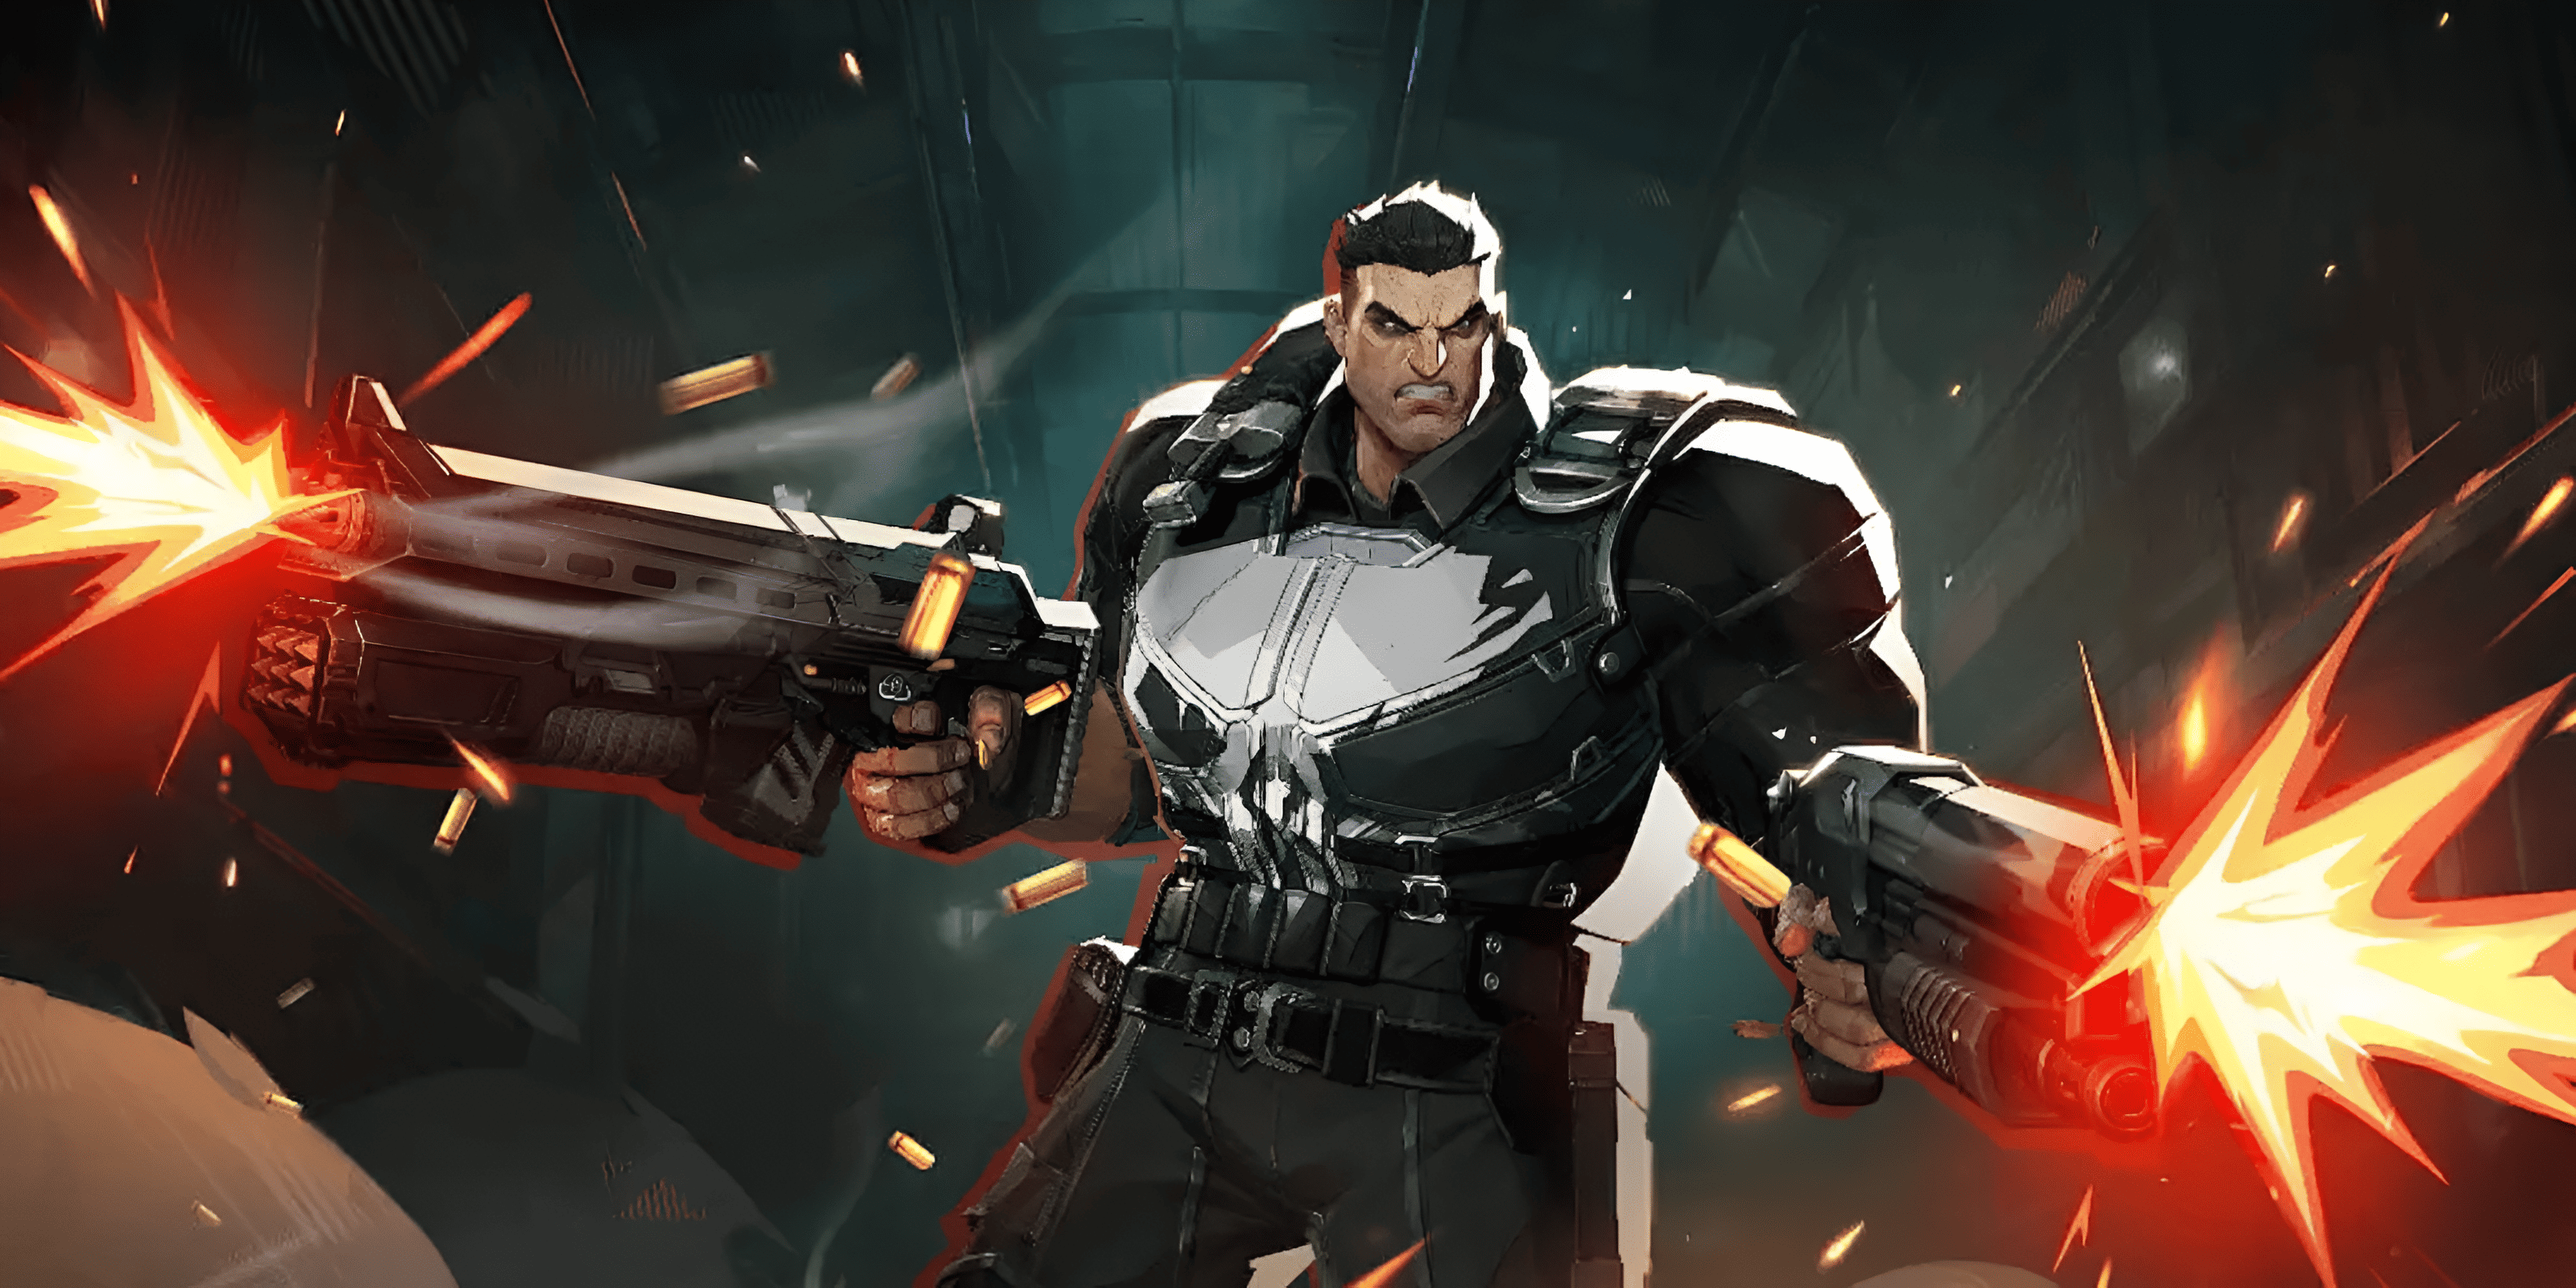
Once you have all critical blessings and proper trait investment, Punisher rivals and potentially exceeds Blade's damage output specifically in boss encounters. The build achieves:
- Nearly infinite ammunition through Smart Magazine procs
- Constant headshot damage through Deadly Lock-On
- Instant reloads eliminating downtime
- Superior range preventing mechanics that threaten melee builds
- Consistent damage output without ability rotation requirements
The combination creates sustained DPS that matches or exceeds even the highest-tiered characters while maintaining safety through range advantage.
Complete Build Summary
Ability Configuration
- Q Ability: Relentless Pursuit (automatic turret)
- L Shift Ability: Phantom Rush (speed and collision immunity)
- Ultimate: Either Missile Swarm or Piercing Barrage (use for healing only in Nightmare)
- Standard Ability: Smoke grenade (emergency mobility)
Trait Investment
- Red Tree (Adjudication): 100% of trait points
- Blue Tree (Deliverance): 0% of trait points
- Priority within red tree: Reach 20 threshold, then 60 threshold, then 120 threshold, then continue upgrading damage and fire rate
Blessing Priority Order
Phase 1 - Early Game:
- Power Surge
- Punisher's Upgrade (base damage)
- Extended Rifle Magazine (until 2000 rounds)
- Overwhelming Assault (fire rate)
- Primordial Frost if available
Phase 2 - Mid Game:
- Deadly Lock-On (highest priority, shop refresh for it)
- Smart Magazine (highest priority, shop refresh for it)
- Rapid Reload
- Vampiric Vitality
- Additional Power Surge duplicates
Phase 3 - Late Game:
- Deadly Lock-On duplicates
- Smart Magazine duplicates
- Precision Judgment (headshot damage)
- Punisher's Upgrade duplicates
- Overwhelming Assault duplicates
- Moonlight Protection/Vitality Boost only as needed for survivability
Gameplay Loop
- Maintain back line positioning behind teammates
- Deploy turret in spawn lanes for supplementary damage and distraction
- Focus sustained fire on priority targets (elites, bosses)
- Use Phantom Rush proactively to maintain optimal positioning
- Reserve ultimate activation for emergency healing situations
- Purchase damage blessings first, survivability second
