
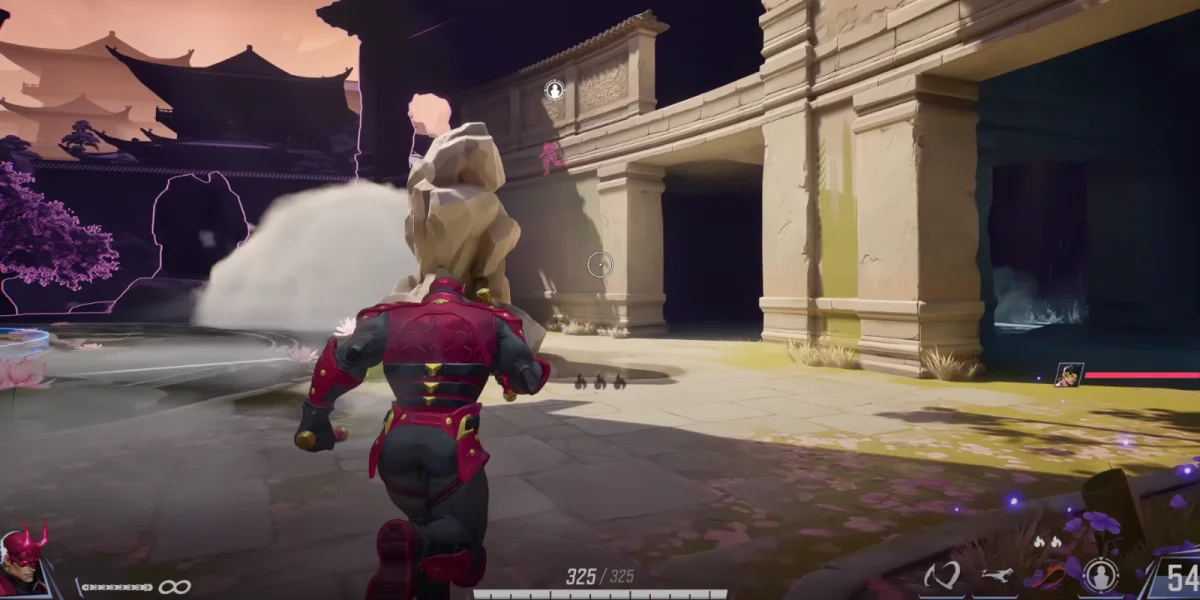
Daredevil is a melee Duelist with 325 health and a 3-star difficulty rating. He joined the roster on October 10, 2025, as part of Season 4.5. While other melee duelists excel in chaotic team fights, Daredevil specializes in single-target elimination and demands a tactical, patient approach to get the most out of his kit.
Understanding Daredevil's Role
Daredevil functions as a dive-focused flanker who excels at isolating and eliminating high-value targets one at a time. His entire kit revolves around marking a single enemy and hunting them down with relentless pressure. Brawlers like Magik and Iron Fist thrive in the middle of team fights, but Daredevil needs careful target selection and precise timing before committing to an engagement.
- Use passive detection to identify vulnerable targets
- Mark your priority target from a safe position
- Wait for the right moment to engage
- Execute your combo to eliminate the target
- Use dash resets or mobility tools to escape or continue the assault
This character has an extremely high skill ceiling and demands significant practice to master. Expect to invest considerable time learning his combos, timing, and positioning before you start seeing consistent results.
Passive Abilities
Radar Sense (Wallhack Detection)
Daredevil can detect enemy movements through walls within a 50-meter radius. This ability works on both moving and stationary enemies, despite the tooltip suggesting otherwise. The passive functions even against invisible characters like Invisible Woman and Loki, making Daredevil an excellent counter to flankers.
Because Daredevil is blind, his visual range is shorter than most characters. But this wallhack passive more than compensates by giving you superior positioning awareness. You can see enemies before they see you, letting you set up ambushes on isolated targets or warn your team about incoming flankers.
Blind Ascent (Wall Climbing)
Daredevil can climb walls infinitely by looking at a wall and jumping onto it. Unlike similar abilities in other games, there's no height limit to this wall climbing. You can also hang on walls by holding the backward movement key (S by default) after climbing.
Primary Attacks
Justice Jab (Standard Primary Fire)
Swing your Billy Clubs forward in a four-swing combo, dealing 35 damage per hit with a 3.5-meter range. This attack cleaves all enemies within range. Each hit generates half of your Fury meter (the resource bar below your crosshair).
Righteous Cross (Enhanced Primary Fire)
After using certain abilities (Devil's Latch, Infernal Fury, or Sonic Pursuit dash), Daredevil gains access to Righteous Cross for 5 seconds. This enhanced attack deals 50 damage instead of 35 and lunges your character forward 6 meters.
Always be aware when Righteous Cross is available, as it significantly extends your effective range and damage potential during engagements. You can use it to close distance gaps on mobile targets, finish combo sequences with extra burst damage, escape from aggressors by lunging away, or gain Fury on hit just like your standard primary fire.
Core Abilities
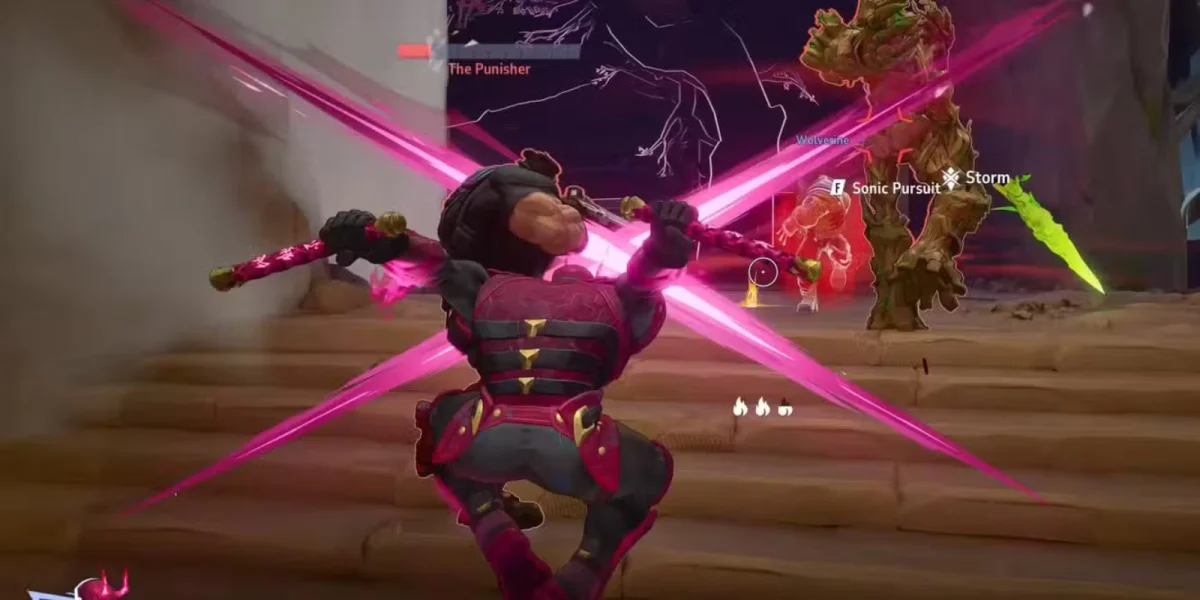
Sonic Pursuit (Mark and Dash - F Key)
This ability has two distinct functions that form the foundation of Daredevil's gameplay.
Marking Phase: You can infinitely mark targets within 40 meters, switching between targets as needed. When a target is marked, you gain movement speed buff (2.1 meters per second at 10 meters away, decaying to 0.9 meters per second at 40 meters away) and 20% damage reduction when being attacked.
Dash Phase: Press F again to dash to your marked target, dealing 20 damage and blinding them. This dash fully restores your Fury meter. The dash has a 15-second cooldown before you can use it again.
Critical Dash Reset Mechanic: If any enemy dies after you dash (not necessarily the marked target, and not necessarily killed by you), your dash instantly resets. The elimination window is very forgiving. This reset mechanic is what makes Daredevil so powerful in team fights. If you can secure eliminations, you can chain dash after dash to eliminate multiple targets in succession.
Infernal Fury (E Key - Primary Damage Tool)
Press E to choose between two attacks, both costing two Fury charges. Both attacks grant access to Righteous Cross after use.
- Close-range melee attack dealing 80 total damage
- Converts 70% of damage into bonus health (max 125)
- Best for finishing targets and gaining survivability
- Always aim at target's feet for both lashes to connect
- Mid-range projectile bouncing up to four times
- Deals 32.5 damage per hit, slows targets
- Single isolated target: 65 damage (two bounces)
- Best for initiating combos and building ultimate charge
Devil's Latch (Shift Key - Grappling Hook)
Fire a projectile that pulls Daredevil toward any surface it connects with, whether a wall or an enemy. The 12-second cooldown begins only after you connect to a surface, so missing doesn't waste the cooldown.
Connecting with an enemy deals 25 damage and pulls both Daredevil and the enemy approximately 10 meters toward each other. This ability also grants Fury on hit and enables Righteous Cross.
Objection! (Right Click - Deflect)
Hold right click to wave your Billy Clubs, reflecting all projectiles fired directly in front of you for 2 seconds before the ability goes on a 12-second cooldown. The more damage reflected, the more Fury generated. In practice, blocking any significant damage restores your full Fury meter.
Unlike simple blocking abilities, Objection! actually fires projectiles back at enemies, similar to a Genji deflect in Overwatch. You can aim where the deflected projectiles go, giving you control over the reflected damage.
| Can Deflect | Cannot Deflect |
|---|---|
| Luna Snow's snowballs (will freeze enemy) | Beam damage (Iron Man's primary fire) |
| Mantis sleep darts | Physical melee attacks (Bucky's slam) |
| Groot's ultimate | Magik's push |
| Magneto's ultimate | Most area-of-effect abilities |
| Iron Man's ultimate | |
| Star-Lord's shots |
Ultimate Ability: Let the Devil Out (Q Key)
Daredevil unleashes an aura in a 15-meter radius for 8 seconds, dealing 50 damage per second to all enemies looking at him. Enemies who look directly at Daredevil build a passive meter above their heads. When this meter fills (after 3 seconds), they become fully blinded and the damage increases from 50 to 85 damage per second.
True Power - Infinite Fury Generation: The real strength of this ultimate is near-infinite Fury generation while active. You can continuously chain combos without worrying about resource management. This allows for devastating combo chains with multiple dash resets.
Complete Combo Guide
Basic 275 HP Target Combo
Standard Combo Sequence
Total Damage: Devil's Throw (65) + Dash (20) + Righteous Cross (50) + Devil's Chain (80) + Righteous Cross (50) = 265 damage minimum
Important: Aim Devil's Chain at the target's feet to ensure both lashes connect. There's a precise "sweet spot" for maximum damage.
350 HP Target Combo
Same as the 275 HP combo, but add a quick melee attack (V by default) before the final Righteous Cross. The extra melee damage bridges the gap needed to eliminate 350 HP targets.
Modified Sequence: F → E → Right Click → F → Left Click → E → Left Click → V (quick melee) → Left Click (Righteous Cross)
Advanced Combo Variation
Latch Engage Combo: Shift (latch to target) → Left Click (Righteous Cross) → E → Left Click (Devil's Chain) → continue with primary fire
This combo starts with Devil's Latch instead of Sonic Pursuit dash. Only use this when the target is isolated from their team, you have teammate support nearby, you can escape afterward, or the target is already low health.
Ultimate Combo Chain
During your ultimate, Fury regenerates rapidly, allowing extended combo chains:
Chain Sequence: F → E → Right Click → F → Left Click → E → Left Click → (repeat as long as dash resets are available)
Continue this pattern as long as you secure eliminations for dash resets. The infinite Fury generation means you can use Infernal Fury abilities continuously.
Combat Strategy and Positioning
Pre-Engagement Positioning
Daredevil should rarely be in the center of team fights unless specific conditions are met: you have full Fury charges ready for AoE damage, your ultimate is available to swing fight momentum, or you're securing eliminations with dash resets already in progress.
Best Positioning: Position yourself like a flanker, staying out of the main fight and lurking in corners and off-angles, rooftops and elevated positions (using wall climbing), or hidden angles where you can observe but remain unseen.
Use wall climbing to access vantage points, then use Sonic Pursuit dash to quickly close gaps and catch enemy backliners or flankers off guard.
Target Priority
- Isolated supports (especially separated from team)
- Low-health enemies (for guaranteed dash resets)
- Enemy flankers caught by Radar Sense
- Immobile damage dealers without escape abilities
- Groups of enemies (they can peel for each other)
- Full-health tanks (takes too long, no reset)
- Mobile heroes with multiple escape abilities
- Enemies near spawn with reinforcements arriving
The 1v1 Advantage
Daredevil excels in 1v1 scenarios due to 325 base health plus up to 125 bonus health (450 total effective health), superior damage output in isolated encounters, deflect ability to counter enemy abilities, and movement options to chase or escape.
When you identify an enemy in a 1v1 situation, commit to the engagement with confidence. Daredevil wins most 1v1 duels if you execute your combo correctly.
Dive Coordination
Daredevil reaches peak effectiveness when coordinating with dive partners:
Brawl vs. Dive Decision-Making
Daredevil can function as either a brawler or a diver depending on team composition.
Dive Playstyle (Preferred): Team has other dive characters (Venom, Psylocke, Captain America), enemy has vulnerable isolated supports, you can coordinate engages with teammates, and map has good flank routes and high ground.
Brawl Playstyle (Situational): Team composition is brawl-focused (Magneto, Emma Frost), you can farm ultimate from mid-range safely, too risky to dive alone, or you finish off enemies damaged by your brawl team (Emma Frost beam targets).
Playing Around Cooldowns
Dash Management: Your 15-second dash cooldown is your primary limitation. When dash is down, don't overextend, stay with your team, farm Fury with primary fire and poke with Devil's Throw, mark enemies for movement speed and damage reduction, and wait for dash to return before aggressive plays.
Deflect Management: Your 12-second deflect cooldown is crucial for survival. Don't waste it on minor damage, save it for major crowd control abilities or ultimates, track enemy ultimate status (who has ultimate available), position to deflect key abilities when they come, and study enemy patterns to predict when they'll use abilities worth deflecting.
Latch Management: Your 12-second latch cooldown is primarily your escape. Assume you'll need it to escape every engagement, only use it aggressively when you have another escape option, practice bunny hop technique for maximum escape distance, and latch to walls, not enemies, when retreating.
Matchups and Counters
How to Counter Daredevil
Team-Level Counter: Force Daredevil to use his dash, then focus whoever he dashed to. Stack together when marked. If the team protects the marked target and prevents the elimination, Daredevil fails to get his dash reset and becomes ineffective for 15 seconds.
This is identical to countering Black Panther: stop the diver before they secure the elimination.
Tank Counters
| Tank | Why They Counter You |
|---|---|
| Emma Frost | Choke slam removes you from fights, beam damage can't be deflected, even reflecting slam loses at 100 beam charge |
| The Thing | Slam completely shuts down your approach, can't deflect the slam, high health makes him difficult to eliminate |
| Peni Parker | Nest traps shut down dive attempts, can't deflect or avoid nests easily, strong zoning potential |
| Groot | Walls block movement and ultimate, strong peel for teammates, difficult to eliminate quickly |
| Magneto | Strong crowd control, can't reliably deflect all abilities, creates space that prevents engages |
Damage Dealer Counters
| Damage Dealer | Why They Counter You |
|---|---|
| Phoenix | Point-and-click stun (can't avoid), dash and regeneration make her elusive, strong at all ranges |
| Star-Lord | Marks you with ability, invulnerability frames dodge combos, mobile and evasive (can blind during ult) |
| Winter Soldier | Stun forces deflect early, strong crowd control, difficult to approach |
| Mister Fantastic | Stun ability forces deflect early, mobile |
| Flying Characters | Extremely difficult to reach, can heal during combos, punish heavily after failed engages |
Support Counters
| Support | Why They Counter You |
|---|---|
| Ultron | Flies constantly, difficult to reach, can't reliably combo |
| Rocket Raccoon | Can latch onto walls, jetpack escape makes him extremely mobile, wastes dash if he escapes |
| Luna Snow | Very high health pool (250 HP) makes her a "raid boss", can heal during combo, needs perfect execution |
| Adam Warlock | Strong peel abilities, healing negates burst damage, difficult to isolate |
| Mantis | Strong peel abilities, healing negates burst damage, sleep dart disrupts combos |
Team Composition Synergies
Team-Up Ability: Bestial Hunt
Daredevil shares the location of his Sonic Pursuit target with The Punisher. Simultaneously, The Punisher can launch a devil-infused shock grenade that damages and blinds enemies.
Evaluation: This team-up isn't the strongest available, but provides utility against specific matchups. Most notably useful against Star-Lord during his ultimate, since Punisher can blind him while you engage. Since Star-Lord has a favorable matchup against Daredevil normally, this team-up provides counterplay options.
Best Team Composition
Tank Options (Dive Composition): Venom (instant target elimination when diving together) and Captain America (crowd control setups for your combos)
Tank Options (Brawl Composition): Magneto (creates space, you finish damaged enemies) and Emma Frost (you eliminate her beam targets at max charge)
Damage Dealer Synergies: Hela (strong in current meta, covers flying enemies that counter you), Phoenix (strong in current meta, covers flying enemies that counter you), and The Punisher (team-up ability synergy)
Both Hela and Phoenix benefit from your presence because when enemies dive them, you can dash to the diver and combo them while your damage dealer shoots, securing eliminations. They also cover your weakness against flying enemies.
Playstyle Adjustments by Composition
Dive Composition: Play aggressively with your dive partners. Coordinate engages to instantly eliminate marked targets. Both you and your dive partners engage simultaneously for overwhelming burst damage.
Brawl Composition: Play more patiently. Finish off enemies damaged by Emma Frost's beam. Stay with your team until opportunities arise. Farm ultimate from mid-range with Devil's Throw when diving is too risky.
Advanced Techniques
Bunny Hop Escape
After using Devil's Latch on a wall, jump immediately before reaching the wall to carry momentum forward. Continue jumping to extend distance covered. This technique needs having jump bound to a spammable key (mouse scroll wheel recommended, either up or down).
Execution:
- Latch to a wall
- At the apex of your latch (or just before reaching the wall), press jump
- Immediately continue pressing jump repeatedly
- Maintain forward momentum for about two jumps
Momentum decays quickly, limiting extension. This is your strongest escape tool and takes consistent practice.
Deflect + Ultimate Combination
Advanced usage of your ultimate combined with Objection! creates pressure on enemy teams:
- Activate ultimate
- Position in front of or within the enemy team
- Immediately activate Objection!
- Enemies must choose between looking at you (taking ultimate damage), shooting you (projectiles deflected), or looking away (unable to see)
This can force out enemy support ultimates or create positioning advantages for your team. Even against skilled players (One Above All rank), this technique can force major ultimate usage like Luna Snow's heal.
Support Ultimate Canceling
Use Devil's Latch to pull Invisible Woman or Cloak and Dagger out of their ultimate abilities:
- Identify when support activates ultimate
- Immediately latch to them
- Pull them out of position, canceling their ultimate
- Coordinate with team to eliminate them
This takes exceptional timing and coordination but completely shuts down game-changing support ultimates. Even with a low success rate (one success per six attempts), the value gained from canceling a support ultimate wins fights.
Character Difficulty and Learning Curve
Daredevil has one of the highest skill ceilings in Marvel Rivals. Expect significant time investment before achieving proficiency:
Learning ability inputs and combos, understanding when to engage vs. when to farm from range, resource management (Fury, cooldowns), and basic target selection.
Consistent combo execution under pressure, proper deflect timing against key abilities, dash reset chaining, and effective use of mobility for escapes.
Predicting enemy ability usage for deflects, perfect Devil's Chain aiming for maximum damage, advanced movement techniques (bunny hopping, wall positioning), ultimate timing and combination techniques, and team coordination for dive execution.
Don't expect strong performance immediately. Even highly skilled players on other heroes need adjustment time to reach proficiency on Daredevil.
Tier List Placement and Viability
Based on high-level gameplay analysis, Daredevil sits at high A-tier or low S-tier. But this rating comes with the significant caveat that he needs extensive practice to reach this potential.
- Excellent 1v1 dueling capability
- 450 effective HP makes him very survivable
- High burst damage with proper combo execution
- Superior information gathering with Radar Sense
- Dash reset mechanic enables multi-elimination sequences
- Versatile playstyle (dive or brawl depending on composition)
- Extremely high skill ceiling creates inconsistency
- Vulnerable during 15-second dash cooldown
- Countered by grouped enemies who peel for each other
- Struggles against flying enemies without team support
- Ineffective if unable to secure eliminations for dash resets
Comparison to Other Melee Duelists: Unlike Magik or Iron Fist, Daredevil can't thrive in chaotic team fights without specific conditions (ultimate active, Fury charges ready, or dash resets available). He needs more tactical gameplay, but rewards mastery with devastating single-target elimination potential.
Common Mistakes to Avoid
Overcommitting After Missed Dash: The most common Daredevil mistake is engaging with dash, failing to secure the elimination, and dying during the 15-second cooldown window. Always assess whether you can secure the elimination before committing to dash.
Wasting Deflect: Don't use Objection! on minor damage. Skilled opponents will force your deflect with undodgeable damage (beams, melee attacks), then use their major abilities while deflect is on cooldown.
Engaging with Devil's Latch: Most Daredevil players misuse latch as an engage tool. It should primarily be your escape option. Only latch aggressively when you have another escape available or are certain you'll secure resets.
Poor Target Selection: Diving into grouped enemies hoping to eliminate one target usually fails. Wait for isolation before committing to engages.
Ignoring Radar Sense Information: Your wallhack passive provides crucial information. Share flanker positions with your team via voice communication. This wins games.
Using Ultimate Solo: Daredevil's ultimate makes you the primary focus. Using it without team support often results in death without value gained. Coordinate with your team before activating.
Holding Combos for Perfection: While combo optimization matters, holding abilities waiting for the "perfect" moment often results in less overall value. Execute good-enough combos consistently rather than waiting for perfect scenarios that may never arrive.
Conclusion and Practice Recommendations
Daredevil represents one of the most rewarding but demanding characters in Marvel Rivals. His success needs extensive practice with combo execution and timing, excellent game sense for target selection and engagement timing, strong mechanical skill for deflect predictions and movement techniques, team awareness for coordination and peel opportunities, and patience to wait for the right moments rather than forcing plays.
Begin by practicing combos in training modes or against bots until execution becomes automatic. Then focus on target selection and engagement timing in actual matches. As you improve, incorporate advanced techniques like bunny hopping and deflect predictions.
Accept that mastery takes time. Even professional players specializing in other heroes need significant adjustment periods when learning Daredevil. But the character's potential is exceptional once mastered, capable of carrying games through relentless backline pressure and multi-elimination sequences.
For players willing to invest the time, Daredevil offers unmatched single-target elimination potential and the satisfaction of executing high-skill combos under pressure.