
What You Need to Know
If you're new to Challenge Modes, Gate of the Setting Sun makes a good starting point. The dungeon runs in a straight line without complex routing decisions. You need to finish in 13 minutes for gold, which sounds generous but goes by fast when things go wrong.
Here's what you're up against: kill 25 enemies plus four bosses (Saboteur Kip'tilak, Striker Ga'dok, Commander Ri'mok, and Raigonn). The dungeon only lets you skip 2 mobs while hitting the enemy count, so routing is pretty locked in.
Getting There
Head to coordinates /way 15.8 74.4 on the wall between Vale of Eternal Blossoms and Dread Wastes. The portal sits on top of the wall at the southernmost point of Vale of Eternal Blossoms. Both factions share a flight point right next to the entrance.

Building Your Team
This dungeon loves ranged DPS. You'll see why when we get to the bosses, but basically Kip'tilak and Ga'dok both make life difficult for melee players.
You absolutely need someone mobile (Monk works great) for the elevator section where you'll split up to handle different tasks. Rogues bring incredible value here, not just for Shroud of Concealment stealth, but because Smoke Bomb forces ranged mobs into melee range. That's huge for positioning.
Don't forget your Bloodlust. Shaman, Mage, or Beast Mastery Hunter all work. You'll use it either on Kip'tilak if you're feeling confident about the final boss, or save it for Raigonn's burn phases.
Hunter: Excellent ranged damage and pet utility for controlling adds
Rogue: Smoke Bomb utility and stealth capabilities for strategic positioning
Monk: High mobility for elevator mechanics and strong damage output
The Route
Opening Bridge: Go Big or Go Home
Charge straight down that opening bridge and pull everything before the first boss. You can split this into two pulls if your group isn't comfortable, but one massive pull teaches you what you'll need for harder Challenge Modes.
The trash here includes Demolishers (bomb throwers), Infiltrators (smoke bomb droppers), and Sappers (they jump on your back and stun you). Stack tight on your tank since nothing cleaves here, so clustering avoids smoke bomb problems. Pop your AoE stuns when everything's grouped up, then watch for the heavy damage from whatever's left standing.
First Boss Room: Don't Pull Early
Move carefully into Kip'tilak's room. Someone standing in the doorway can accidentally pull the boss, which isn't the end of the world but definitely wastes time. The boss doesn't really generate threat outside combat, so you can position safely for the bomb mechanics.
The Elevator: Your Only Real Skip
Right before the elevator, you'll hit a three-mob pack. Kill one, CC the other two (even roots work), then hop on the elevator. Mobs can't follow you up, so this is your cleanest skip opportunity.
Make sure someone's in charge of counting to five before hitting that lever. Resetting the elevator because someone was slow costs precious seconds.
After you kill Ga'dok upstairs, here's where coordination matters:
- Send your fastest player down the elevator immediately to rush the signal fire
- Two people stay up top manning the cannons to clear flying enemies
- Once the fliers are dead, light that fire, skip the cutscene, and you're all together again
Bridge to Tower: The Hard Pack
Time your jumps on the shaky bridge to avoid getting stunned. The tower pack gets messy fast. Three Infiltrators drop smoke bombs while two Ragers cleave everything in sight, plus a Wind shaper casting Gale Force.
This is tricky because you've got cleaving enemies plus smoke bombs limiting your positioning. Use Army of the Dead or similar cooldowns to control the pack. Interrupt the Wind shaper's Gale Force ability every time. Focus down Infiltrators fast so you can spread out and handle the Ragers without eating cleaves.
Commander Ri'mok Setup
Position Ri'mok so he cleaves through trash packs since his damage actually beats your group's clear speed on smaller pulls.
Boss Fights

Saboteur Kip'tilak: Don't Chain React
Everything revolves around explosives. Kip'tilak tosses Stable Munitions around the room that only explode when triggered by other explosions. He also sticks Sabotage on random players, which are four bombs that explode in cardinal directions when the debuff expires.
Kip'tilak Strategy
If you get Sabotage, run to a corner immediately. You want to trigger as few chain reactions as possible. At 70% and 30% health, he detonates everything on the field with World in Flames.
The damage outside explosions is pretty manageable, so healers can DPS most of the fight. Consider using Bloodlust here if you've got 11+ minutes left since it'll be back up for the final boss phases.
Striker Ga'dok: Flying and Dying
Ga'dok has two things that'll kill you: Prey Time and positioning mistakes during Strafing Runs.
Prey Time targets one DPS with 400k damage over 5 seconds plus a stun. They can't use defensives, so healers need to land at least one solid heal during those 5 seconds. If they're topped off when it hits, they'll probably survive with just one heal.
Strafing Runs happen at 70% and 30% health. Plan your positioning beforehand since the fire strips he leaves are wider than healing range, so groups can get split up and lose people. He follows each Strafing Run with Prey Time.
Focus fire when he's on the ground. His flight phases drag the fight out significantly.
Commander Ri'mok: Racing the Sabator
The first 45 seconds are easy mode with low damage, perfect time for DPS to go all out. Then a Sabator spawns and starts bombing the whole raid periodically.
If you're fast and kill Ri'mok before the Sabator gets more than two bombs off, healing stays manageable. Let it drag on longer and you'll be drinking potions constantly.
Plan your tank's movement path so melee DPS knows where to stand and you can collect the Swarmers that jump over the walls. The green stuff on the ground only reduces damage output and won't hurt you, so healers can stand in it for better positioning.
Raigonn: Artillery Coordination
This fight splits into ground phases and weak spot burn phases. Send your two strongest DPS up in the artillery first, pop Bloodlust right before they launch, then have them go to town on the weak spot.
Ground phases have three different add types:
| Add Type | Mechanic | Strategy |
|---|---|---|
| Protectorate Pack | Damage buff at 20% health | Knock low-health ones away until you can kill the whole pack together |
| Flying Pack | Drop tornadoes | Artillery players usually handle these |
| Swarm Brer | DoTs that absorb healing | Cleanse quickly or they spawn more adds |
You want that weak spot dead by the second artillery phase if possible. Let it go to the third phase and things get messy with all the different add types active.
Class-Specific Tips
Role-Specific Advice
Rewards and Benchmarks
Gold completion gives you the achievement and Path of the Setting Sun, a teleport spell with an 8-hour cooldown. Great for world travel and coming back to beat your times.
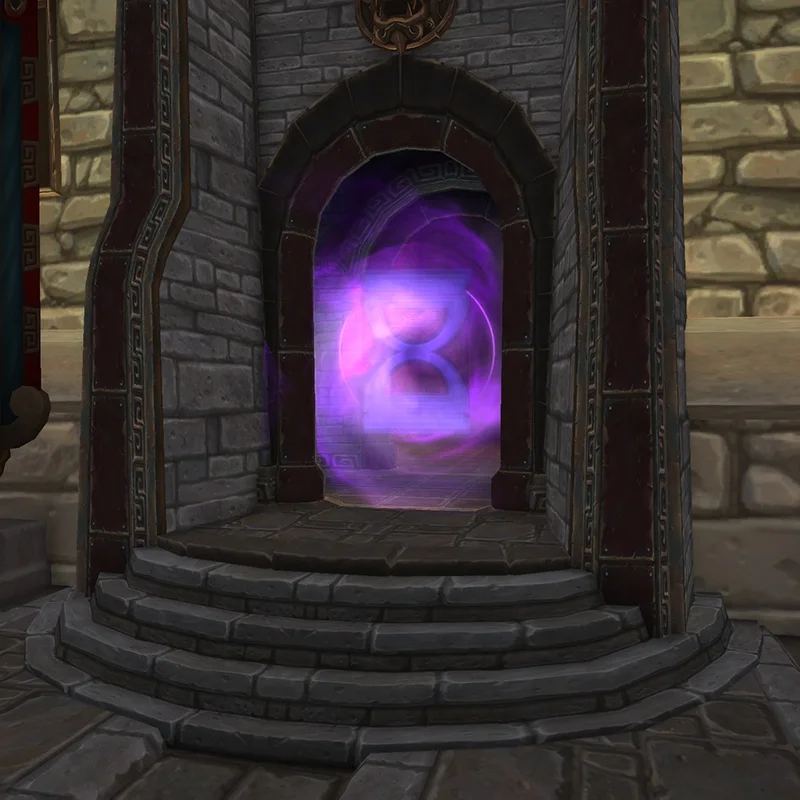
Instantly teleports you to the Gate of the Setting Sun dungeon entrance. Perfect for world travel and repeat attempts.
Your biggest time wasters will be deaths and wipes, not route mistakes. The bosses have some really punishing mechanics, and small errors snowball fast. Focus on clean execution over trying to save a few seconds with risky pulls.
Most groups finish with 30-40 seconds to spare, which gives you a decent buffer for learning the encounters. Once you've got this one down, you'll have the foundation for tackling the harder Challenge Modes.
- Straightforward linear route
- Good introduction to Challenge Modes
- Limited skip complexity
- Forgiving time limit
- Punishing boss mechanics
- Limited mob skipping options
- Coordination-heavy elevator section
- Chain reaction bomb mechanics