
Mogu'shan Vaults is your first stop in Tier 14 raiding for Mists of Pandaria Classic. This six-boss instance teaches you everything you'll need for harder content while offering some solid starter gear. Item levels are lower than other Tier 14 raids, which makes this perfect for getting comfortable with raid mechanics without the pressure of top-tier rewards.
Getting There and Getting Started
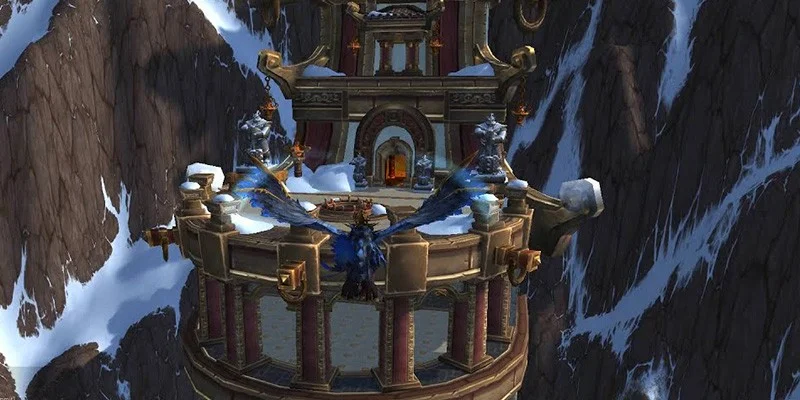
- Head to Kun-Lai Summit's northeastern corner
- Look for Mogu'shan Terrace, it's way up high
- Closest flight point: Temple of The White Tiger (66.2, 50.6)
- You'll need a flying mount since the entrance sits on elevated terrain
Both 10-player and 25-player versions are available. LFR exists with dumbed-down mechanics. No tier tokens here (unlike other Tier 14 raids).
Raid Composition That Works
- 2 tanks (some fights benefit from flexibility)
- 2-3 healers (depends on your group's skill level)
- 5-6 DPS with a good mix of melee and ranged
- 2-3 tanks (Spirit Kings really wants that third tank)
- 5-7 healers based on experience
- 15-18 DPS focused on multi-target damage
Essential Prerequisites
Before you step foot in here, make sure everyone understands these basics:
- How to dodge ground effects without panicking
- Moving as a group when mechanics demand it
- Staying spread when the fight calls for distance
- Tanks need to coordinate taunts and positioning
- Healers should plan cooldown rotations for damage spikes
- DPS must switch targets fast and cleave efficiently
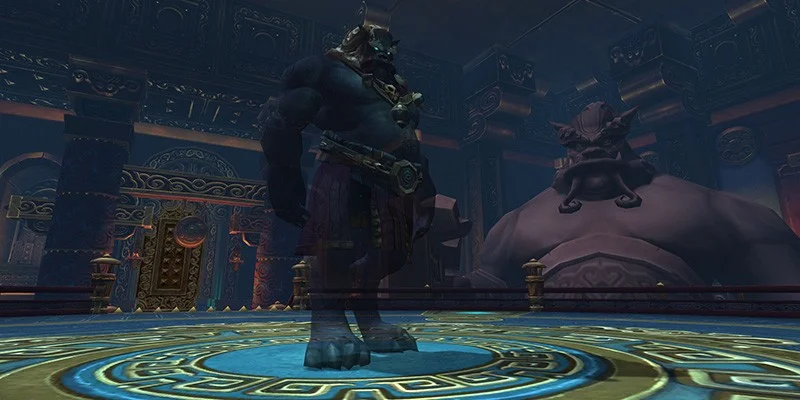
The Stone Guard - Your First Real Test
Four stone guardians (Amethyst, Cobalt, Jade, and Jasper) that you'll manage through an energy system. This fight teaches you coordination skills you'll use throughout the entire raid.
How the Energy System Works
The guardians gain energy when they're within 12 yards of each other - about 1.7 energy per second. Hit 100 energy and they'll blast your raid with devastating attacks called Overloads. When they're alone, they take 90% less damage thanks to something called Solid Stone.
One guardian will always be casting Petrification, which slowly turns your raid to stone. You need that guardian's Overload to break the effect before you all become statues. The guardian doing the petrifying also reduces damage from their element by 90%, so timing matters.
Energy Management Strategy
Keep the petrifying guardian next to exactly one other guardian. Every 25 energy in 25-man (or 50 in 10-man), swap which guardian is getting energy.
Your Game Plan
| Raid Size | Tank Setup | Taunt Frequency |
|---|---|---|
| 10-man | One tank handles the petrifying guardian plus one other, second tank manages the rest | Every 20 seconds |
| 25-man | Three tanks split the guardians for better control | Every 20 seconds |
Individual Guardian Quirks
Drops void zones that deal Shadow damage. Just step out when they appear under you. They last over a minute, so you'll have less safe space as time goes on.
Places mines that explode when someone gets within 7 yards. The explosion roots everyone nearby for 6 seconds. You can detonate them on purpose during Cobalt Petrification since you'll take 90% less damage.
Hits everyone every 10 seconds. Nothing fancy here, just steady raid damage to heal through.
Chains two players together. If they're more than 10 yards apart, they take increasing fire damage. You can break the chains by staying apart for 15 total seconds, but most groups use a "buddy system" where chained players stick together for the whole fight.
Heroic Mode Changes
The big addition is Energized Tiles. Interact with crystals around the room to get a debuff, then run over floor tiles to light them up. Each lit tile gives your entire raid 1% more damage and Spirit. You'll want 100+ tiles active.
The crystals hurt when you click them (7-10 stacks of a DoT), so assign your most mobile DPS to this job. Tiles reset at 75% and 40% guardian health, so you'll do this three times total.
Feng the Accursed - The Shape-Shifting Challenge
Feng changes weapons throughout the fight, and each weapon brings new abilities. Two special crystals at the start give your tanks powerful tools to deal with his mechanics.
Tank Crystal Powers
Essential Tank Abilities
Spirit of the Fist Phase (100%-66%)
Surviving Epicenter: This 10-second earthquake hurts more the closer you are to Feng, plus it cuts everyone's hit chance by 75%. If you can't stun him with stolen Lightning Fists, use Nullification Barrier and stack your whole raid inside it.
Spirit of the Spear Phase (66%-33%)
Wildfire Management: Feng puts a 5-second debuff on random players that creates fire patches. Have debuffed players run to one side of the room before it goes off. The fire spreads if people touch it.
Draw Flame Survival: Every 30 seconds, all the fire rushes back to Feng and he gets a stacking buff. Each stack makes his attacks hit the whole raid with fire damage. Use Nullification Barrier on Feng (not your raid) right before Draw Flame finishes to prevent the buff entirely.
Spirit of the Staff Phase (33%-0%)
This phase combines two mechanics that often happen together:
- Arcane Resonance: Affects random players with AoE damage in 6-yard radius
- Arcane Velocity: Raid-wide damage that hurts more the farther you are from Feng
Spread out 6+ yards apart, but when Arcane Velocity starts, stack on Feng immediately. The tricky part is spreading back out before the channel ends, since Arcane Resonance might be coming next.
Heroic Mode Additions
You get a fourth phase (Spirit of the Shield) and can choose phase order by positioning Feng near different weapon statues. Each phase change gives him 5% more damage.
Spirit of the Shield: He throws his shield and spawns adds equal to your raid size. The adds walk to the shield and heal Feng for 10% each. Stack tight and AoE them down. Nullification Barrier on the shield prevents adds from spawning entirely.
Gara'jal the Spiritbinder - Two Worlds, One Fight
This fight happens in two realms simultaneously. You'll send small teams into the Spirit World to kill adds while everyone else fights the boss in the normal world.
The Voodoo Doll System
Every minute, Gara'jal turns your current tank plus 2-3 random players into Voodoo Dolls. 70% of all damage the tank takes gets shared with the other dolls. When the effect ends, the tank gets banished to the Spirit World automatically.
This creates intense healing pressure since random DPS and healers are suddenly taking tank-level damage. Your other tank needs to taunt immediately when the first gets banished.
Spirit World Strategy
| Getting In | Team Composition | Objective |
|---|---|---|
| 10/25-man: Kill Spirit Totems to send the 3-5 closest players LFR: Just right-click totems, unlimited access |
1 healer plus 2-4 DPS per trip | Kill Shadowy Minions fast since they're dealing damage to both realms |
Players enter at 30% health and need healing to 100% before they can leave. Send 1 healer plus 2-4 DPS per trip. Rotate your healers so everyone gets the mana regeneration benefit. The Spirit World is like a mana battery for healers since they'll come out completely refreshed.
Some DPS can leave early after getting their damage buff (Spiritual Innervation) to keep pressure on the main boss.
The 20% Frenzy Phase
When Gara'jal hits 20% health, everything changes. He gets 50% faster and hits 25% harder. Worse, no more Spirit Totems spawn, so you can't kill the adds in the Spirit World anymore. This creates a damage spiral that will eventually kill you.
Save all your big cooldowns for this phase. Pop Bloodlust/Heroism and burn him down as fast as possible.
Heroic Mode Complications
Voodoo Dolls now take 100% of tank damage instead of 70%. Players who return from the Spirit World get a 30-second debuff preventing them from going back, so you need multiple teams rotating in and out.
The Spirit Kings - Four Bosses, Escalating Chaos
Four bosses activate one at a time, but each keeps one ability active after they "die." By the end, you're dealing with abilities from all four while fighting the last one.
- Qiang the Merciless
- Subetai the Swift
- Zian of the Endless Shadow
- Meng the Demented
Qiang the Merciless - Tank and Spank with Dodging
Flanking Orders (Keeps After Death): Untargetable warriors march across the room every 40 seconds (75 after death). They'll one-shot anyone they touch. Tank in the center so you have escape routes in all directions.
Massive Attacks: Frontal cone damage split among everyone hit. Stack your entire raid in front of the boss to minimize individual damage.
Annihilate: Ground-targeted attack with a 3-second warning. Everyone (including tanks) needs to move. Run through the boss for the shortest path to safety.
Subetai the Swift - Spread Formation
This boss punishes stacking, so spread out:
- Volley: Three frontal attacks getting narrower but stronger
- Rain of Arrows: Pins people with attackable arrows
- Pillage: 8-yard debuff reducing damage and healing by 50%
Heroic Addition: Sleight of Hand makes attacking him apply nasty debuffs unless he's stunned. Coordinate stuns to keep damage flowing safely.
Zian of the Endless Shadow - Kiting and Interrupts
Undying Shadows (Keeps After Death): Spawns adds that fixate on the nearest player and deal AoE damage. Kite them to room edges, kill them, and they become void zones that eventually respawn as adds again.
Other Abilities:
- Shadow Blast: Interruptible 8-yard AoE
- Charged Shadows: Chain lightning requiring spread positioning
Heroic Addition: Shield of Darkness is the deadliest mechanic in the fight. Attacking him while shielded triggers 300,000 raid-wide damage per hit. Dispel it immediately or wipe.
Meng the Demented - The Insanity System
Meng has an insanity bar that alternates between two states:
- Crazed: More damage based on insanity level
- Cowardice: Reflects damage based on insanity level
- Interrupt Crazy Thought when insanity is low (under 60)
- Let him cast it when insanity is high to reset faster
- Stop DPS during high-insanity Cowardice phases
Maddening Shout: Makes everyone hostile to each other. Stack tight and use gentle AoE to deal the required 40,000 damage to break the effect. Avoid stuns, fears, or other debuffs.
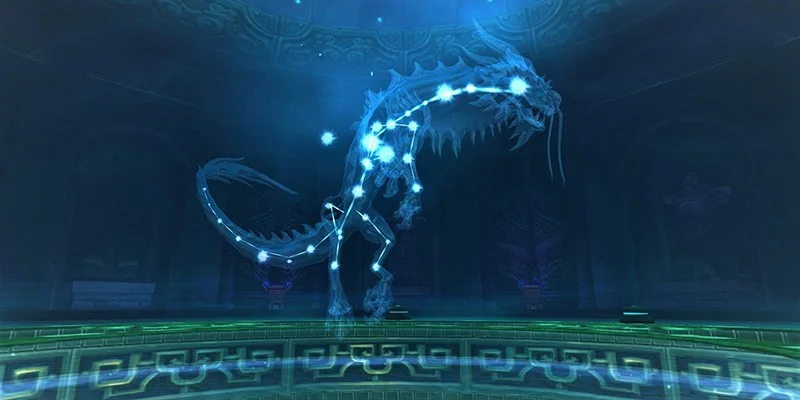
Elegon - The Technical Showcase
Three phases that repeat twice, with environmental hazards and tight coordination requirements. This is the most complex fight in the raid.
Understanding the Room
- Touch of the Titans: 50% damage and healing boost
- Overcharged: 5% damage taken per stack (max 20)
- Get stacks every 5 seconds, reset by leaving the ring
- Normal terrain for resetting stacks
- Your home during Phase Three
- Heroic mode blocks line of sight between rings
Phase One - Guardian Juggling
Tank Elegon in the center facing away from the raid. Every 35 seconds, he spawns a Celestial Protector that needs to be picked up and managed.
Protector Strategy
Total Annihilation (death explosion) hurts less in Outer Ring. Dispel Closed Circuit healing debuffs immediately.
Alternate tanks for both Elegon and the Protectors so everyone can reset their Overcharged stacks. Phase ends at 85% health (first time) or 50% health (second time).
Phase Two - Energy Charge Waves
Elegon spawns 6 Energy Charges that slowly move to the room's edge. If any reach their destination, Phase Three starts. Kill complete waves to give Elegon a permanent 10% damage taken debuff per wave.
Assign specific players to each charge. Use the brief stacking period for AoE damage, then spread to ensure you get them all. The waves get faster each time, so eventually you'll have to let one through.
Phase Three - Focus Destruction
The Inner Ring floor disappears and anyone still there dies. Six Empyreal Focuses spawn around the Outer Ring, connected by three Energy Conduits that deal massive damage if crossed.
Split your raid into two groups and work clockwise/counterclockwise to destroy the Focuses. Each destroyed conduit opens new pathways. Tank the Cosmic Sparks that spawn from Energy Cascades, but don't stress about killing them until all Focuses are down.
Heroic Mode Changes
Line of Sight Issues: Inner and Outer Rings can't heal or damage across the boundary. Healers need careful positioning during transitions.
Will of the Emperor - The Grand Finale
Two phases: 90 seconds of pure add management, then the bosses join the party while adds keep coming.
The Three Add Types
Add Priority System
Emperor's Rage (Kill Last): Fixate random players and chase them. Lowest priority but susceptible to all crowd control. Spawn in groups of 2-4.
Emperor's Courage (Kill First): Target tanks and slow them with stacking debuffs. Must be attacked from behind due to front shields. Highest priority - can't let them reach tanks.
Emperor's Strength (Kill Second): Cast expanding AoE attacks (Energizing Smash). Start at 10-yard radius, grows by 1 yard per cast. Normal threat table but immune to crowd control.
Devastating Combo Mastery
When Jan-xi and Qin-xi hit maximum energy every 20 seconds, they each do a 5-attack combo (10 in Heroic). Learn the animations:
| Attack Type | Animation Tell | Safe Position |
|---|---|---|
| Devastating Arc (Right) | Weapon over left shoulder | Move to left side |
| Devastating Arc (Left) | Weapon over right shoulder | Move to right side |
| Devastating Arc (Front) | Forward thrust motion | Move behind boss |
| Stomp | Weapon raised overhead | Get 12+ yards away |
Perfect avoidance of an entire combo gives you Opportunistic Strike, a 500,000 damage ability (1 million in Heroic).
Titan Gas Phases
Every 2.5 minutes, the room fills with gas that:
- Deals Frost damage every second
- Boosts everyone's damage by 25%
- Stops add spawns (except final gas)
- Lasts 20 seconds (first three times)
Perfect time for Bloodlust/Heroism and major DPS cooldowns.
Heroic Mode Nightmare
Permanent Titan Gas: The room is gassed from start to finish. Adds never stop spawning, even during gas phases.
Titan Spark Management: Every dead add spawns a Titan Spark that chases random players. Contact triggers massive AoE damage and buffs nearby enemies with 50% attack speed.
Assign immunity classes (Paladins with Divine Shield, Hunters with Deterrence, etc.) to intentionally detonate sparks away from bosses. Mass-control Emperor's Rage spawns to batch the spark management.
Achievement Hunting
Glory of the Pandaria Raider Components
Achievement Breakdown
Common Mistakes and How to Fix Them
Don't let the wrong guardian hit 100 energy. Assign clear tank roles and practice the rotation timing.
Pre-position for each weapon phase. Mark the weapon locations and assign specific people to handle transitions.
Rotate healers through the Spirit World religiously. Track Voodoo Doll timing and have backup assignments ready.
Call out Phase Three transitions clearly. Practice evacuation routes and make sure everyone knows when to run.
Stick to the priority system: Courage → Strength → Rage. Assign specific players to each add type and don't break discipline.
This raid teaches you everything you need for harder Tier 14 content. Master the coordination and positioning skills here, and you'll be ready for whatever Heart of Fear and Terrace of Endless Spring throw at you.