
What Makes Season 3 Different
Season 3 throws some curveballs that completely change which healers shine and which ones struggle. The dungeon lineup creates a perfect storm of mechanics that favor certain specs while leaving others in the dust.
The Mechanics That Matter
Damage Comes in Two Flavors: Half the dungeons (Eco-Dome Al'dani and Priory) will test your single-target healing with relentless spot damage. The other half (Dawnbreaker, Ara-Kara, and Priory again) will slam your group with massive burst damage that can wipe you instantly if you're not ready.
Bleed City: Trash packs love their bleed effects this season. You need consistent healing output to keep people alive through the sustained damage.

How We Rank Healers
Performance at Different Tiers
S-Tier: These specs dominate the highest keys. They've got the perfect mix of healing power and utility for Season 3's challenges.
A-Tier: Strong performers that excel in elite content. They're missing just one piece that keeps them from the top tier.
B-Tier: Solid choices that get the job done. You can push high keys with these, but you'll need more skill or specific team setups.
C-Tier: These specs have problems that make them much harder to play effectively.
The Elite Three (S-Tier)
Resto Druid puts out more healing than anyone else right now, and it's not even close. The Wildstalker Tier Set creates ridiculous healing numbers when you consume Rejuvenation effects, triggering Symbiotic Blooms that pump out massive passive healing.
How It Heals: Regrowth handles your focused healing, which works perfectly for Season 3's spot-healing demands. Keep Lifebloom on priority targets and watch your tier set create healing explosions. Yes, you'll burn through GCDs like crazy, but the tier set makes it manageable.
Burst Handling: Despite being a HoT healer, Druid handles burst damage well when you prepare with healing effects beforehand.
Best For: Organized groups that can maximize your buff and crowd control. Not great for pugs since HoTs need setup time.
Disc stays on top because you get two completely different builds that excel in different situations. Flexibility wins keys.
Build Variants
| Build | Best For | Strengths | Key Features |
|---|---|---|---|
| Voidweaver | Heavy AoE burst dungeons | Massive DPS while healing | Dawnbreaker, Ara-Kara |
| Oracle | Single-target heavy fights | Preemptive shielding | Priory, one-shot mechanics |
- Power Infusion gives DPS players huge damage boosts
- Power Word: Fortitude keeps everyone tankier
- Luminous Barrier got buffed and works better in pugs than regular Barrier
Damage Output: Voidweaver builds let you top damage meters while healing, giving your group serious DPS advantages.
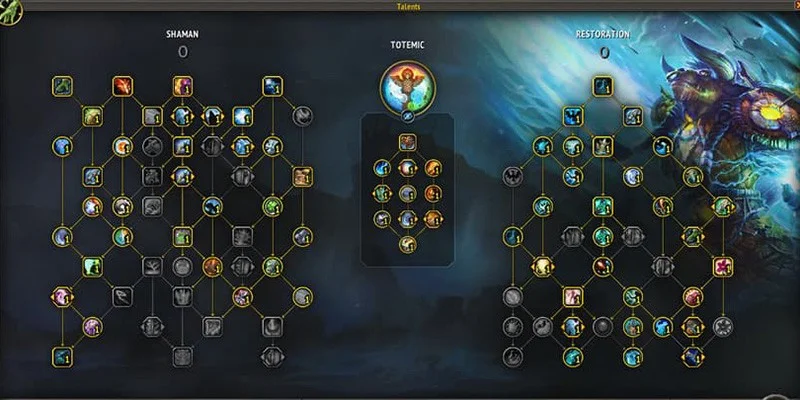
Resto Shaman excels in pickup groups while still performing great in organized teams. The utility toolkit is unmatched.
Utility Overload
Two Ways to Play
| Build | Key Feature | Best For | Playstyle |
|---|---|---|---|
| Totemic | Lively Totems cast full-power Chain Heals | Massive burst healing scenarios | Reactive, high throughput |
| Farseer | Call of the Ancestors buffs | Sustained healing encounters | Proactive, mana efficient |
The Downside: Once your big cooldowns are gone, you're stuck with expensive Healing Surge spam. High damage phases will drain your mana fast.
Strong Contenders (A-Tier)
Holy Paladin got some talent tweaks but missed out on the raid cooldown buffs other healers received. Aura Mastery doesn't get the 5-player bonus since it's damage reduction, not healing.
What It Does Well: Spender abilities got buffed for Season 3. Divine Toll lost its Season 2 cooldown reduction, so use it smarter during Wings. Holy Light heals well but costs a fortune. Combines mitigation and raw healing for burst situations.
The Problem: Can't match S-tier healing output in the highest keys, despite having great utility.
Preservation puts out incredible burst healing through empower combos, but one mistake can leave your team dead.
What's New
The Catch: Empower gameplay punishes mistakes hard. Mess up your combo and your team might wipe. Plus the raid buff is terrible compared to other healers.
Chi Harmony got hammered (50% down to 25% amp), but Vivify direct healing got buffed to compensate. The focus shifted from setup to direct healing.
Solid Options (B-Tier)
Reliable healing with some unique utility, but lacks the survivability and utility of higher-tier specs.
- Lightweaver gives consistent single-target healing for spot damage
- Prayer of Healing finally works as real AoE healing
- Oracle tier set adds half a Holy Word: Serenity when you cast Prayer of Mending
- Mind Soothe lets you skip tons of trash in humanoid/dragonkin dungeons
- No interrupt except Psychic Scream and Holy Word: Chastise
- Terrible survivability compared to other healers
- Limited crowd control means teammates handle more mobs
- Way more healing required in pugs
Picking Your Healer
Maximum Performance: Resto Druid delivers the highest healing numbers with solid utility. Perfect when your team can coordinate around your buffs and crowd control.
Adaptable Power: Disc Priest gives you build flexibility to match specific dungeons while maintaining top-tier performance.
Utility Focus: Resto Shaman brings the most supportive tools with strong healing when your team needs maximum utility.
Top Choice: Resto Shaman handles uncoordinated groups better than anyone. Instant healing, tons of utility, and self-sufficient playstyle.
Solid Alternative: Disc Priest's Luminous Barrier buff helps with pug positioning while Power Infusion works with any DPS.
Advanced Pick: Holy Paladin works for experienced players who can time burst windows and utility perfectly.
Physical DPS Teams: Mistweaver Monk's Mystic Touch adds 5% Physical damage, creating huge group DPS gains.
Magic-Heavy Dungeons: Holy Priest's Mass Dispel becomes crucial, while Preservation Evoker's Cauterizing Flame handles broader dispel needs.
High-End Progression: Specs with multiple defensive cooldowns (Holy Paladin, Disc Priest) give better survival tools for pushing limits.
Getting the Most from Your Pick
Tier Set Mastery
Maximize Symbiotic Bloom triggers by managing Rejuvenation consumption properly. This creates your biggest healing spikes.
Tier set changes Prayer of Mending from utility to priority spell. Adjust your rotation accordingly.
Gains huge benefits from proper empower timing with the new tier bonuses.
Build Decisions
Key Build Choices
Pick Voidweaver for AoE-heavy dungeons with light spot healing. Choose Oracle for single-target-heavy fights with one-shot potential.
Avoiding Common Mistakes
Preservation Evoker: Empower mistakes leave groups without healing during emergencies. Practice the combos extensively.
Holy Priest: Limited mobility and weak survivability create positioning nightmares in high-damage content.
Holy Paladin: Overusing Holy Light creates unsustainable mana costs. Balance efficiency with output carefully.
Mistweaver Monk: Chi Harmony nerfs changed resource priorities. Adapt to the new direct healing focus.
All Healers: Interrupt timing became critical in War Within. Successful interrupts prevent enemy cooldowns, making timing crucial.
Season 3 rewards healers who can handle both sustained pressure and emergency situations. Pick the spec that matches your playstyle and team needs, then master the specific mechanics that make it work.