
Burning Crusade Classic has two world bosses that drop some of the best gear available in early phases. Unlike instanced raids, these bosses spawn in the open world where any faction or raid group can engage them. That creates intense competition across your entire server. This guide covers everything you need to know about finding, killing, and looting both Doom Lord Kazzak and Doomwalker.
How World Bosses Work
World bosses play by different rules than traditional raid encounters. These elite enemies exist out in the open rather than inside instances, so multiple groups and both factions can try to engage them at the same time. The competitive nature of world bosses adds challenges beyond just the combat itself.
The Tagging System
When any player lands the first hit on a world boss, their raid group "tags" the boss and gets exclusive access to any loot that drops. You can tell whether your group has the tag by checking the boss's portrait: red means your group has the tag, grey means someone else claimed it first. This turns every world boss spawn into a race to get there before competing groups.
Spawn Mechanics and Timers
Both world bosses use dynamic respawn timers, so they can reappear anywhere from 2-4 days after being killed. This unpredictability makes scouting a must for any guild serious about claiming kills. When a world boss spawns, a zone-wide announcement alerts all players in that zone.
Loot Details
World boss loot in Burning Crusade Classic matches the power of Tier 4 and Tier 5 raid gear, depending on the specific item. All world boss loot is Bind on Equip, meaning you can trade or sell these items to other players. World boss kills are valuable for gearing your raid team, generating gold through the auction house, or equipping alts.
Raid Requirements
Both world bosses need full raid groups of roughly 30-40 Level 70 players to defeat. In early phases when players are mostly wearing Heroic dungeon and Karazhan gear, you'll need numbers closer to 40. As your raid gets better equipment from later phases, smaller groups become possible.
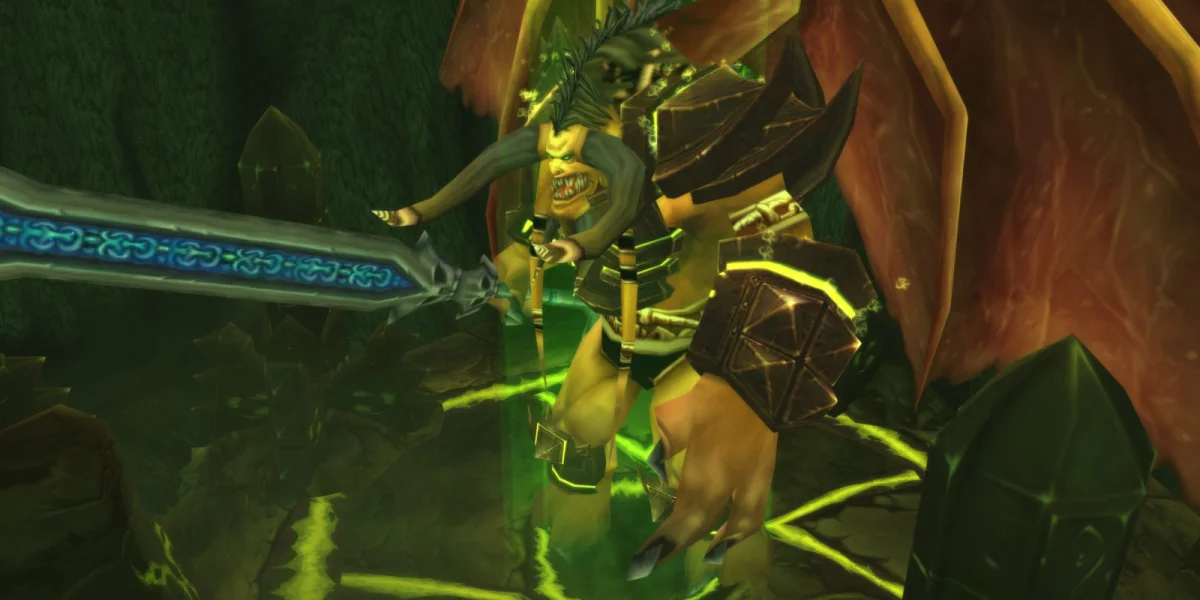
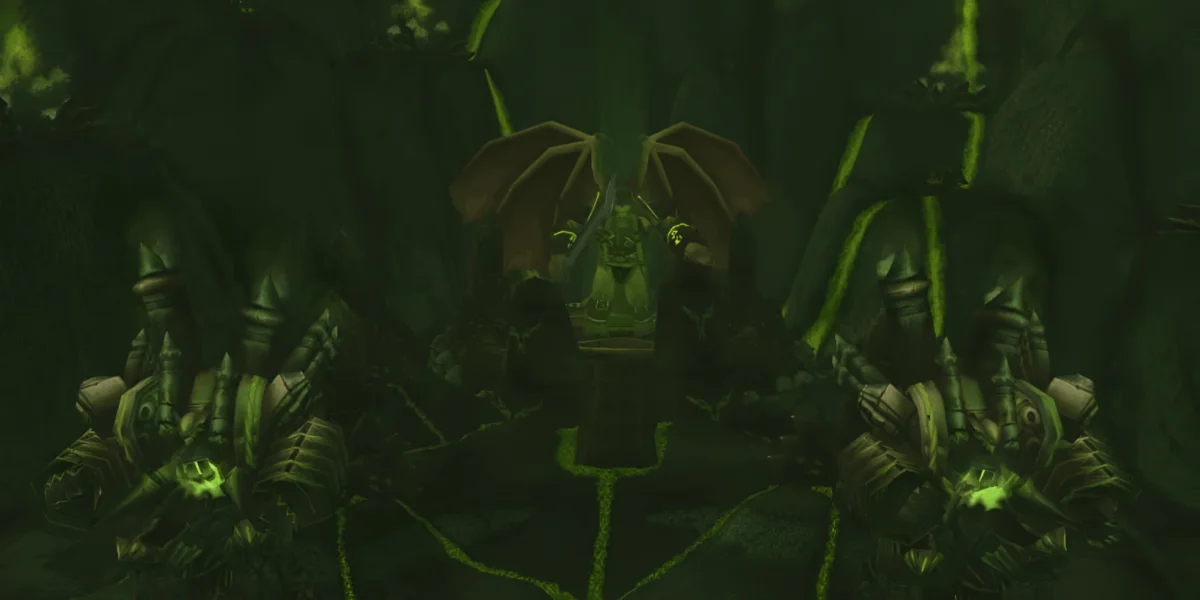
Doom Lord Kazzak
Veterans of the original Classic game will remember Kazzak. He used to hang out in the Tainted Scar within the Blasted Lands, but earned his promotion to "Doom Lord" after using a sacred relic to reopen the Dark Portal. Now he's set up shop at a new location in Hellfire Peninsula.
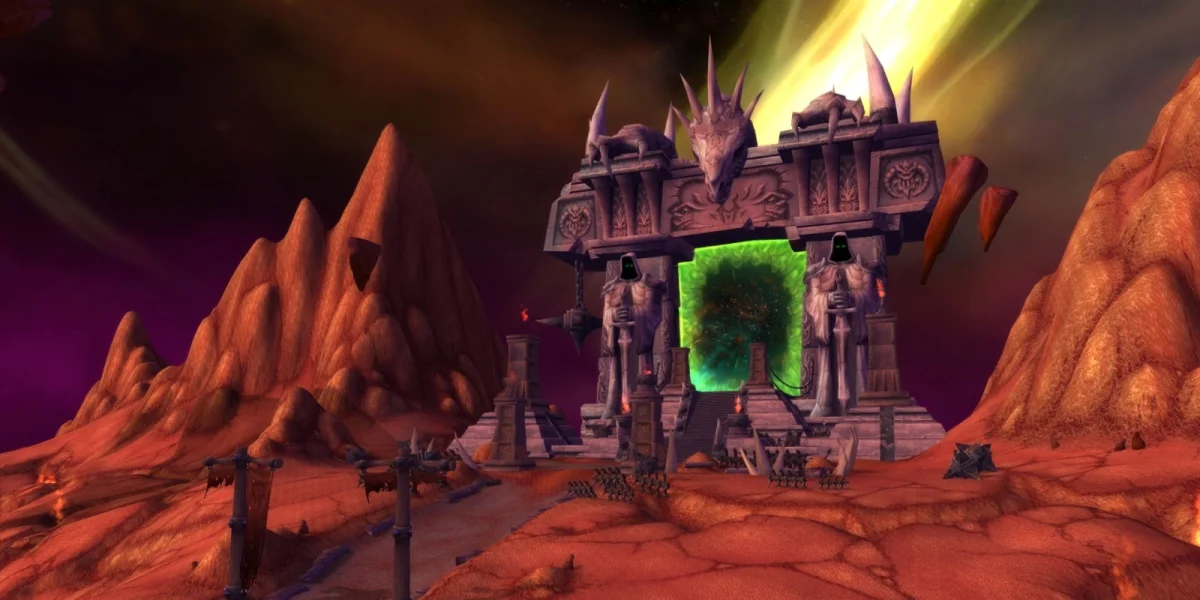
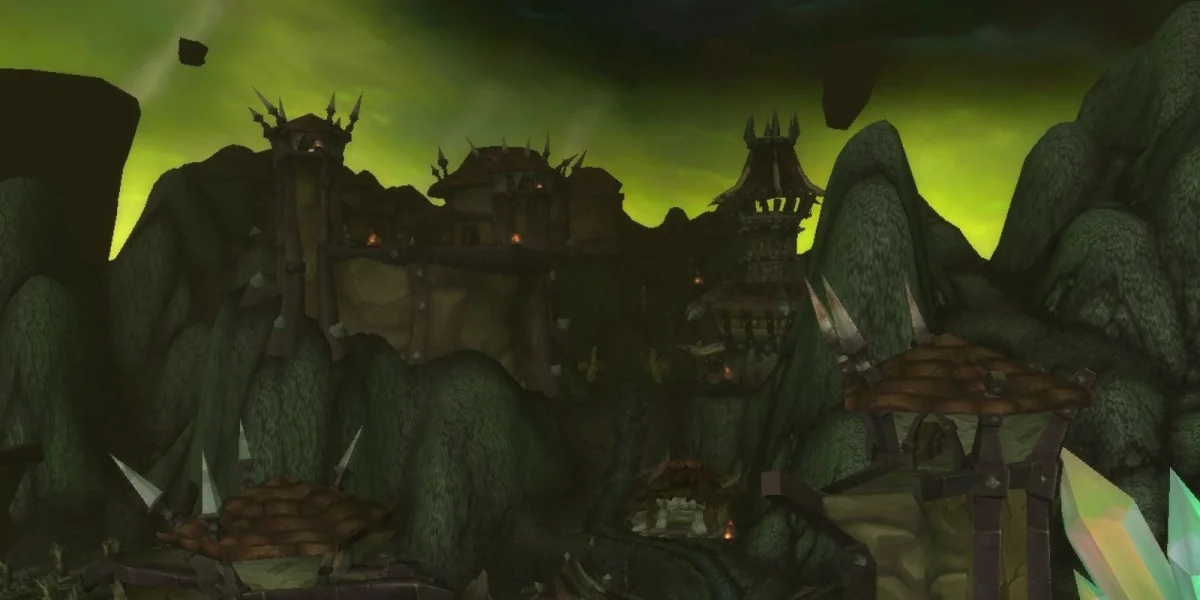
Location and Access
Doom Lord Kazzak spawns at the Throne of Kil'jaeden, an elevated platform in the northeastern section of Hellfire Peninsula. The coordinates are approximately 63.2, 16.0.
Spawn Announcement
When Doom Lord Kazzak appears, he announces his presence with a zone-wide message:
"I remember well the sting of defeat at the conclusion of the Third War. I have waited far too long for my revenge. Now the shadow of the Legion falls over this world. It is only a matter of time until all of your failed creation... is undone."
Combat Announcements
Players in the zone will also hear announcements when the fight begins and ends:
- Aggro (Fight Begins): "All mortals will perish!" or "The Legion will conquer all!"
- Raid Wipe: "The universe will be remade."
- Boss Death: "The Legion ... will never... fall."
Combat Mechanics
The Doom Lord Kazzak fight is a DPS race with brutal consequences for player deaths. You need to understand these mechanics before pulling.
Kazzak Key Mechanics
Doom Lord Kazzak will Enrage exactly 54 seconds after combat begins. This isn't a soft enrage or gradual difficulty increase. It's a hard enrage that will rapidly wipe your raid. Because of this extremely tight timer, all DPS players should use their offensive cooldowns immediately. There's no benefit to holding them when the fight must end within 54 seconds.
Kazzak hits tanks for anywhere between 7,000 and 15,000 damage per strike. Your tanks must be well-geared to survive this punishment and need to establish hard aggro right away. Tank deaths are especially devastating because of Kazzak's healing mechanic.
This ability is the most dangerous mechanic in the encounter. Every time any player dies near Doom Lord Kazzak, he instantly heals for 150,000 damage. The healing triggers regardless of whether the dying player is in the raid group that tagged Kazzak. On PvP servers, enemy faction players can intentionally die near the boss to heal him and cause a wipe.
Doom Lord Kazzak periodically targets a random player with Mark of Kazzak. This debuff affects players with mana bars and does two things: it drains the affected player's mana, and when the mana drains completely (or after a set duration), the player explodes, dealing significant AoE damage to nearby raid members.
Kazzak Strategy Summary
Before the Fight
- Make sure every raid member can reach the Throne of Kil'jaeden via flying mount or Warlock summons
- Use full consumables and raid buffs (ideally, the fight should last about a minute or less)
- Brief all mana-using players on Mark of Kazzak and pick a direction for affected players to run
During the Fight
- All DPS should use offensive cooldowns immediately upon engaging (don't hold them)
- Tanks must establish firm aggro while healers keep them alive through heavy damage
- Players targeted by Mark of Kazzak must run away from the raid immediately
- Mages should Ice Block if targeted by Mark of Kazzak
- Avoid dying at all costs (each death heals the boss for 150,000 and can make the enrage timer impossible to beat)
Doom Lord Kazzak Loot Table
The following items can drop from Doom Lord Kazzak:
| Item Name | Type | Slot |
|---|---|---|
| Hope Ender | One-handed Sword | Weapon |
| Exodar Life-Staff | Two-handed Staff | Weapon |
| Leggings of the Seventh Circle | Cloth | Legs |
| Gold-Leaf Wildboots | Leather | Feet |
| Scaled Greaves of the Marksman | Legs | |
| Topaz-Studded Battlegrips | Plate | Hands |
| Ripfiend Shoulderplates | Plate | Shoulders |
| Ancient Spellcloak of the Highborne | Cloak | Back |
| Ring of Reciprocity | Ring | Finger |
| Ring of Flowing Light | Ring | Finger |
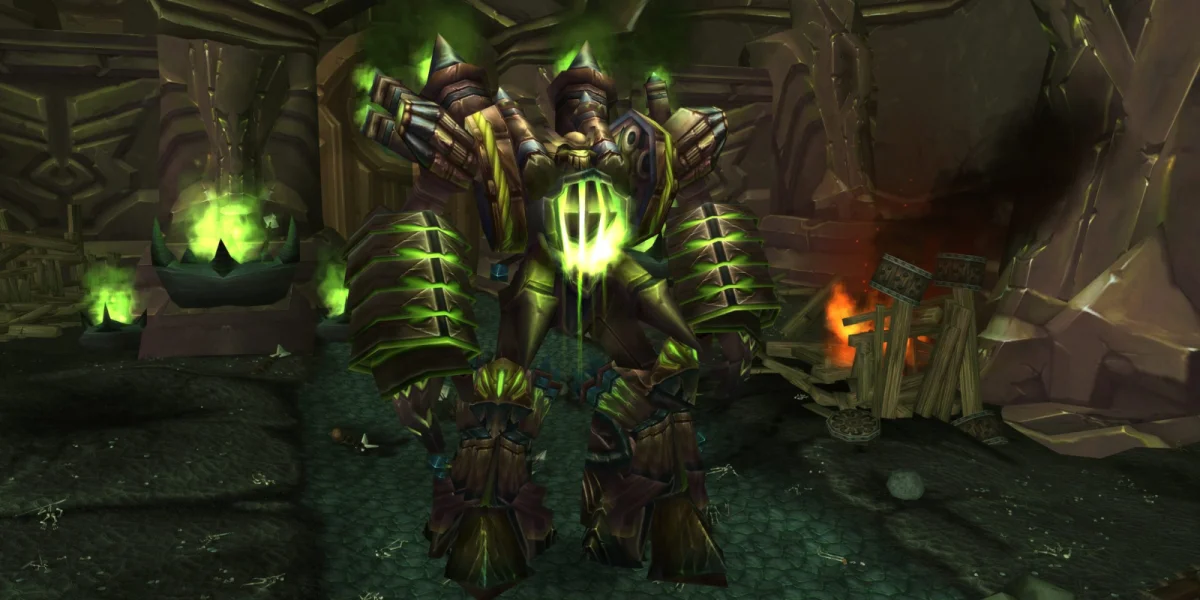
Doomwalker
Doomwalker is a massive mechanical construct created in Legion Hold. Kil'jaeden sent this enormous fel reaver with a specific mission: to break down the gates of Illidan's Black Temple. Now it patrols outside the very gates it was sent to destroy.
Location and Access
Doomwalker spawns in Shadowmoon Valley, positioned at ground level directly in front of the Black Temple entrance on the eastern side of the zone. The coordinates are approximately 71.4, 43.8. Unlike Doom Lord Kazzak, Doomwalker doesn't require a flying mount to reach, though flying mounts are still relevant to the encounter in other ways (covered below).
Spawn Announcement
According to available information, Doomwalker doesn't have a spawn announcement like Doom Lord Kazzak does. Players scouting for this boss must rely on visual confirmation rather than zone chat messages.
Combat Announcements
- Aggro (Fight Begins): "Do not proceed. You will be eliminated." or "Tectonic disruption commencing."
- Raid Wipe: "Threat level zero."
- Boss Death: "System failure in five, f-o-u-r..."
Combat Mechanics
Doomwalker shares many abilities with the standard Fel Reavers found throughout Hellfire Peninsula, but hits much harder and has additional unique mechanics. Two abilities set this encounter apart: Overrun and the Aura of Death.
Doomwalker Key Mechanics
Doomwalker periodically casts Lightning Wrath, which deals damage and spreads between nearby players. To minimize raid damage, everyone needs to stay at least 10 yards apart throughout the fight.
Doomwalker periodically casts Earthquake, dealing heavy damage to all nearby players. If your healers are struggling to keep the raid alive through this damage, use defensive cooldowns like Divine Shield, Ice Block, or Master Healthstones to survive.
When Doomwalker reaches 20% health, he enters an Enrage state that doubles his physical damage output. Unlike Doom Lord Kazzak's time-based enrage, this triggers at a health threshold and makes the final phase of the fight much more dangerous.
Any player who dies while fighting Doomwalker gets the Mark of Death debuff, which lasts 15 minutes and can't be removed by any means. This debuff removes the player from the encounter for its duration.
Doomwalker constantly radiates an Aura of Death extending roughly 100 yards from his position. Any player with the Mark of Death debuff who enters the Aura of Death instantly dies.
What Death Means Against Doomwalker
If you die during the Doomwalker fight, you can't rejoin the battle. Running back to your corpse or accepting a resurrection while within the Aura of Death causes immediate death, which refreshes the Mark of Death timer. Each of these deaths costs you equipment durability.
Your Options After Dying:
- Wait in ghost form until Doomwalker is defeated, then resurrect safely
- Resurrect at the graveyard far from the encounter and wait out the 10 minutes of resurrection sickness
This mechanic makes deaths against Doomwalker permanently costly. Your raid must account for the fact that any player who dies is effectively removed from the fight entirely.
Doomwalker Strategy Summary
Before the Fight
- Assign spread positions so all players stay at least 10 yards apart
- Tell Shamans and Balance Druids not to use guardian-type summons
- Prepare healthstones and identify which players have defensive cooldowns for Earthquake
- Accept that any player death means permanent removal from the encounter
During the Fight
- Maintain spread positioning throughout to minimize Lightning Wrath chains
- Use healthstones and defensive cooldowns to survive Earthquake if needed
- Prepare for significantly increased tank damage below 20% health
- Save offensive cooldowns for the sub-20% enrage phase to end the fight quickly
- Don't die (there's no returning to this fight once you get Mark of Death)
On PvP Servers
- Consider equipping some PvP gear if enemy faction interference is likely
- Be ready for opposition from enemy players competing for the same boss
Doomwalker Loot Table
The following items can drop from Doomwalker:
| Item Name | Type | Slot |
|---|---|---|
| Talon of the Tempest | Main Hand Dagger | Weapon |
| Barrel-Blade Longrifle | Ranged Gun | Weapon |
| Ethereum Nexus-Reaver | Two-handed Axe | Weapon |
| Gilded Trousers of Benediction | Cloth | Legs |
| Anger-Spark Gloves | Cloth | Hands |
| Terrorweave Tunic | Leather | Chest |
| Fathom-Helm of the Deeps | Helm | |
| Faceguard of the Endless Watch | Plate | Helm |
| Black-Iron Battlecloak | Cloak | Back |
| Archaic Charm of Presence | Necklace | Neck |
Scouting and Securing Kills
World bosses can spawn at any time within a 2-4 day window, and competition is fierce. Organized guilds use scouting strategies to maximize their chances of securing kills.
Scout Character Placement
The most common tactic is to station low-level alts at each world boss spawn location. These scouts can be logged in periodically or left online to monitor whether the boss has spawned. When the boss appears, the scout player can immediately alert the guild.
- Doomwalker: Position scouts in the southern corner of the area in front of the Black Temple gates
- Doom Lord Kazzak: Position scouts on the northern side of the platform where Kazzak spawns, hidden from his line of sight to avoid accidental aggro
Warlock Summoning Strategy
A more advanced scouting approach involves positioning Warlocks (Level 20 or higher, the minimum level to learn Ritual of Summoning) at world boss locations instead of generic low-level alts. When the scout confirms the boss has spawned, the Warlock can immediately start summoning raid members directly to the location. This dramatically cuts down response time compared to having everyone fly there individually.
Speed Over Perfection
Because of the tagging system, speed matters far more than assembling a perfect raid composition. Take whatever players are available and online when a world boss spawns rather than waiting to build an optimal group. World boss mechanics are relatively straightforward, and a fast, imperfect raid will always beat a slow, perfect raid that arrives after someone else has already tagged the boss.
Finding Groups Without a Guild
If you're not part of a raiding guild, finding world boss groups can be tough, especially in earlier phases when better coordination and gear are required. Your best options include:
- Monitoring the Looking for Group channel and zone chat in Hellfire Peninsula and Shadowmoon Valley
- Using addons like LFG Group Bulletin Board, which parses LFG information from public channels and organizes it into categories
- Being a desirable class with good gear (this increases your chances of getting invited to pickup groups)
PvP Server Challenges
World bosses on PvP servers present unique challenges beyond the PvE encounter itself. Enemy faction players will often try to interfere with raids engaging world bosses, either to claim the tag for their own faction or just to cause a wipe.
The Griefing Problem with Kazzak
Doom Lord Kazzak's Capture Soul mechanic creates a serious griefing vulnerability. Because Kazzak heals for 150,000 damage whenever any nearby player dies (regardless of faction or raid group membership), enemy players can intentionally die near your raid to heal the boss. On PvP servers, this can make Doom Lord Kazzak encounters extremely chaotic.
Multi-Raid Strategies
Some larger guilds on PvP servers deploy multiple raid teams for world boss attempts:
- One team dedicated to fighting the boss
- One team dedicated to defending against enemy faction PvPers
- Additional players who flex between roles depending on where they're needed
This approach requires significant coordination and player numbers but can be the only way to secure world boss kills on highly competitive PvP servers.
Flying Mount Interactions
Both world bosses will aggro players who fly too close on flying mounts. Be careful when traveling through Shadowmoon Valley near the Black Temple entrance or through northeastern Hellfire Peninsula near the Throne of Kil'jaeden, especially if a world boss is currently alive.
For Doom Lord Kazzak specifically, remember that flying mounts are required to reach his spawn location in the first place, making them necessary for engaging this boss rather than just a travel convenience.