
Magtheridon's Lair is a 25-player raid tucked inside Hellfire Citadel in the center of Hellfire Peninsula. It's one of the three Phase 1 raids in TBC Classic, sitting alongside Karazhan (10 player) and Gruul's Lair (25 player). The entire instance revolves around a single boss: Magtheridon, a pit lord captured by Illidan Stormrage and held prisoner by a group of Hellfire Channelers maintaining a ritual in his chamber.
No attunement is required here. Any player at level 65 or above can walk in, which makes it one of the more accessible raids in the phase. With only one boss, it can look straightforward on paper, but don't let that fool you. Magtheridon tests your raid's preparation, coordination, and ability to execute specific assignments under pressure, all at the same time.
The encounter runs through three distinct phases and asks your raid to juggle multiple active threats: five Hellfire Channelers, periodically spawning Burning Abyssals, five Manticron Cubes that must be clicked in unison to stop an ability that wipes the entire raid, and Magtheridon himself. Every role has a specific job, and one person dropping the ball on their assignment can easily send the whole raid back to the graveyard.
| Attribute | Details |
|---|---|
| Type | 25 Player Raid |
| Location | Hellfire Citadel, Hellfire Peninsula |
| Boss Count | 1 (Magtheridon) |
| Attunement | None (Level 65+) |
| Phase | Phase 1 |
| Tier Tokens | Chest Slot (Tier 4) |
| Non Tier Item Level | 125 |
| Tier Token Item Level | 120 |
How to Get There
Magtheridon's Lair sits inside Hellfire Citadel, the massive fortress at the heart of Hellfire Peninsula, which is the first zone you'll pass through after the Dark Portal.
Horde: Fly to Thrallmar and find Flight Master Barley at /way 56.2 36.2.
Alliance: Fly to Honor Hold and look for Flightmaster Krill Bitterhue at /way 54.6 62.4.
From either flight point, head toward the enormous fortress dominating the zone's center. Magtheridon's Lair is one of the raid wings inside Hellfire Citadel itself.
Trash Mobs: Hellfire Warders
You'll need to clear several packs of Hellfire Warders before you can start the boss encounter. Four packs total: three are stationary, and one patrols. Track that patrol constantly during the clear. If it walks into a fight you weren't expecting it to join, you'll wipe before the boss ever activates.
Hellfire Warder Abilities
| Ability | Description | Priority |
|---|---|---|
| Shadow Bolt Volley | AoE shadow damage, very short 1-second cast time | Top interrupt priority |
| Dark Mending | Heals the casting Warder and a nearby Warder | Interrupt immediately |
| Fear | Fears a random player for a short duration. Not a magical fear - Tremor Totem breaks it | Use Tremor Totem |
| Rain of Fire | Channeled fire damage on a ground location. Tanks must keep moving their Warder out of it | Move out immediately |
| Shadow Word: Pain | Shadow DoT on a random target - magic debuff, dispel quickly | Dispel on sight |
| Shadow Burst | Shadow damage and knockback on all players in range | Awareness |
| Death Coil | Shadow damage ability | Standard threat |
| Unstable Affliction | Shadow effect cast by Warders | Standard threat |
Hellfire Warder Strategy
Warders come in groups of three every time. Before the pull, mark each one and assign a tank and an interrupter to each mark. Having Hunters use Misdirection at the start helps tanks get clean threat early. Any Warlock in the group should put Curse of Tongues on the Warders, which slows their casting and gives interrupters more time to react on Shadow Bolt Volley.
Using line of sight to pull individual packs cleanly is useful here for keeping them separated and avoiding accidents with the patrol. As soon as Rain of Fire appears, step out of it. Dispel Shadow Word: Pain off anyone who picks it up.
Encounter Overview
The encounter starts the moment any player hits a Hellfire Channeler. You can move into the room and position your raid freely before that happens, so get everyone in place first. Once the first Channeler takes damage, there's no stopping the clock.
Hellfire Channeler Abilities
While Magtheridon is still imprisoned, the five Hellfire Channelers are your only concern. Phase 1 is built entirely around managing what they do.
| Ability | Description | Priority |
|---|---|---|
| Dark Mending | 2-second heal restoring significant health to the caster and a nearby Channeler. A single missed cast can undo a meaningful chunk of damage | #1 interrupt priority |
| Shadow Bolt Volley | AoE shadow damage spell with short cast time | Interrupt every cast |
| Fear | Fears a random player for a short duration. Priests can use Fear Ward on a single target. Tremor Totem breaks the effect | Tremor Totem / Fear Ward |
| Soul Transfer | Passive - triggers when any Channeler dies. All surviving Channelers grow larger and gain increased damage and cast speed (stacks) | Kill order awareness |
| Summon Burning Abyssal | Periodically summons a Burning Abyssal lasting 60 seconds. Attacks with melee and Fireblast targeting highest-threat players (usually healers) | Banish immediately |
Magtheridon's Abilities
| Ability | Description | Response |
|---|---|---|
| Blast Nova | 2-second cast. If it completes, the entire raid gets a fire DoT dealing potentially fatal damage. Stop it by having all 5 cube players channel simultaneously. While all 5 cubes are channeled, Magtheridon takes 300% increased damage | All 5 cubes clicked simultaneously |
| Cleave | Damages all targets in front of him. MT must face him into a wall immediately on activation | Face into wall, tank only |
| Quake | Knocks back entire raid and interrupts all spells with a cast time for 7 seconds. Instant abilities still usable. Happens roughly every 50 seconds | Pre-HoT the MT before each Quake |
| Conflagration | Places a small fire ring on the ground. Standing in it deals fire damage over time | Move out immediately |
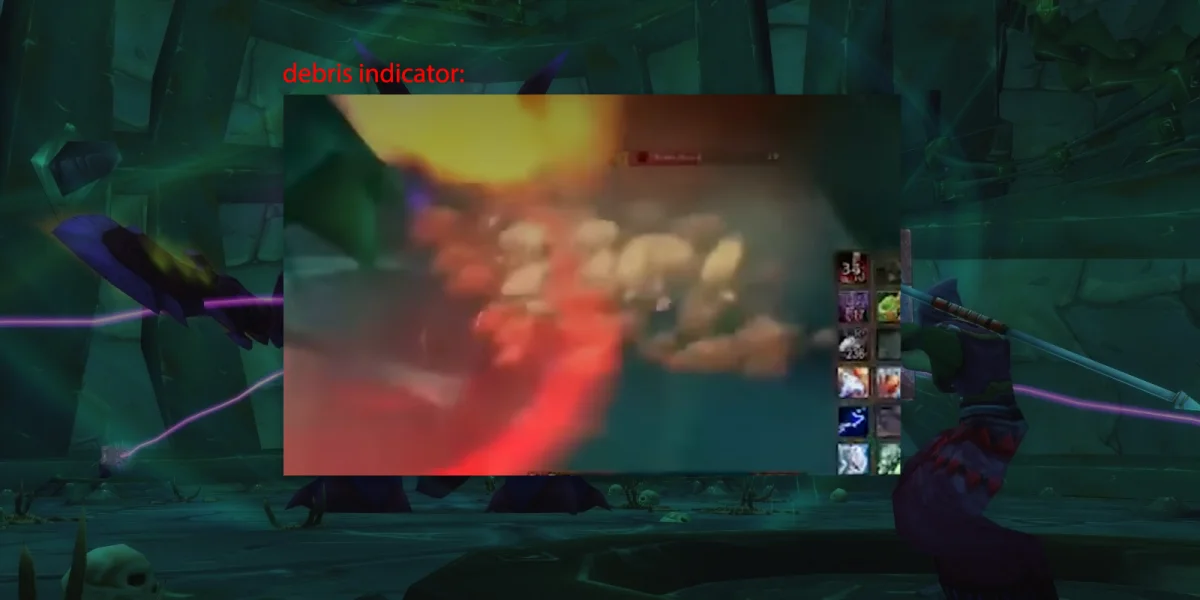
| Debris (Phase 3) | At the start of Phase 3, debris falls and deals massive damage, stunning the entire raid for 2 seconds. Ceiling can Collapse in spots shown by a ground indicator, instantly killing anyone underneath | Watch ground indicators |
| Enrage | At 22 minutes, damage spikes dramatically - a guaranteed wipe if reached | Don't let the fight drag |
Setup and Assignments
Magtheridon's Lair isn't a fight you can improvise through. Every player needs a clear job sorted out before anyone touches a Channeler.
Tank Assignments
Bring at least three tanks: one MT for the first Hellfire Channeler, and two OTs splitting the remaining four between them (two Channelers per OT). Raids that struggle with Phase 1 can bring up to five tanks, dedicating one per Channeler. More tanks make the phase significantly more manageable, though it costs some DPS throughput.
Each tank needs a dedicated healer during Phase 1. Healers shouldn't be floating around healing the raid in general; they need to be focused on their assigned tank.
Manticron Cube Assignments
Cube teams need to be sorted before the pull. Ranged DPS and spare healers work best for this role since they can stay near their assigned cube without stepping away from their normal rotation. You'll need a full primary team of five (one player per cube) and a backup team on standby. Mind Exhaustion lasts 3 minutes, so your primary team can't cover two consecutive Blast Nova casts. Without backups ready, a consecutive Blast Nova can go uninterrupted and wipe the raid.
Phase 1: The Channelers
Phase 1 starts when the first Channeler takes damage. Magtheridon stays imprisoned throughout, so you're only dealing with the five Channelers and whatever Burning Abyssals they summon.
Tank setup: The MT holds one Channeler while both OTs take two each. Each tank works with their dedicated healer as their own isolated unit during this phase.
Burning Abyssals: The moment an Abyssal spawns, a Warlock needs to Banish it right away. Abyssals target whoever has the highest threat with Fireblast, which is almost always a healer, so an unbanished Abyssal becomes a real problem fast. If Warlocks are running thin on Banishes with multiple Abyssals up, they can Fear them instead. Mages and Hunters can pitch in by rooting or slowing any that get loose.
Dark Mending interrupts: Every player with an interrupt - both melee and ranged - needs to be tracking Dark Mending casts on their assigned Channeler and stopping them every single time. Assign interrupters per Channeler before the pull so there's no confusion about who's watching what. One missed heal can add significant time to the phase.
Slowing cast speeds: Warlocks applying Curse of Tongues and Rogues applying Mind-numbing Poison III to the Channelers slows their cast speed and buys interrupters more time to react. Use both.
Kill order: Burn through the Channelers in a focused sequence. Aim to kill at least three before the 120 second timer is up. In some versions of TBC Classic, it's possible to kill all five before Magtheridon activates.
Soul Transfer: Each Channeler death buffs the survivors. The last one or two standing will be noticeably more dangerous, casting faster and hitting harder. Interrupt them aggressively; missing Dark Mending on a buffed Channeler hurts a lot more than it did at the start of the phase.
Phase 2: Magtheridon Active
Phase 2 starts automatically at 120 seconds, or immediately if your raid kills all five Channelers before that timer runs out.
As soon as Phase 2 begins, the MT needs to pick up Magtheridon. Hunters can use Misdirection to help with early threat. Once you have him, pull Magtheridon to a wall and face him into it so Cleave only hits the MT. Get him positioned quickly.
Once Magtheridon is settled, finish off any Channelers still alive before switching damage to the boss. Don't attack Magtheridon while Channelers are up; they'll keep stacking Soul Transfer and remain a genuine threat.
Cube team: All five primary cube players should move to their designated cube the moment Phase 2 starts. They need to be in position before the first Blast Nova cast, not running to get there when it's already going off.
Blast Nova rotation: Blast Nova goes out roughly every 60 seconds. The instant Magtheridon starts casting it, all five primary cube players click their cubes together. Once their Mind Exhaustion debuffs are active, the backup team covers the next cast. Two rotating teams, staggered around the three minute debuff, keeps you covered all phase.
Quake: Roughly every 50 seconds, Quake knocks everyone back and silences all spells with a cast time for 7 seconds. Healers need to get HoT effects running on the MT before each Quake so healing continues through the silence window. Priests can also throw Power Word: Shield on the MT just before it hits for an extra buffer. If the MT is struggling to survive Quake windows, pop a defensive cooldown during it.
Conflagration: Fire ring on the ground means you move. Don't stand in it.
Phase 3: 30% and Falling Ceilings
Phase 3 triggers when Magtheridon reaches 30% health. Two things need attention at this transition.
Phase 3 opens with a Debris fall that deals roughly 6,000 damage to the entire raid and stuns everyone for 2 seconds simultaneously. Mages and Paladins can use Ice Block or Divine Shield at the very start to take no damage from the opening hit.
After the opening stun, Debris keeps falling throughout the rest of this phase. Watch the ground for visual indicators showing where the ceiling is about to collapse and get clear of those spots. Any player caught under a collapsing section dies instantly. Avoid standing near Manticron Cubes as well, since the ceiling interacts with those positions.
Cube rotations continue exactly as they did in Phase 2. Don't drop the Blast Nova interrupt routine because the phase changed.
All DPS should pop their offensive cooldowns now and burn through the remaining 30% as fast as possible. The longer this phase runs, the more ceiling dodging your raid has to survive.
Role-Specific Tips
In Phase 1, your job is holding threat on one Channeler and staying alive while your dedicated healer keeps you up. In Phase 2, pick up Magtheridon immediately, drag him to a wall, and keep him facing into it for the rest of the fight. Use a defensive cooldown during Quake if your healers are struggling to keep your health stable through the silence window.
Each OT handles two Channelers during Phase 1. Lose threat on one of them and it'll redirect toward healers or DPS. In Phases 2 and 3, your job is cleaning up any surviving Channelers and filling a support role as needed.
In Phase 1, focus entirely on your assigned tank - nothing else. In Phase 2, get HoT effects running on the MT before each Quake so healing continues through the silence window. Priests should use Power Word: Shield here as well. As Phase 3 opens, brace for the Debris stun and have instant heals ready to fire the moment it breaks, since the whole raid takes heavy damage at once.
Interrupting Dark Mending is your Phase 1 priority, above dealing damage. Once multiple Channelers are dead and an OT is tanking two at once, you can cleave both with Cleave and Blade Flurry. Finish any surviving Channelers before switching to the boss in Phase 2. Melee don't get assigned to Manticron Cubes, so pour your damage into Magtheridon in Phases 2 and 3. Stay out of Conflagration and away from collapsing ceiling sections.
Warlocks own Abyssal control in Phase 1: Banish every one the moment it spawns. If your class has an interrupt, help cover Dark Mending on your assigned Channeler. Players on Manticron Cube duty should get to their cube immediately when Phase 2 starts and click once when Blast Nova begins casting. Outside of cube duty, put all your damage on the boss. Stay out of Conflagration and watch for ceiling indicators in Phase 3.
Tier 4 Tokens and Loot
Magtheridon drops Tier 4 Chest tokens, not the armor pieces directly. You take those tokens to a vendor in Shattrath City and exchange them for your class's Tier 4 chest piece. Tier 4 spreads across three Phase 1 raids, with each raid covering different armor slots:
| Slot | Boss | Raid |
|---|---|---|
| Gloves | The Curator | Karazhan |
| Helm | Prince Malchezaar | Karazhan |
| Shoulders | High King Maulgar | Gruul's Lair |
| Legs | Gruul the Dragonkiller | Gruul's Lair |
| Chest | Magtheridon | Magtheridon's Lair |
Chest Token Classes
| Token | Classes |
|---|---|
| Chestguard of the Fallen Hero | Hunter, Mage, Warlock |
| Chestguard of the Fallen Champion | Paladin, Rogue, Shaman |
| Chestguard of the Fallen Defender | Warrior, Priest, Druid |
Token Turn-In Vendors
Head to Shattrath City and find the vendor that matches your faction:
- Aldor members: Asuur at Aldor's Rise (
/way 23.6 32.6) - Scryers members: Arodis Sunblade at Scryer's Tier (
/way 43.6 90.4)
Tier tokens redeem for iLvl 120 gear. Everything else that drops directly from Magtheridon is iLvl 125.
Full Loot Table
| Item | Type | Slot |
|---|---|---|
| Eye of Magtheridon | Trinket | Trinket |
| Cloak of the Pit Stalker | Cloak | Back |
| Soul-Eater's Handwraps | Cloth Armor | Hands |
| Liar's Tongue Gloves | Leather Armor | Hands |
| Terror Pit Girdle | Mail Armor | Waist |
| Thundering Greathelm | Plate Armor | Head |
| Girdle of the Endless Pit | Plate Armor | Waist |
| Glaive of the Pit | Polearm | Weapon |
| Crystalheart Pulse-Staff | Staff | Weapon |
| Eredar Wand of Obliteration | Wand | Ranged |
| Karaborian Talisman | Off Hand | Off Hand |
| Aegis of the Vindicator | Shield | Off Hand |
| Chestguard of the Fallen Champion | Tier 4 Token | Chest |
| Chestguard of the Fallen Defender | Tier 4 Token | Chest |
| Chestguard of the Fallen Hero | Tier 4 Token | Chest |
| Magtheridon's Head | Quest Item | Starts ring reward quest |
| Pit Lord's Satchel | Bag | 20 Slot Bag |
| Black Sack of Gems | Misc | Gem rewards |
Eye of Magtheridon
For caster DPS, this is one of the best trinkets available in Phase 1. It's iLvl 125, unique, and provides +54 spell damage and healing as a passive. Its proc fires when one of your spells gets resisted, granting 170 bonus spell damage for 10 seconds. If you play a caster DPS spec, this should be a high priority target every lockout.
Magtheridon's Head
Magtheridon's Head is a quest item that starts a quest rewarding ring options covering all roles. Several of these rings are among the strongest available for multiple specs, so they're worth pursuing regardless of what you play.