
Combat Recon sends you on a surveillance run across Buried City before you take on one of the game's nastier enemies: the Bombardier. You'll scout multiple locations, destroy a pair of Spotter drones, and haul a piece of tech back to base. It's a solid mix of exploration and targeted combat, and this guide walks you through every step.
Gear Recommendations
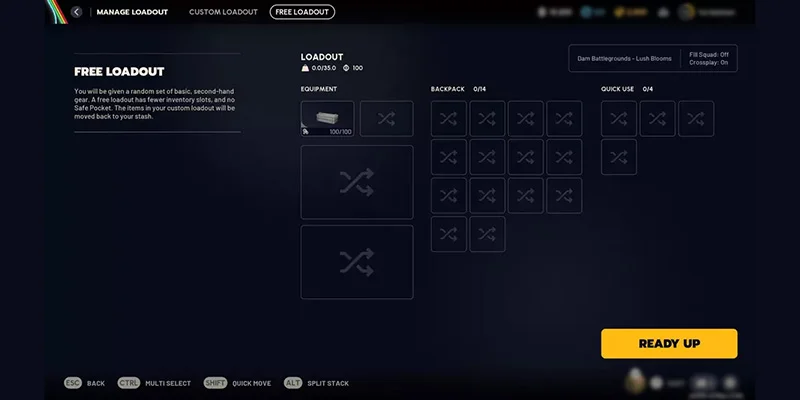
Safe Pocket
You'll want a loadout with a safe pocket for this one. Near the end of the quest, you need to grab a Spotter Relay from a destroyed drone and carry it back to Speranza. If you go down during extraction without that relay in your safe pocket, you lose it. That means repeating the combat section all over again. Save yourself the headache and plan ahead.
Heavy Weapons
Heavy weapons make the combat phase much smoother. The Spotters you're hunting are airborne, and lighter weapons just don't cut through them quickly enough. The Anvil works great here since it can drop a Spotter in about two shots. Anything with similar punch will do the job.
Quest Objectives
Combat Recon breaks down into five objectives:
- Scout a cover spot in the Parking Garage staircases
- Scout a cover spot in the bushes near Marano Park
- Scout a cover spot in the attics around Main Street
- Destroy two Spotter drones
- Deliver a Spotter Relay to Shani at Speranza
The first three have you running recon at different spots around Buried City. After that, you shift into combat mode, then extract with your loot.
Scouting Locations
Parking Garage
Head to the Parking Garage POI for your first bit of recon work.
Getting there: You can take the stairs all the way up, but that's the slow route. Grab the zipline in the center of the structure instead. It'll carry you most of the way up, and you just walk the rest. Much faster.
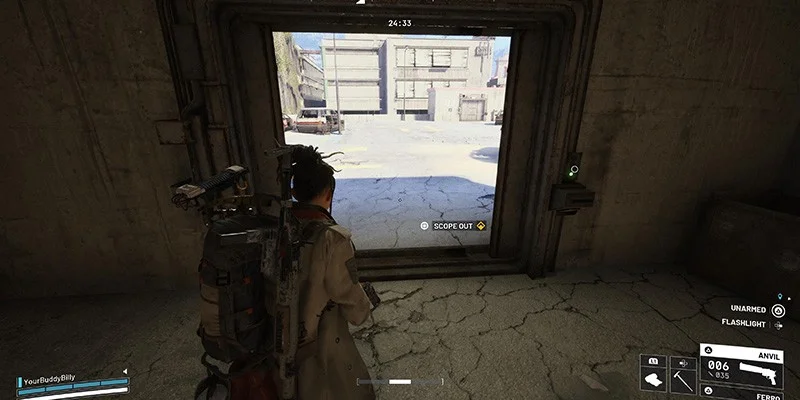
The interaction point: Once you're at the top, find the door leading to the staircase. There's an interactable prompt right near it. Hit that to complete your first scouting objective.
Marano Park
Marano Park sits in the middle of Buried City, and that's where you're headed next.
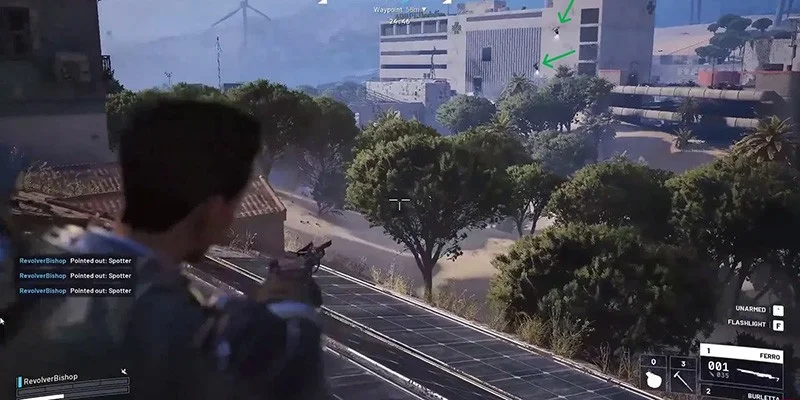
Finding your spot: This area opens up into a large space with some buses parked on the left side, right next to a building. The bushes around here give decent cover, which makes sense given the whole surveillance angle of this quest.
Finishing up: Look for the interaction prompt near those buses on the left. Scout the area and you're done here.
Plaza Rosa
Your final recon point is in Plaza Rosa, down in the southern part of the map.
Getting into position: This one takes a bit more effort. You need to reach a specific building's rooftop, then drop down into the attic below. Navigate to the marked building in Plaza Rosa, climb up top, and drop through into the attic space.
Wrapping up recon: Inside the attic, head toward the window overlooking the plaza. An interaction prompt pops up when you get close. Scout from this vantage point and you've finished all three reconnaissance objectives.
Destroying the Spotters
With recon complete, it's time to fight. Your targets are the two Spotter drones flying around the Bombardier.
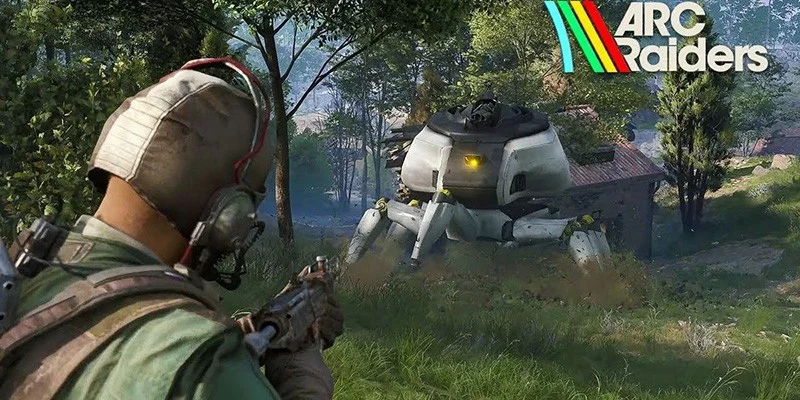
Enemy Overview
The Bombardier is one of the more dangerous ARC in the game, and it patrols Marano Park (the same area where you scouted those buses earlier). Two Spotter drones fly in a fixed pattern around it, staying relatively close rather than roaming the whole map.
Spotters do more than fly around looking menacing. When they detect you, they feed your location to the Bombardier and boost its targeting accuracy. So while you're shooting them down, they're actively making the Bombardier more dangerous.
Combat Strategy
Stay in cover: Because Spotters can improve the Bombardier's aim, you don't want to fight this in the open. Find solid cover that blocks the Bombardier's line of fire while still giving you angles on the drones.
Hit them hard and fast: Those heavy weapons you brought pay off here. Two Anvil shots can drop a Spotter, which keeps your exposure time short. The faster you kill them, the less time they have to relay your position.
Get both of them: You need to destroy both Spotters to complete this objective. Since they stick close to the Bombardier, you'll be working in roughly the same area for both kills.
Collecting the Relay
Don't rush in the moment the second Spotter drops. Give the Bombardier time to calm down and stop actively hunting you. Once it's no longer in combat mode, you can approach the wreckage safely.
The destroyed Spotters leave behind husks you can interact with. Grab the Spotter Relay from one of them.
And then immediately put it in your safe pocket. Seriously. This protects your quest progress if anything goes wrong on the way back.
Extraction
The Final Stretch
All that's left is returning to Speranza with the Spotter Relay. It's a straightforward extraction, nothing fancy. Just get back to base without dying, which should be manageable with that relay tucked safely away.
Turning It In
Find Shani once you're back at Speranza and hand over the Spotter Relay. Quest complete.
Checklist
For easy tracking during your run:
- Equip a loadout with a safe pocket
- Bring heavy weapons (Anvil works well)
- Scout the Parking Garage staircases (take the central zipline up)
- Scout Marano Park bushes (left side near the buses)
- Scout the Plaza Rosa attic (south of the map, drop in from the roof)
- Destroy both Spotters at Marano Park
- Wait for the Bombardier to de-aggro before looting
- Store the Spotter Relay in your safe pocket
- Return to Speranza and deliver the relay to Shani