
Settled in Full is one of the tougher quests in Arc Raiders. You get it from Tian Wen, the weapon specialist in Speranza, and the objective is simple enough on paper: kill a Bastion and bring back its cell. The reward is 30 Raider Tokens, a decent payout for a single quest. Getting there, though, means taking down one of the game's chunkiest ARC minibosses, and going in light on ammo or healing will cost you the run.
This guide covers finding a Bastion, fighting it at any gear level, and making sure you don't lose the cell on the way out.
Quest Objectives
Settled in Full has two steps:
- Destroy a Bastion on any topside map
- Deliver a Bastion Cell to Tian Wen back in Speranza
No shortcuts exist here. You can't buy a Bastion Cell, craft one, or find one lying around. You have to kill the Bastion yourself and loot it from the body. Once you've extracted safely with the cell, head back to Tian Wen in Speranza to finish the quest.
Know What You're Fighting
The Bastion isn't a typical ARC encounter, so understanding what you're dealing with before you head topside will save you a wasted run.
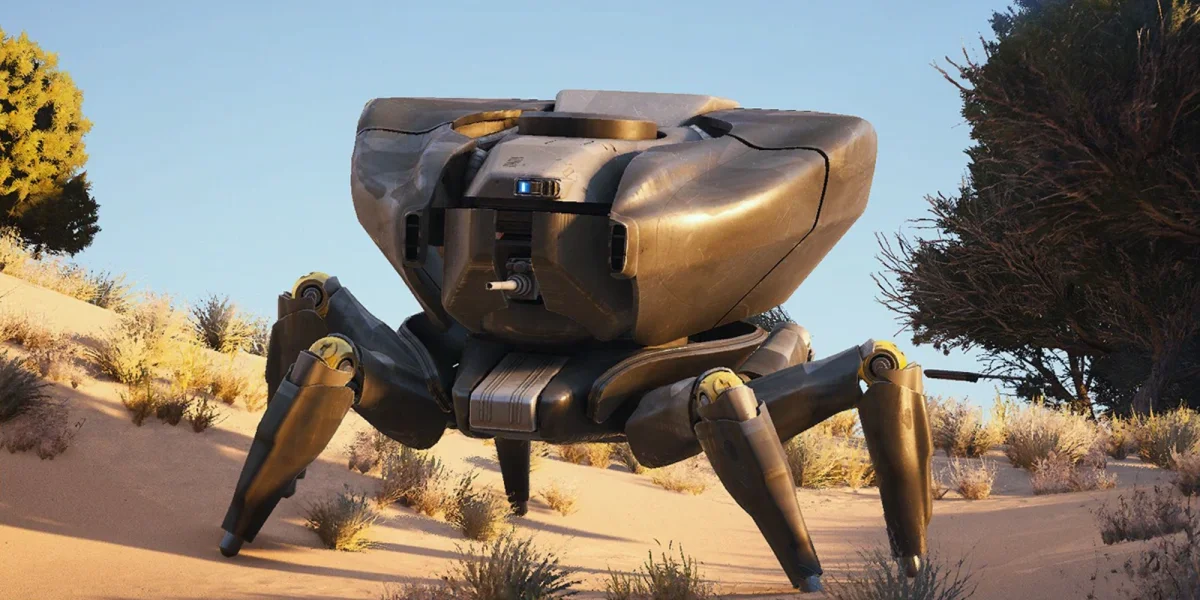
It's a miniboss that walks on four legs and moves slowly, built to absorb punishment and capable of serious damage up close. It won't drop quickly, and a lot of players misjudge how much ammo and healing the fight actually burns through.
The dangerous part is the machine gun attack at close range. It'll strip your shield faster than you can react, so staying behind cover isn't just a safe play, it's how you survive the fight. Engaging in the open is a fast way to lose your gear and start over.
- Yellow leg joints (kneecaps): Shoot one until it breaks and the Bastion staggers. That stun window is when you deal burst damage, reposition, or land grenades without taking fire back.
- Yellow canister at the rear: Your main damage target throughout the fight. Sustained fire here eventually exposes the core, which is when you finish it off.
Your positioning, timing, and loadout all exist to support hitting these two spots consistently.

Where to Find a Bastion
Bastions spawn across all topside maps, but some spots are far more practical for this quest than others. You want reliable spawns, decent cover nearby, and ideally a location where other players might wander through and pitch in.
Best Spots
Stella Montis, Loading Bay - Loading Bay is one of the two best options for this quest. Good cover throughout the area, central position, and other players pass through often enough that you'll frequently get help with the fight without coordinating anything. A solid pick if you're a bit undergeared.
Buried City, Marano Park - Marano Park offers the same combination: reliable spawns, usable cover, and a position that tends to draw other players into the fight. Both spots work for the same reasons, so it comes down to whichever map you're more comfortable running.
Using the Matriarch Event
For a guaranteed Bastion encounter, queue into a session where the Matriarch map event is active. The Matriarch always shows up with an escort that includes a Bastion, a Bombardier, a Rocketeer, and a Leaper. Other players in the session usually engage the group, so you'll often have backup for the Bastion fight.
If someone else gets to the Bastion's body first, you'll need to find another one. Plan to be right on top of the body the moment it drops.
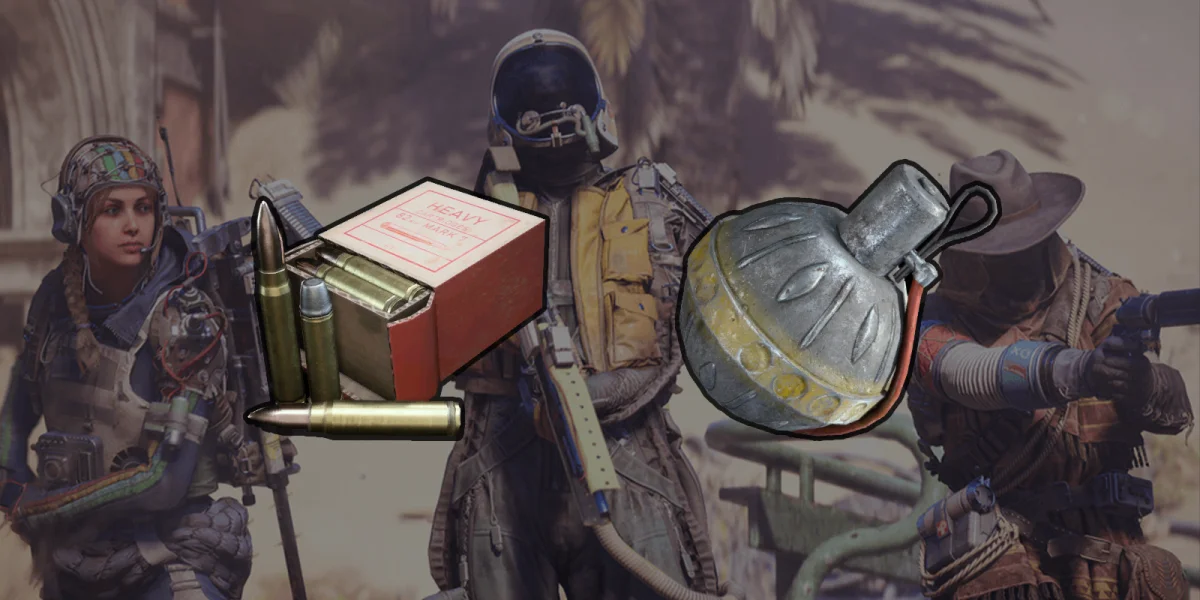
What to Bring
Your gear determines how painful this fight gets. The Bastion is durable, and bringing too little ammo or healing is one of the most common ways players fail to extract.
Weapons
Heavy ammo weapons are your best bet here. The Anvil, Ferro, and Renegade all perform well, with Tier IV versions making a noticeable difference in how long the fight drags on. Without Tier IV gear, a Hullcracker with a large ammo reserve can chip the Bastion down by targeting the rear canister, though it takes longer.
For legendaries, Aphelion and Jupiter will cut the fight down significantly. Hullcracker is the next best choice if your stash isn't there yet.
Full Loadout
| Slot | Recommended Option | Notes |
|---|---|---|
| Primary Weapon | Anvil, Ferro, or Renegade (Tier IV preferred) | Heavy ammo weapons; Aphelion or Jupiter if you have legendaries |
| Ammunition | 120 Heavy / 240 Medium | Bring more than you think you'll need |
| Shield | Light or Medium Shield | Shield Rechargers will keep you alive longer |
| Healing | Normal or Herbal Bandages | Use during stun windows after breaking a leg joint |
| Grenades | ~4x Wolfpack Grenades or Blaze Grenades | Optional but speeds the fight up noticeably; Wolfpack is faster |
| Legendary Option | Aphelion or Jupiter | If available; Hullcracker is the fallback |
This isn't a burst damage race. You're grinding down a tough enemy, and running out of ammo or healing partway through is a bigger threat than any single hit from the Bastion.
How to Fight the Bastion
The right approach depends on what you're carrying. Three methods are covered below, from the most broadly accessible to the most demanding.
Standard Combat (Works for Most Players)
This is the baseline approach for players with a heavy ammo weapon, a shield, and some healing. It works at most gear levels.
Before you engage, find cover first. A wall, container, or any structure that breaks line of sight when you need to heal or reload. Don't open fire from the open.
Combat loop:
- Focus fire on one yellow knee joint until it breaks
- During the stun, reposition and start shooting the rear canister, or throw grenades if you have them
- For Wolfpack Grenades, toss them into the air above the Bastion during the stun so they drop down onto it
- For Blaze Grenades, throw during the stun window since they deal damage over time; the stun gives you a safe moment to land them
- Without grenades, use the entire stun window to dump heavy ammo into the rear canister
- Pull back to cover when the Bastion gets up
- Repeat: break a joint, use the window, damage the canister, stay covered
- Once the core is exposed, destroy it
Its fire at close range will eat through your shield before you can retreat. Go in only during a stun window.
Grenades First (Fastest)
If you've got Wolfpack Grenades, this is the quickest way through the fight. Get behind cover, lob about four Wolfpack Grenades into the air above the Bastion, and let them detonate on the way down. Thrown correctly, the Bastion can go down fast.
Blaze Grenades work as a substitute, but they deal damage over time rather than in a burst, which stretches the fight out and keeps you exposed to the Bastion's machine gun fire longer. Use them when Wolfpacks aren't available, not as a first choice.
If you burn through grenades before the Bastion dies, switch to a Hullcracker and keep hitting the rear canister until it's finished.

Lure and Deadline (High Risk, Potentially a One Shot)
This one's for players who know the game well and want to take a calculated risk. Done correctly, it can kill the Bastion in a single execution.
Throw a Lure Grenade to pull the Bastion's attention, then approach from behind while it moves toward the lure and attach a Deadline to its body. If the Deadline lands and detonates cleanly, the Bastion dies on the spot.
You can swap the Lure Grenade for an Electromagnetic Cloak to get close undetected, but this version carries even more risk. One moment of detection and the Bastion's machine gun will kill you before you can react. Only run this if you're already confident with the mechanics.
After the Kill: Don't Lose the Cell
A lot of players get through the hard part and lose their progress on the way out.
Loot thoroughly. Check both legs and the body. The Bastion Cell will be in there along with possible extras like ARC Alloy, ARC Powercell, ARC Motion Core, and medium ammo. Only the cell matters for the quest.
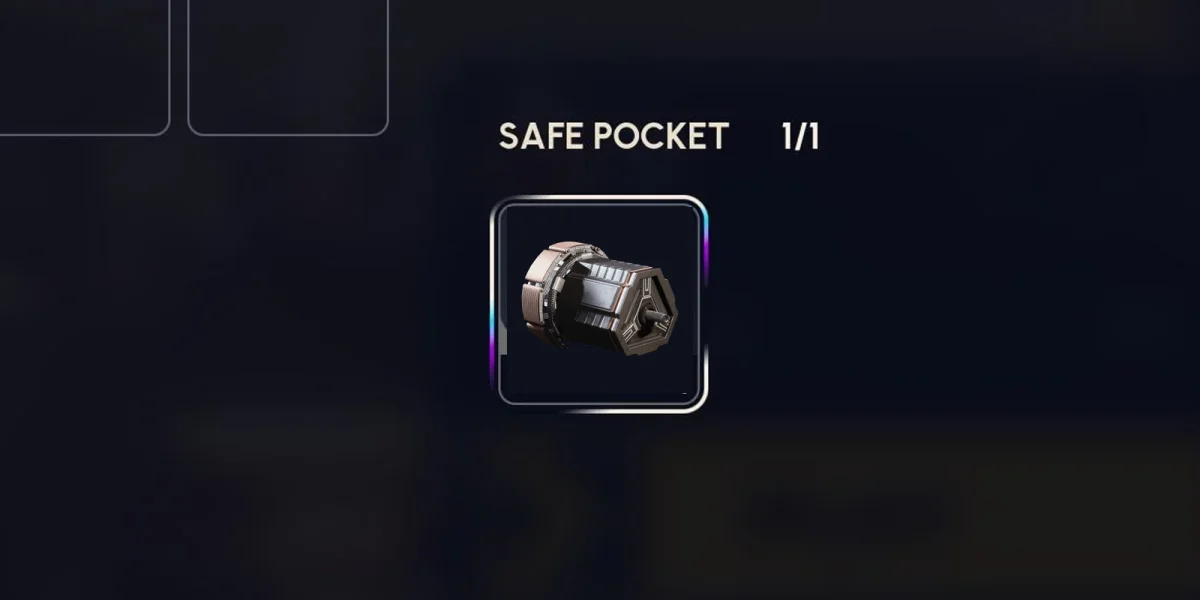
Move the cell to your Safe Pocket straight away. This is the step people skip and regret. If you die during extraction with the cell in your regular inventory, you lose it and have to kill another Bastion. The Safe Pocket keeps it safe through death.
Also, the Bastion Cell doesn't stack with other quest items. Before heading to extraction, confirm it's sitting in your Safe Pocket specifically, not just somewhere in your regular kit.
Once you've extracted safely, return to Speranza and hand the cell to Tian Wen to finish the quest.
Reward

Completing Settled in Full gives you 30 Raider Tokens.
Raider Tokens are Arc Raiders' premium currency, used in the store to buy cosmetics: outfit bundles, Scrappy items, and Raider tools. They can't be spent on gear, ammo, or anything that affects gameplay directly. Thirty tokens for a single quest is a fair return for the effort, but go in knowing the payoff is cosmetic.
Common Mistakes to Avoid
- Engaging without cover. The Bastion hits hard at close range. Get something solid between you and it before you open fire.
- Rushing in while the Bastion is mobile. Break a leg joint first. Going in while it's active will get your shield stripped before you can pull back.
- Skipping the Safe Pocket step. Dying on extraction with the cell in your regular inventory means starting from scratch on the Bastion kill.
- Underestimating ammo. Pack more than you think you'll need. Running dry partway through the fight with no exit is a bad situation.
- Not being ready to loot during the Matriarch event. Other players will be going for the same drops. Position yourself to move the instant the Bastion goes down.